

Let's face it, there's absolutely no shortage of self hosted file hosting solutions available, however, if you need something super simple, minimal design and blazing fast, Linx Server is a perfect option.
Linx Server is a complete solution for hosting files with an emphasis on expiration or "self destruction" time to keep your server clutter free from files that are stagnant and no longer being accessed or used. This feature alone is what sets it apart from other file hosting applications. Let's take a look at what else it has to offer.
Features
- Display common filetypes (image, video, audio, markdown, pdf)
- Display syntax-highlighted code with in-place editing
- Documented API with keys for restricting uploads
- Torrent download of files using web seeding
- File expiry, deletion key, file access key, and random filename options
The syntax highlighting is a nice feature that can be done by simply adding the extension type to the file.
One thing I found really clever and quite punny was when a file expires, it will automatically delete it from the server. If someone tries to access the link of the expired file they will be greeted with a "dead Link" 🤣

Self Host Linx Server
Installing Linx Server is painless for the most part. It requires a configuration file with some simple values that you need to change to get it up and running.
- Create the linx-server.conf file and add the following to the file.
bind = 192.168.5.100:8080
sitename = Files
maxsize = 4294967296
maxexpiry = 86400
force-random-filename = false
selifpath = f
Change the bind IP to that of where you will be hosting Linx Server then upload the file to the root of your working directory for the docker container. Mine will be in /docker/linx.
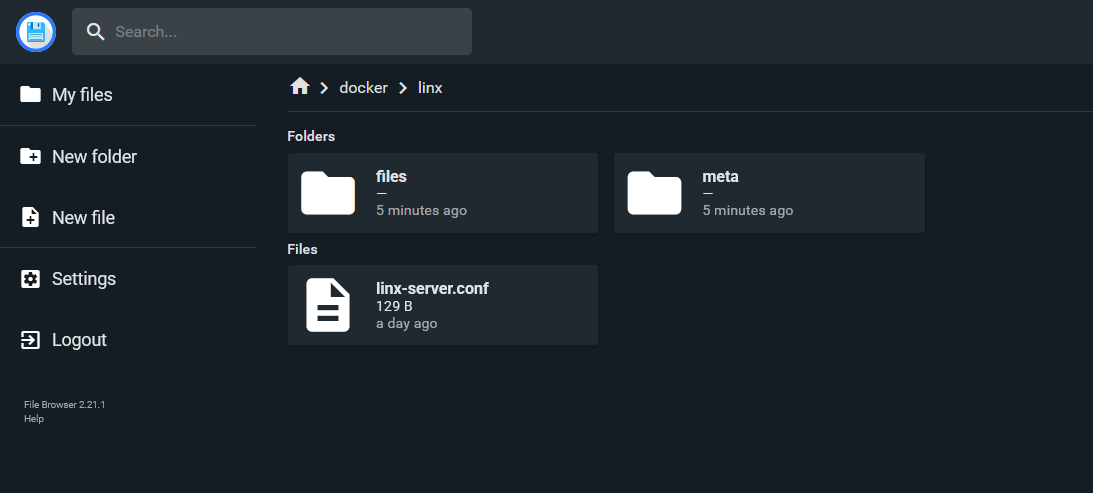
2. In the same directory, create a folder called "files" and another called "meta" then give the folders permission to read and write files using chmod -rw.
3. Spin up the Docker container using the following stack:
version: '2.2'
services:
  linx-server:
    container_name: linx-server
    image: andreimarcu/linx-server
    command: -config /data/linx-server.conf
    volumes:
      - /docker/linx/files:/data/files
      - /docker/linx/meta:/data/meta
      - /docker/linx/linx-server.conf:/data/linx-server.conf
    network_mode: bridge
    ports:
      - "8080:8080"
    restart: unless-stopped
Now you should be able to access Linx Server at the IP of your host on port 8080.
You can see more information about installing Linx Server on the Github repo. Be sure to tap the star button while you're there!
 andreimarcu
Final Notes and Thoughts
Using Linx Server might be a very specific use case for those who require automatic file removal. And these values can be modified in the configuration file. The "maxexpiry" value enables you to even allow files to stay on the sever for years if you prefer but that would defeat the purpose of even using Linx Server.
One feature you may want that Linx Server does not offer is encryption. Files can be password protected but it does not encrypt the files in the process. So if that is a feature you must have, know that Linx Server does not provide encryption.
What are your thoughts? Let us know in the comments below! As I stated above, there are tons of options out there and I will be covering more self hosted file hosting solutions in the near future.


Discussion