

Proxmox is widely used in data centers and enterprises to optimize server utilization and reduce hardware costs. It is also becoming much more common for homelabs and self-hosting. If you're new to Proxmox, this guide will help you get started with the basics.
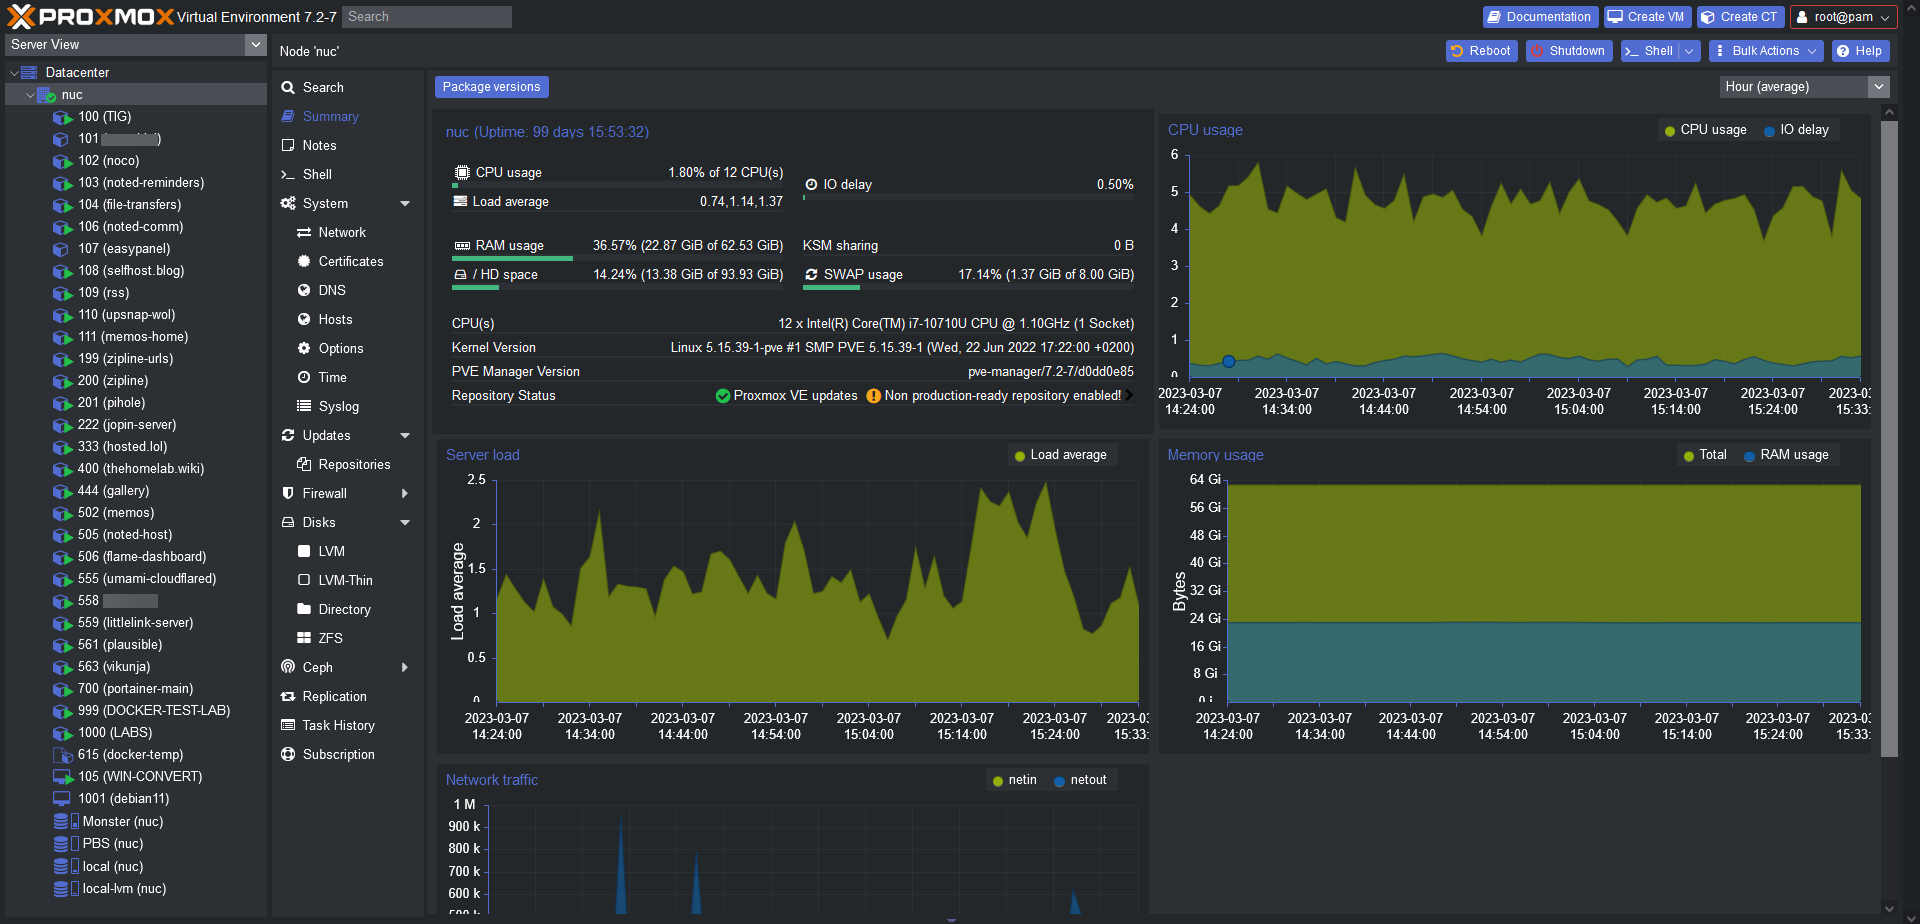
Above is a screenshot of my Proxmox host running on an Intel NUC with an i7 processor and 64gb of RAM. All of these containers are hardly even touching the CPU and not even consuming half the RAM so you can see how beneficial using containers can be.
- Installation - To install Proxmox, you need a dedicated physical server or a virtual machine with at least 2 GB of RAM and a 64-bit processor. You can download the Proxmox ISO from the official website and burn it to a USB or CD. Then, boot your server from the USB/CD and follow the on-screen instructions to install Proxmox.
- Web Interface - To access the Proxmox web interface, open a web browser and enter the IP address of your Proxmox server into the address bar. The URL should be in the format of https://<server-ip-address>:8006. You will be prompted to enter your username and password (the default username is 'root' and the password is the one you set during installation). Once you have successfully logged in, you will be able to access and manage your Proxmox virtual environments through the web interface.
- Virtual Machines and Containers
- Open the Proxmox web interface in your web browser.
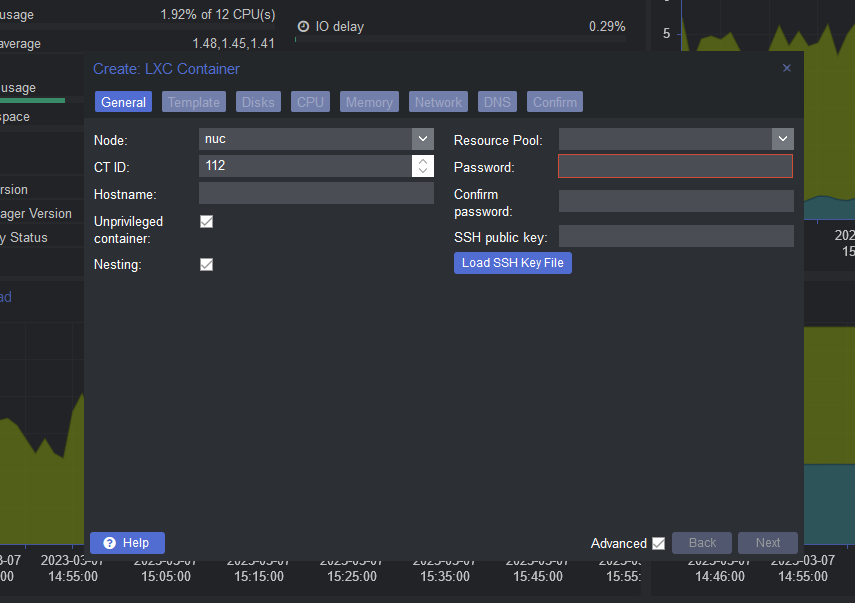
- Navigate to the "Create VM" or "Create CT" button, depending on whether you want to create a virtual machine or container.
- Follow the wizard to create a new VM or CT, including selecting the operating system, assigning resources (such as CPU, RAM, and storage), and configuring the network.
- Once you have completed the wizard, you can start the VM or CT and access it from the web interface.
- To manage the VM or CT, you can use the web interface or connect to it via remote access (such as SSH or RDP).
- You can also create templates from VMs or CTs that you have already created, allowing you to quickly create new instances with the same configuration.
- To delete a VM or CT, simply select it in the web interface and click the "Remove" button.
Keep in mind that creating and managing VMs and CTs requires a good understanding of virtualization concepts and operating system administration.
4. Storage - Proxmox allows you to store VM/CT disks on different types of storage, such as local disks, network storage, and cloud storage. You can add storage to your Proxmox server by clicking on the 'Datacenter' tab in the web interface and then clicking on 'Storage'. You can then choose the type of storage you want to add and follow the on-screen instructions.

5. Networking - Proxmox allows you to create virtual networks that connect your VMs and containers to the outside world. You can create virtual switches, bridges, and VLANs to isolate your network traffic and improve security. To manage your network settings, click on the 'Datacenter' tab in the web interface and then click on 'Network'. You can then create new networks, configure network interfaces, and set up firewall rules.
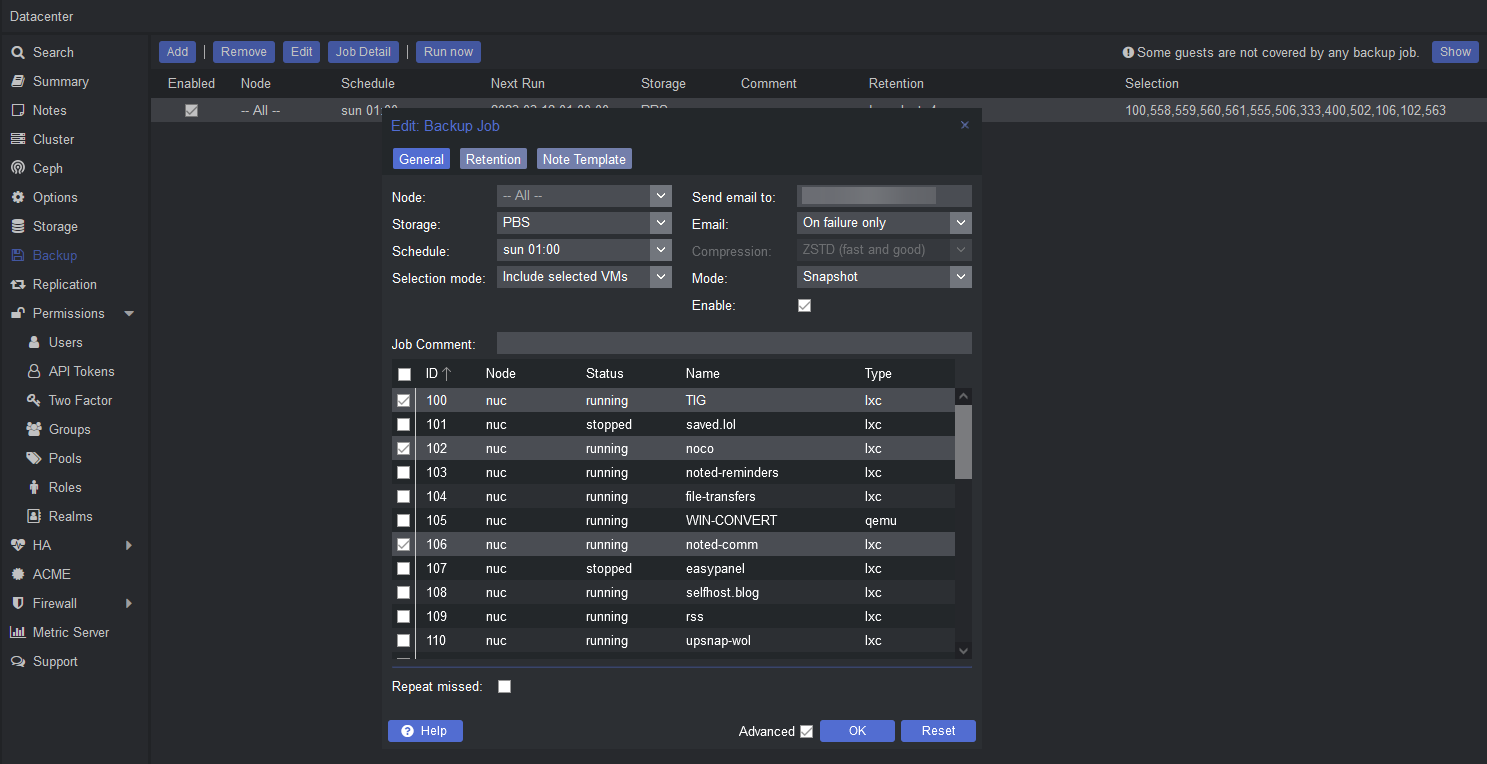
6. Backups - Proxmox includes a built-in backup system that allows you to create full or incremental backups of your VMs and containers. You can schedule backups to run automatically, and you can store them on local or remote storage. To set up backups, click on the 'Datacenter' tab in the web interface and then click on 'Backup'. You can then create backup schedules and configure backup storage.
Final Notes and Thoughts
By following this beginner's guide, you should have a good understanding of how to create and manage VMs and containers, set up storage and networking, and create backups. Proxmox has many advanced features that you can explore as you become more familiar with the platform.


Discussion