

SWAG (Secure Web Application Gateway) is a pre-built web server and reverse proxy docker container built and maintained by Linuxserver.io. At its heart, several pieces of software are combined into one simple-to-run docker container.
Docker-Compose Example
  swag:
    image: lscr.io/linuxserver/swag:latest
    container_name: swag
    cap_add:
      - NET_ADMIN
    environment:
      - PUID=1000
      - PGID=1000
      - TZ=Europe/London
      - URL=yourdomain.url
      - VALIDATION=http
      - SUBDOMAINS=www, #optional
      - CERTPROVIDER= #optional
      - DNSPLUGIN=cloudflare #optional
      - PROPAGATION= #optional
      - EMAIL= #optional
      - ONLY_SUBDOMAINS=false #optional
      - EXTRA_DOMAINS= #optional
      - STAGING=false #optional
    volumes:
      - /path/to/appdata/config:/config
    ports:
      - 443:443
      - 80:80 #optional
restart: unless-stoppedPros:
- Easy to setup with Docker Compose
- Easy creation of SSL for Domain(s) and Subdomains with Let's Encrypt or ZeroSSL
- Mods (12 at this time)
- Authelia integration
- Fail2Ban intergration
- Tons of support from the community
- Easy to add an app with predefined templates for subdomains and subdirectory
- Over 260 prebuilt working configurations Full List Here
- SSL Certs are auto-renewed
Con's:
- No GUI (Everything is file-based)
- Multiple hosts can be a challenge to setup
Requirements
You will need to have bought your own domain, a DNS provider, and have, at minimum, port 443 open on your router. You will also need to know your public-facing IP address or have some way to tell Cloudflare what your IP is if you have a Dynamic IP address.
As everyone's router is different, we will not cover that in this article, as for domain names and DNS providers like using Cloudflare. It makes setup a lot easier as once you buy your domain from them, they automatically set up a basic configuration for you.
Adding a Service(s)
So you have the requirements met and SWAG setup, but now you want to have one of your apps accessible from the web. So, for this example, I am going to pick on Ghost. I mean, come on, that is what this blog is running on. I am also assuming here that your SWAG and Ghost containers are running within the same docker stack.
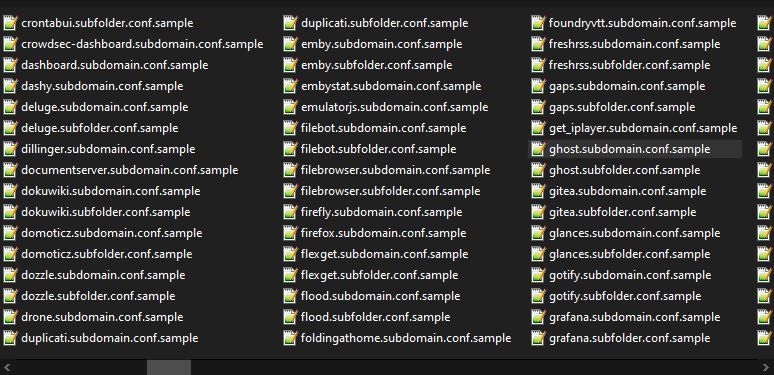
So SWAG has two different configurations for this. You can do a subdomain, ghost.abc.xyz, or sub-directory, abc.axy/ghost. No matter which route you go, all you have to do is navigate to your SWAG config path, inside there go to the nginx, then proxy-confs. So something like this - /path/to/appdata/config/nginx/proxy-confs. Inside this folder is where LinuxServer.IO has all their pre-built docker config files. Find whichever you want to use subdomain or sub-directory and delete the .sample off the end of the file. After that, all you have to do is restart SWAG, and you should now be able to access your ghost instance.
Conclusion
As you can see, the Pros far out weight the Cons. Depending on your level of comfort working with files versus GUI. This may be the software for you.
I use this container for 12 domains and most of my self-hosted applications, and I also run four mods in my setup. Two of which I find a must for working with this container are Cloudflare Real IP and Auto Reload.


Discussion