

If you run a homelab rack that's always being tinkered with such as switching operating systems, then you know where this is going. Having multiple monitors, keyboards and mice setup is neither convenient or productive. It's also a pain in the neck to have to keep monitors around that take up precious space in your homelab environment. TinyPilot solves these problems and a couple more that I will get into.
TinyPilot is a completely open source KVM over IP solution and can be loaded onto your own raspberry pi if you want to build out your own. You can customize the experience how you want, and the TinyPilot team is extremely responsive to external contributions.
 tiny-pilot
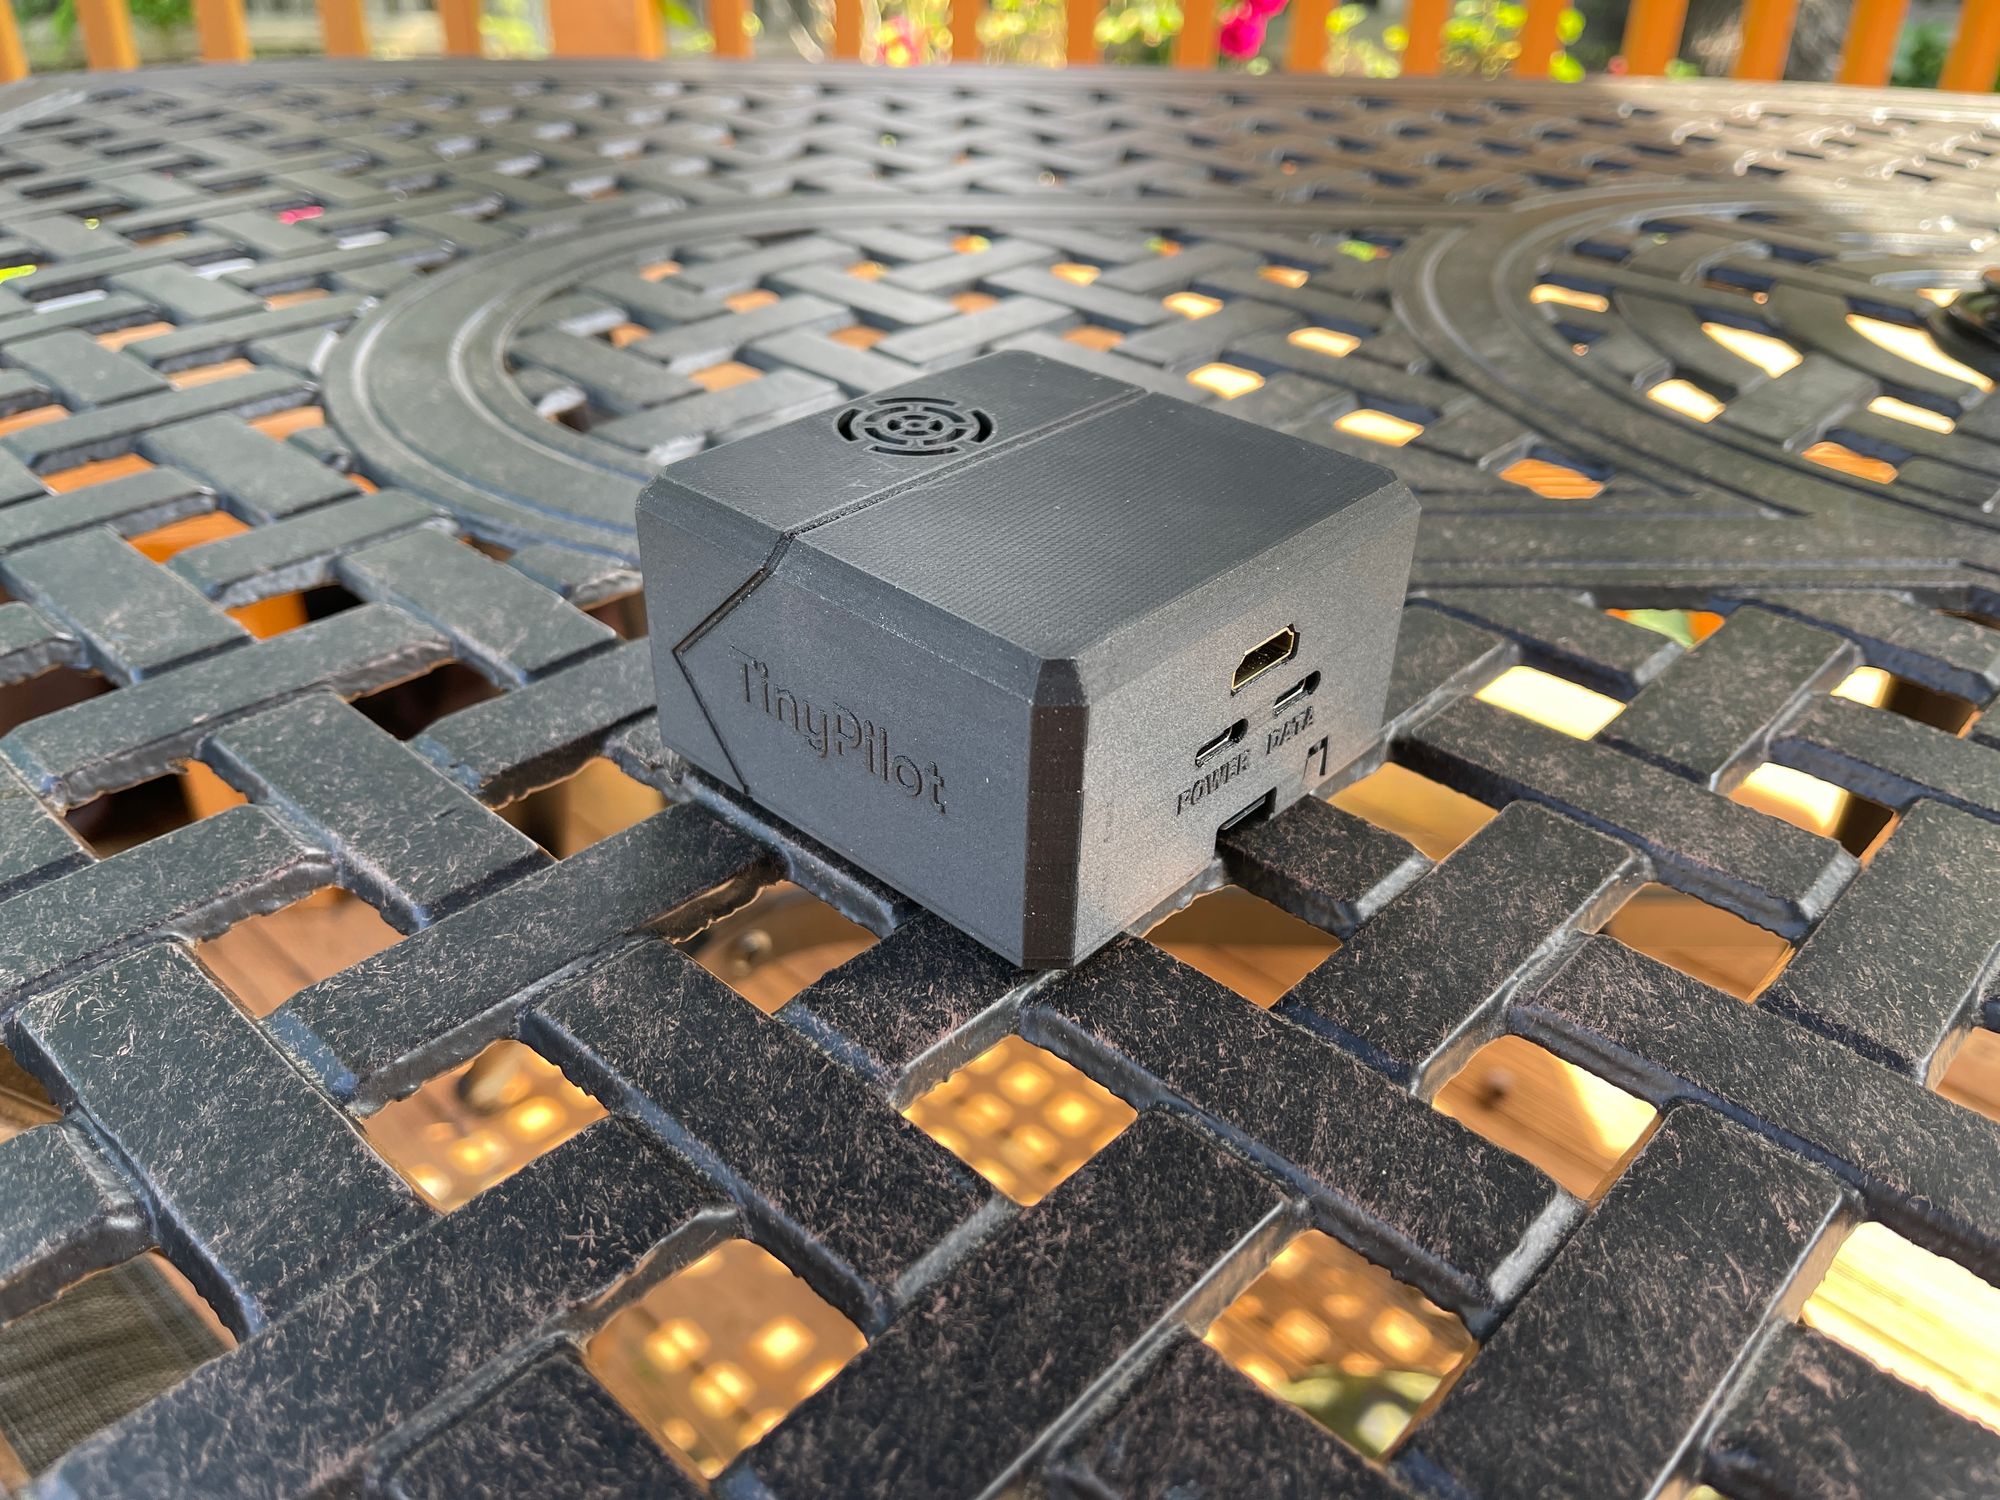
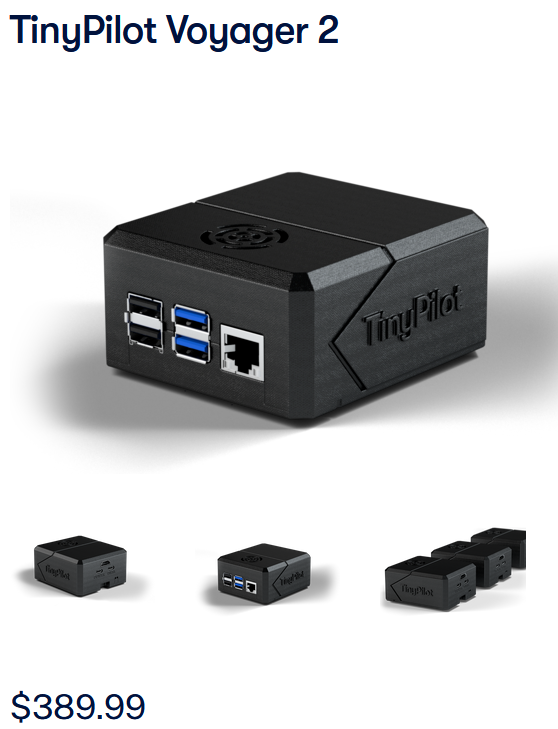
I will be reviewing the TinyPilot Voyager 2. Voyager 2 is TinyPilot’s newest professional-grade KVM over IP device. Its quiet, compact design makes it a great fit for professional and not so professional environments such as homelabs, data centers, and server rooms.
Features
- Fully plug 'n play - no software installation required
- Video capture at 1920x1080 resolution at 24 frames per second with under 200 milliseconds of latency
- Keyboard and mouse forwarding
- Pure HTML5 interface (no client software required beyond a browser)
- Virtual storage mounting
- Boot from virtual storage
- Wake on LAN
- Password authentication
- Secure TLS/HTTPS connection
- Paste text from clipboard
- Fullscreen mode
- Save remote screenshots
It's very ironic how this review came into fruition. And to keep a long story short, I had a TinyPilot on my Christmas wish-list but since my wife had no idea what it was, she decided not to get me one. Bummer... fast forward about 4 months, TinyPilot reached out to me and here we are!
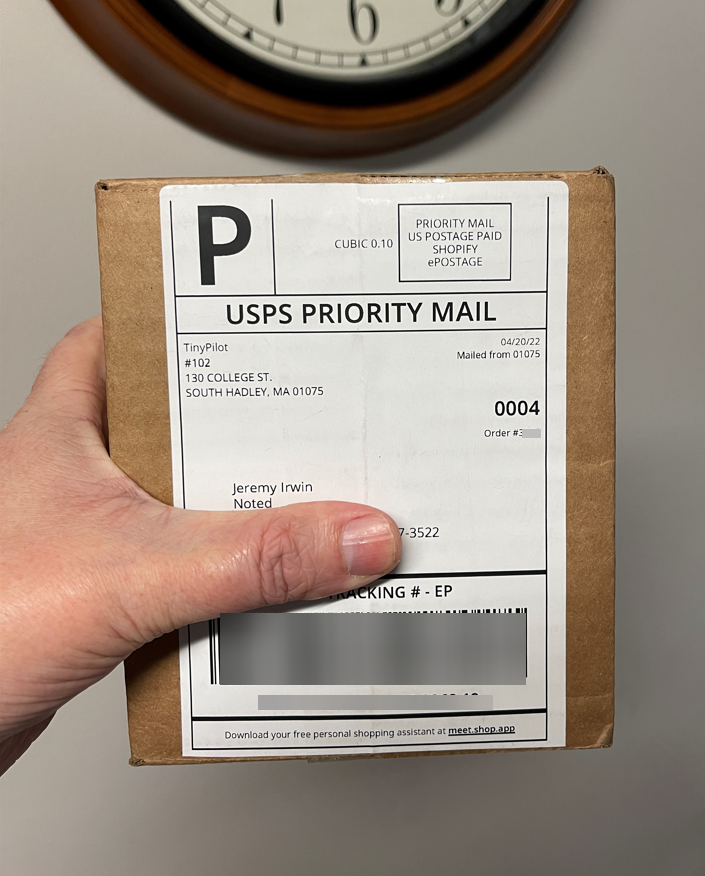
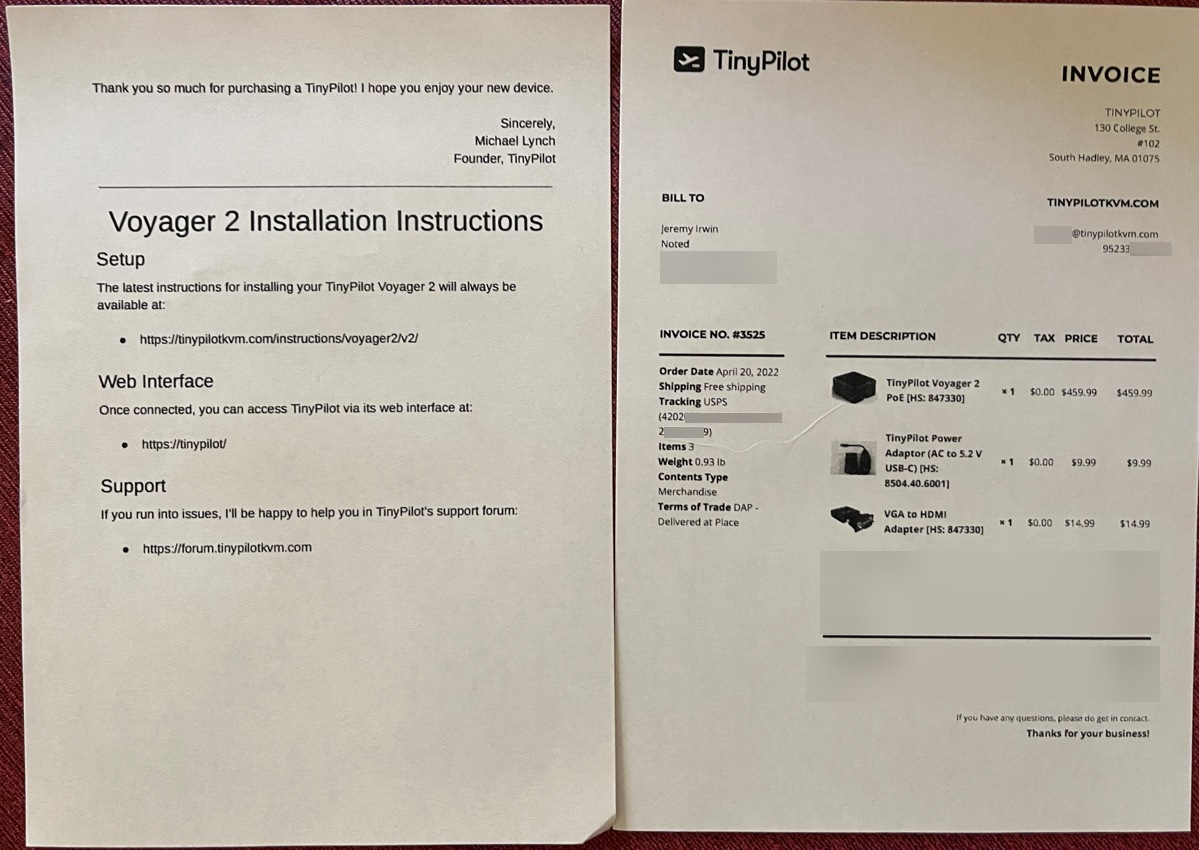
Setting up the TinyPilot Voyager 2 is as easy as it looks. It comes packaged with a small sheet of paper with details to instructions you can check out on the TinyPilot wesbite.
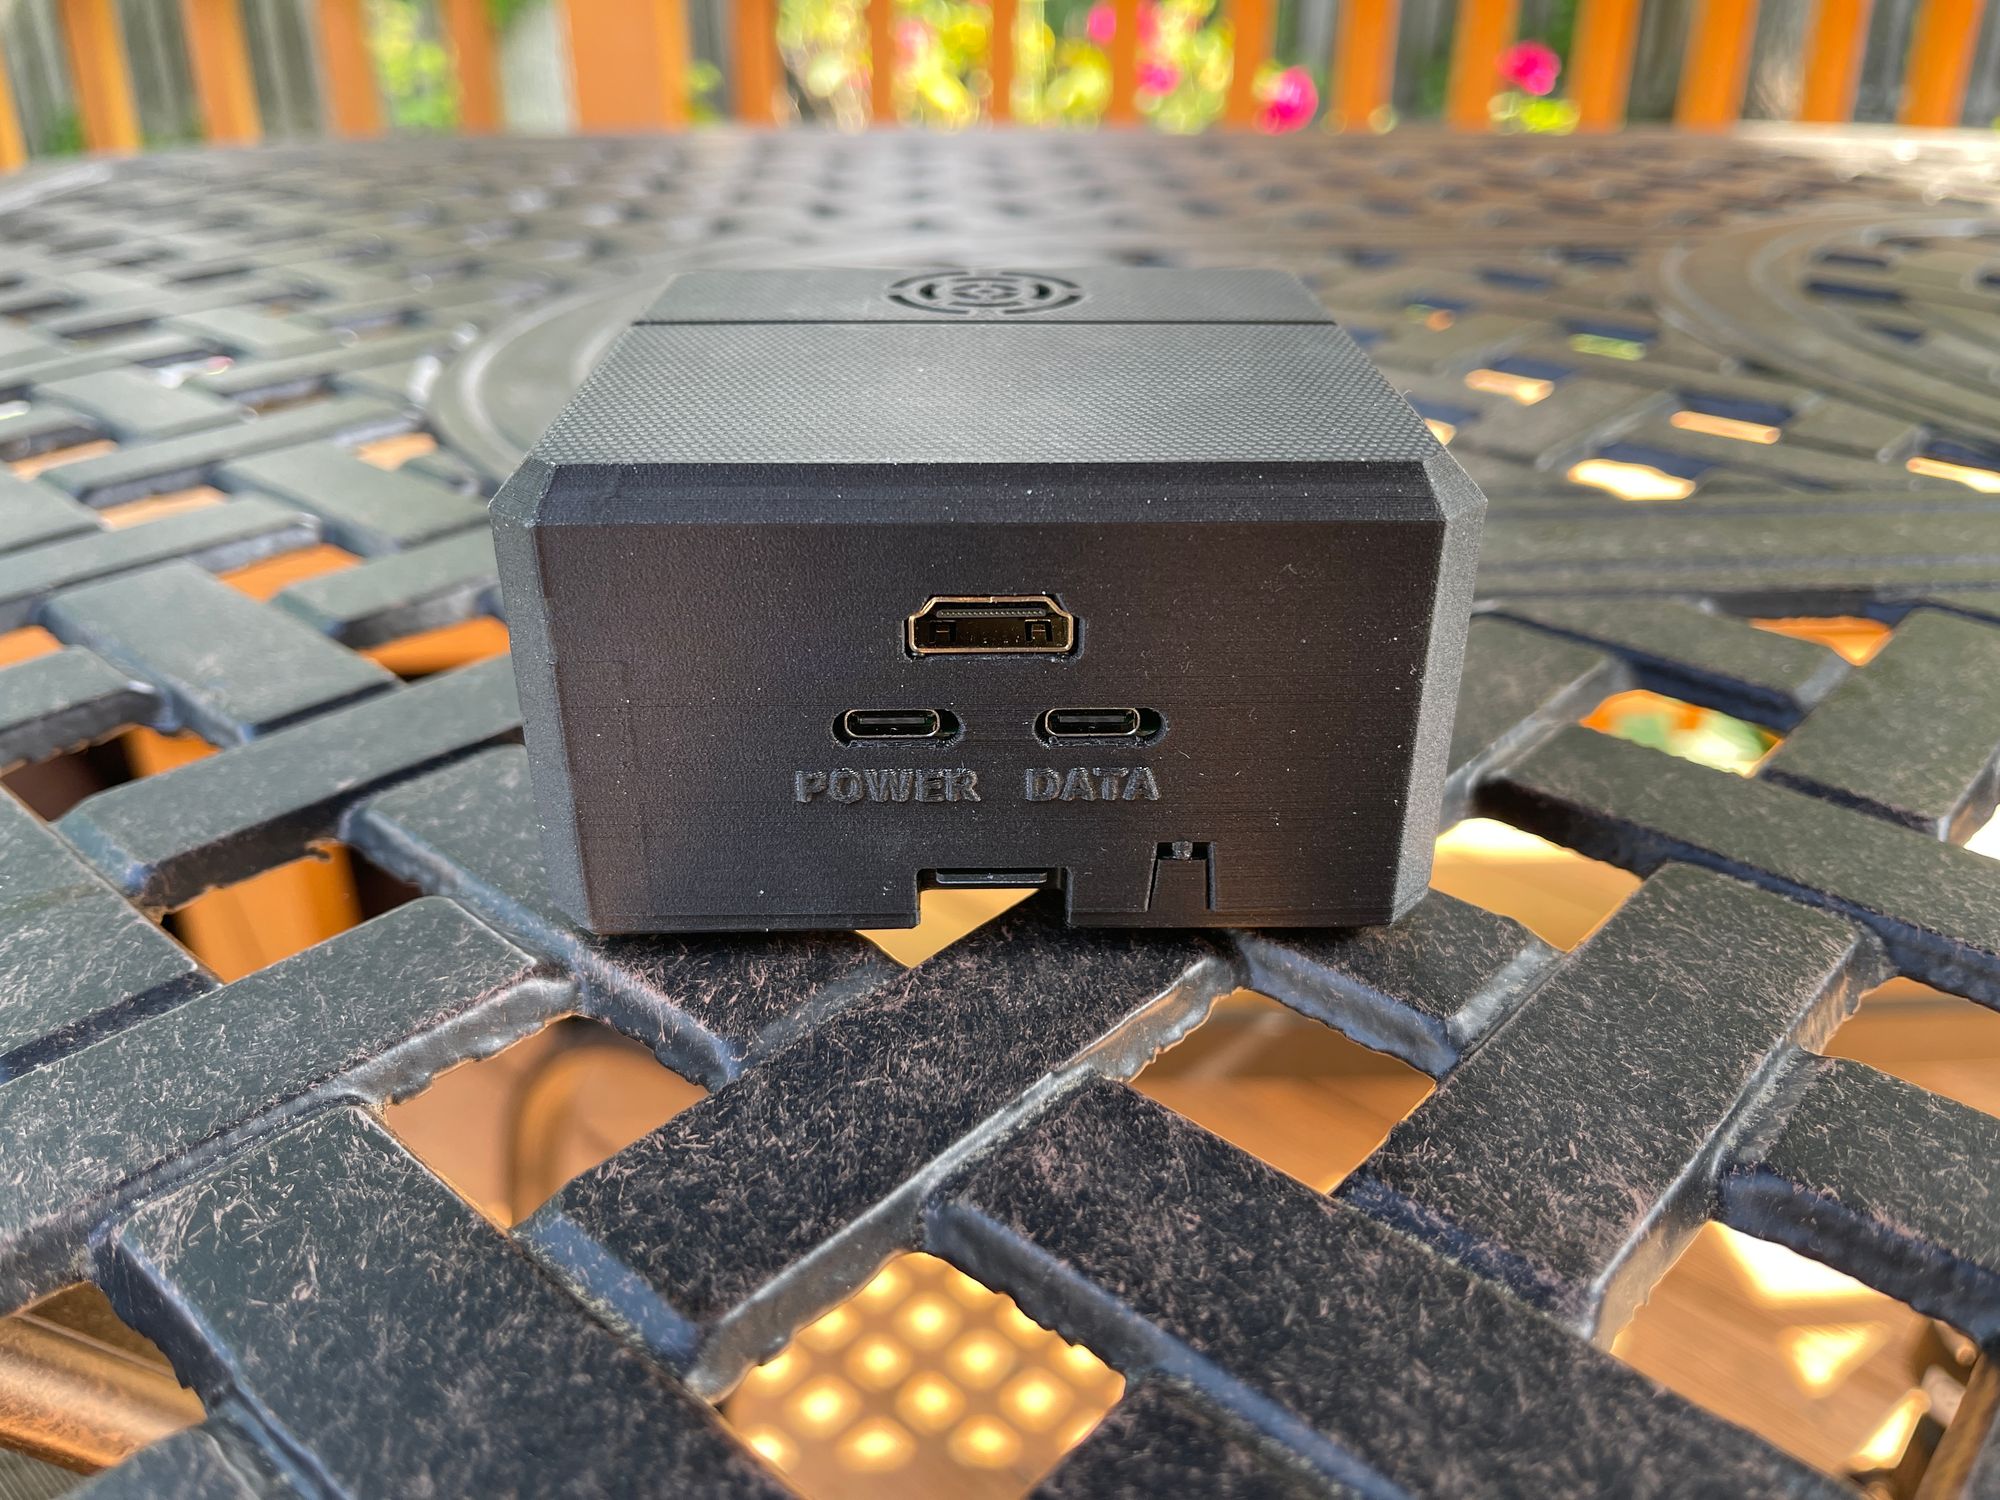
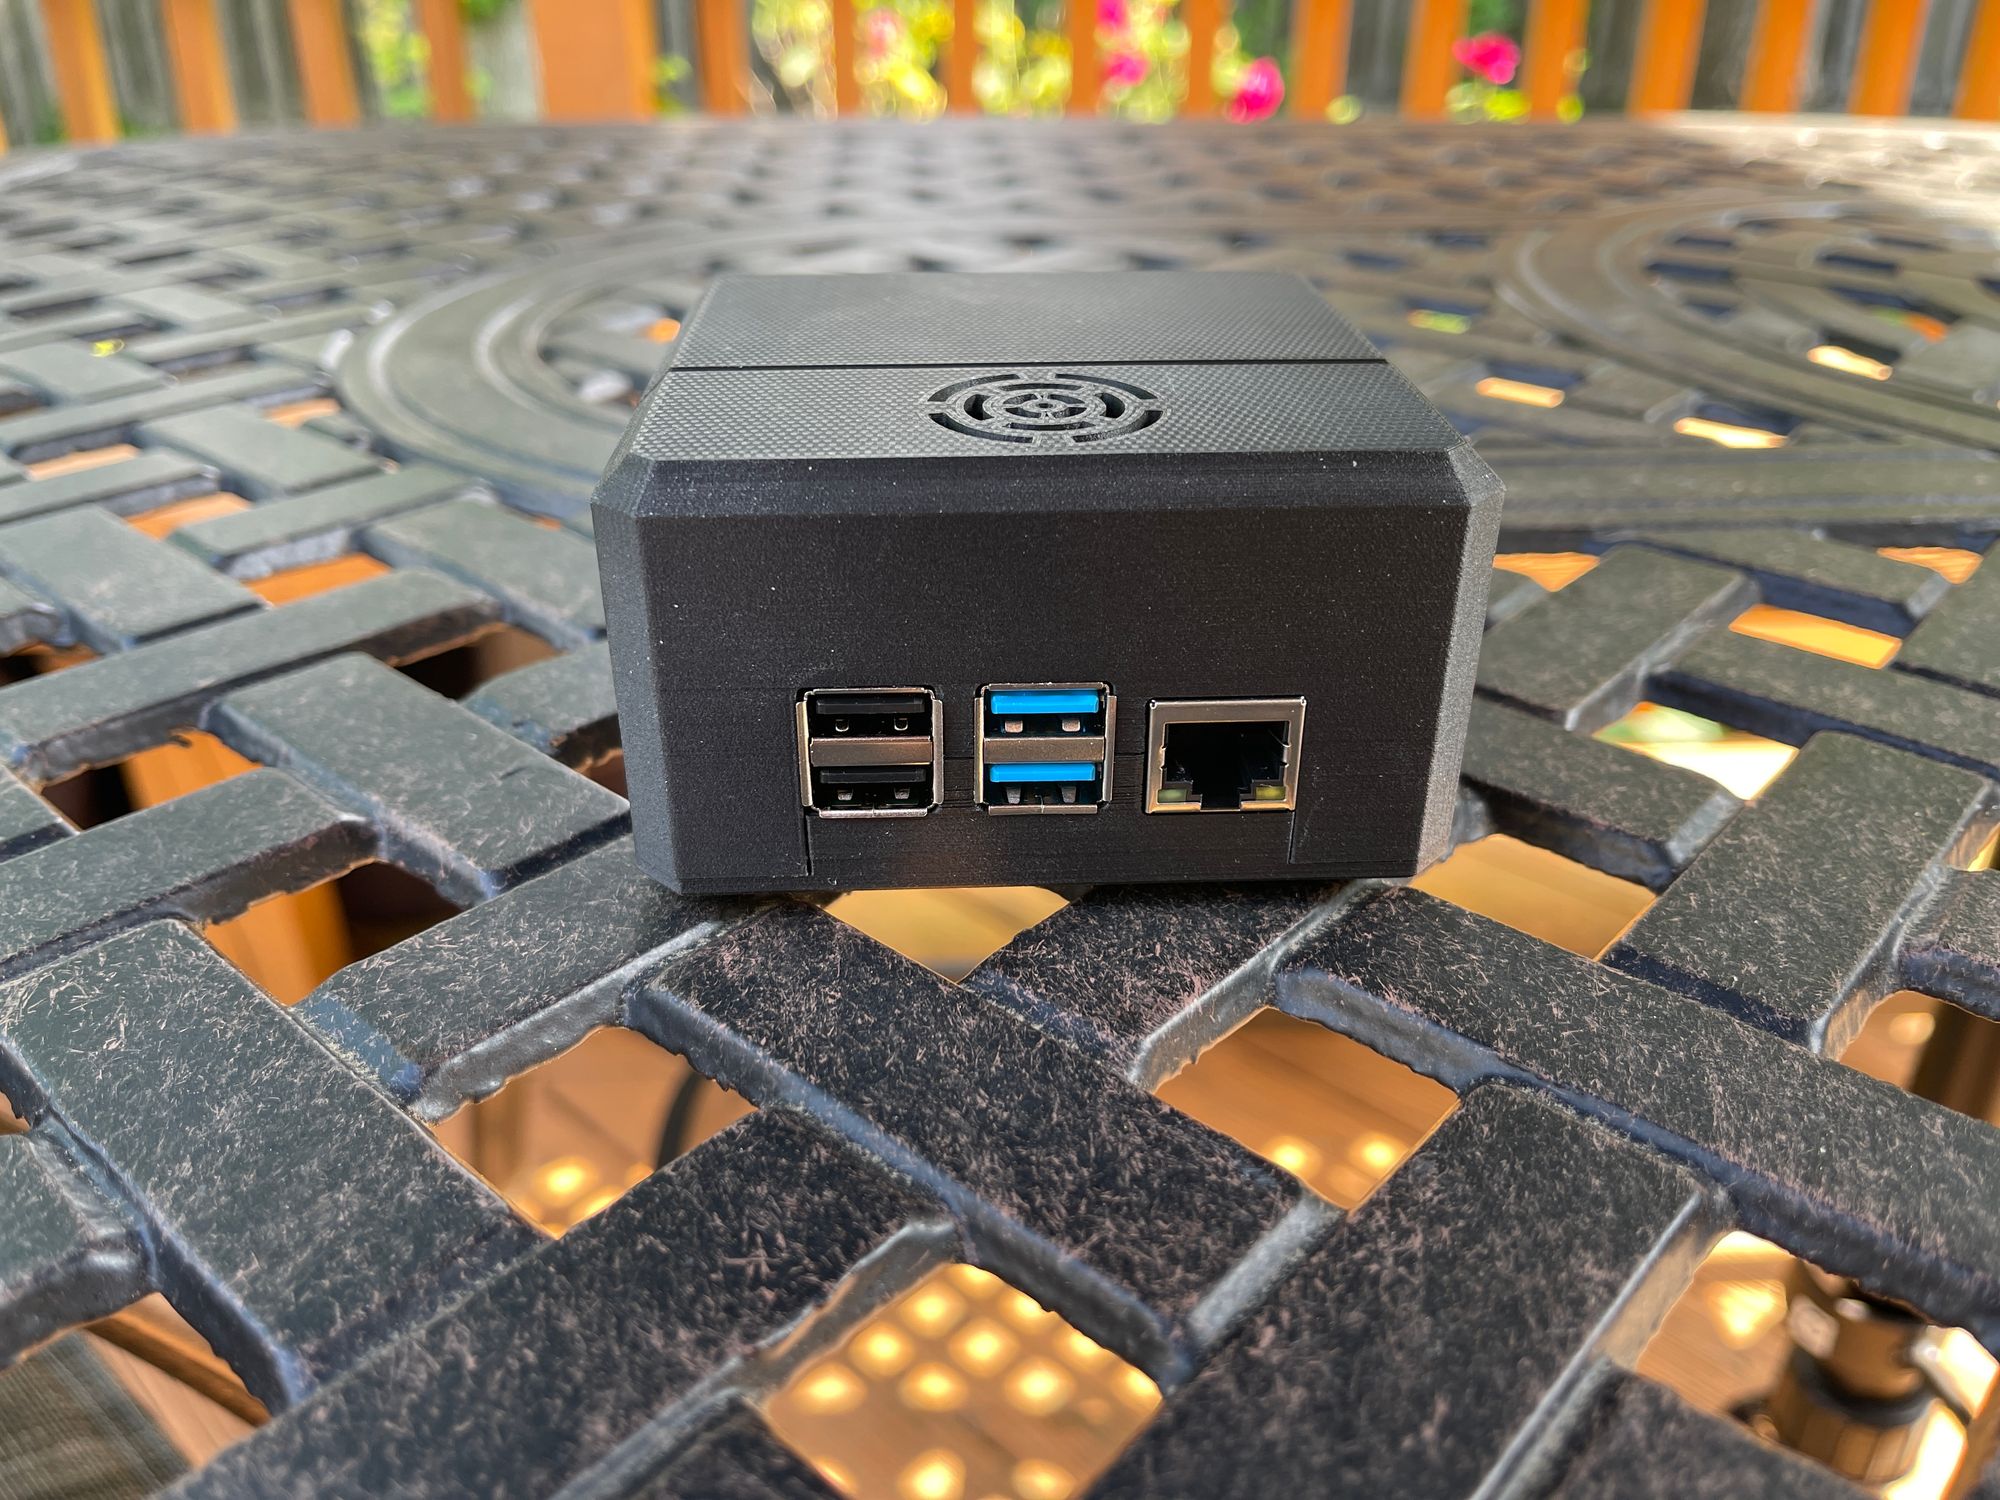
It's literally a 7 step plug and play process or less depending on if you use the VGA to HDMI adapter or not.
Once I had everything plugged in, it took about 2 minutes to boot up and acquire an IP on the network. Then, off I went to the host name. That's another awesome feature. TinyPilot doesn't require you to hunt for the local IP address. Just type in the host name https://tinypilot into your browser and there it is greeting you with the system it's plugged into.

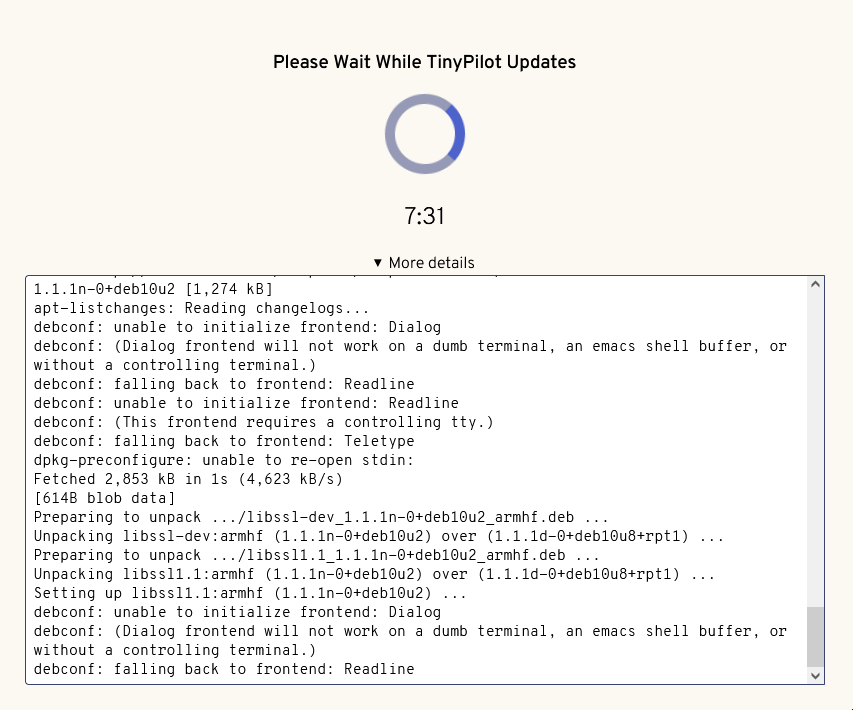
The first thing I did when TinyPilot Voyager 2 was up and running was run an update. It was a smooth and painless process. The countdown timer is a nice touch and gives you an idea of about how long the update will take.
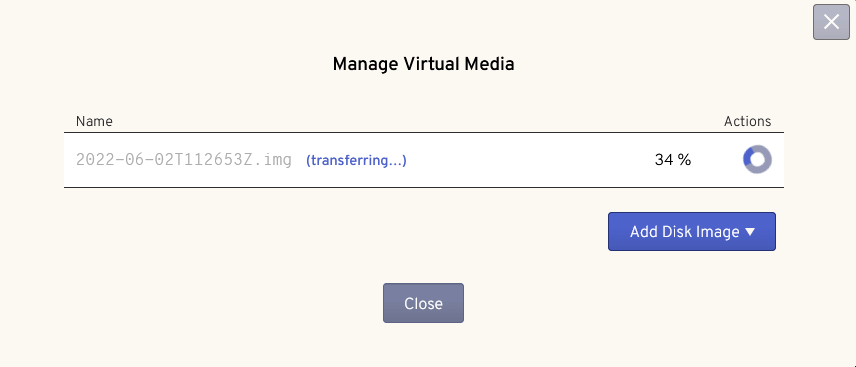
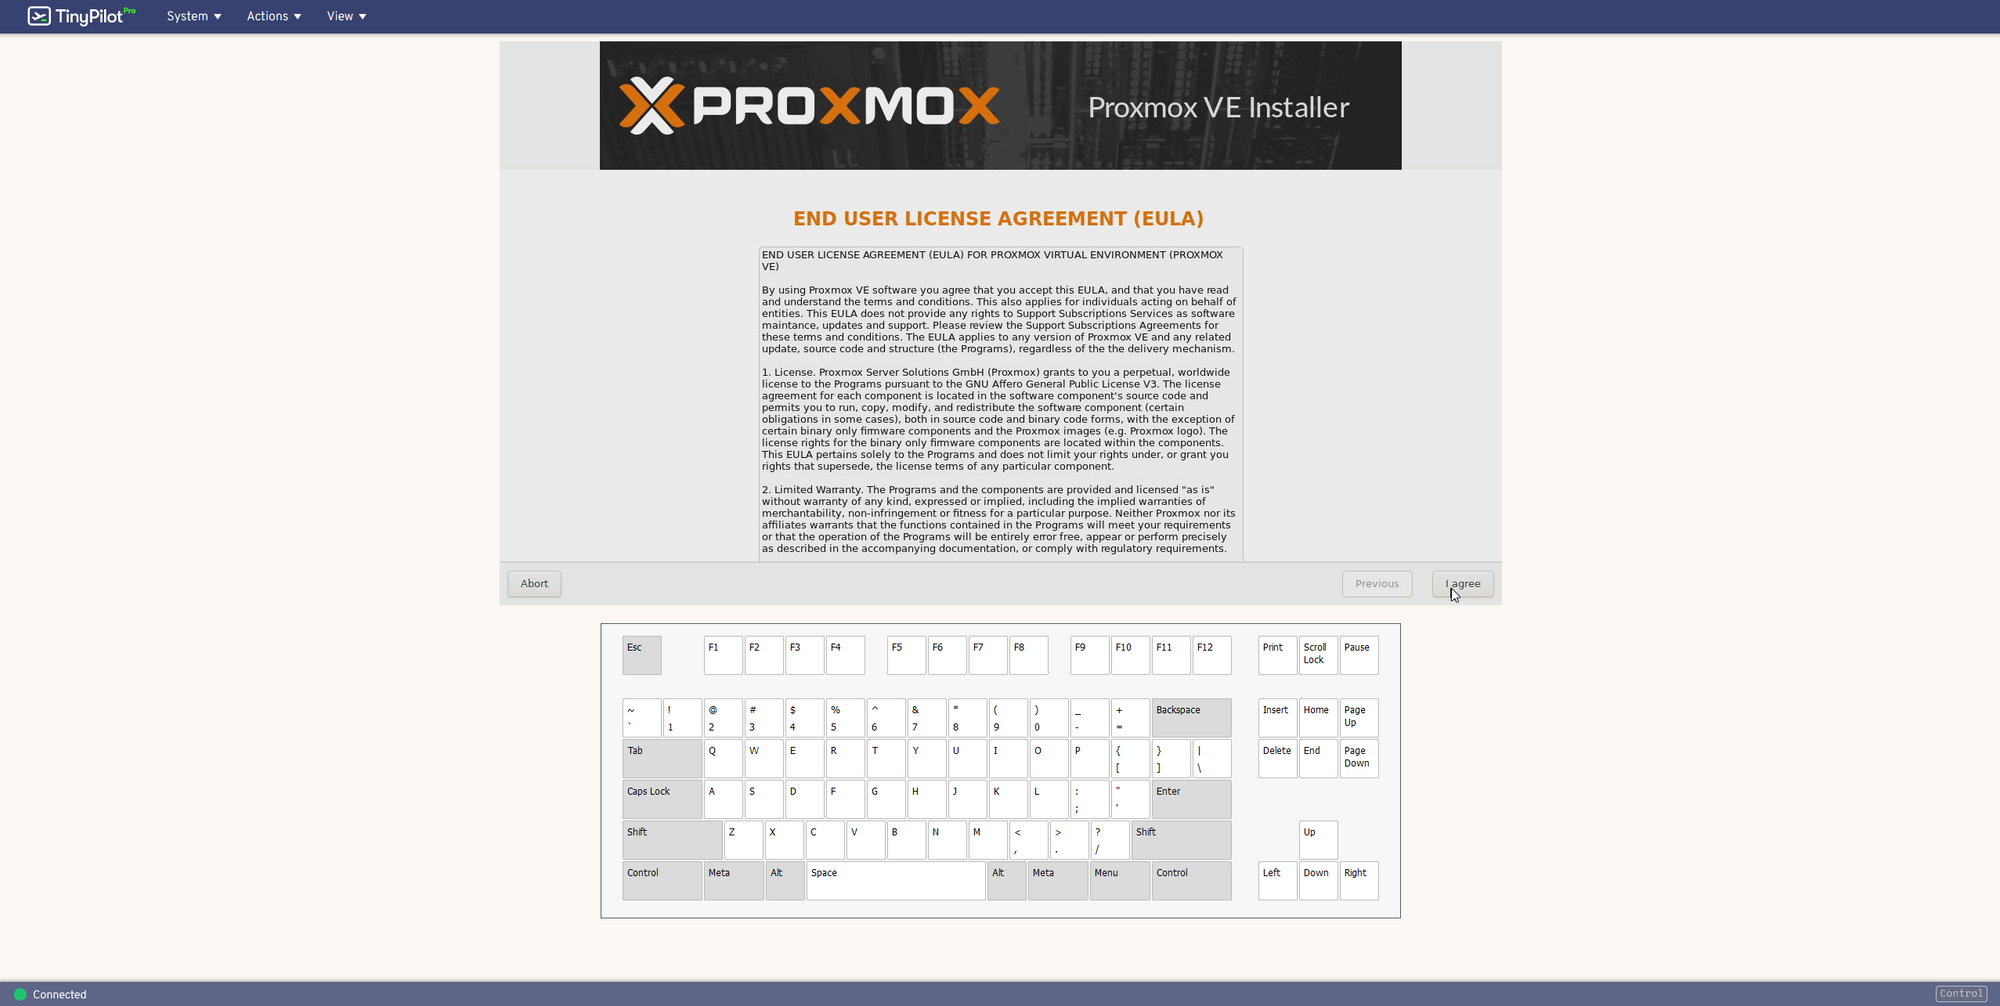
Once the update was complete, I dove right in. I was able to easily install Proxmox version 7 onto my machine virtually using the TinyPilot Voyager 2. I uploaded the Proxmox image file directly to the TinyPilot Voyager 2 utilizing the Virtual Media tool. The cool thing about this was I was able to upload Proxmox 7 straight from the download URL from the Proxmox website onto the TinyPilot Voyager 2. This eliminates the need to download the file then upload it.
When the media is added you can simply mount it and boot from it similar to booting from a USB drive. But here, TinyPilot does all the work and acts as the attached media.
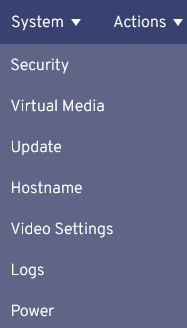
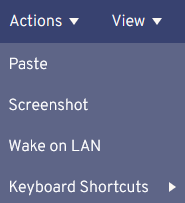
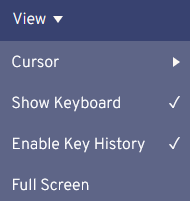
Here you can see all of the other features and options of the TinyPilot Voyager 2 that are on the web GUI navigation bar.
Why use TinyPilot over Remote Solutions?
This begs the question. Why use TinyPilot over something like MeshCentral? Remote tools like MeshCentral are software based and you can only control systems that are fully booted with the OS running and with network access. So you can’t use MeshCentral to do something like install a new OS or change BIOS settings. The same is true for all software-based remote administration tools (RDP, VNC, TeamViewer, etc.).
TinyPilot controls the target computer with hardware rather than software. That means it doesn’t require you to install anything, and TinyPilot works from the second you turn on the target computer. You can use TinyPilot to install a new OS on the target, change BIOS settings, or repair its network configuration. You have the same access you’d have if you were physically sitting in front of the target machine.
If you wanted to take it a step further, you can lock down your TinyPilot with built in authentication. Then, if you love living life on the edge, you could expose this over reverse proxy. I'd suggest using a tunnel though. Whether it be VPN or Cloudflare Zero Trust.
Final Notes and Thoughts
Currently, you can't find raspberry pi's anywhere in stock and there are competing brands that sell either way over or around the same price point.
Most other KVM over IP solutions are Enterprise-focused so they have tons of other settings that are irrelevant to the typical user. Many commercial KVM over IP solutions still depend on old versions of the JVM, which is a security nightmare. TinyPilot is plug and play and pure HTML5, so you just plug it in to the target computer and start using it.
My biggest issue was deciding what machine to plug the TinyPilot Voyager 2 into. Since pi's in general are so scarce, it was a big decision and as you already know, I decided to use it on my headless Proxmox host. The same host that runs this very website. I transferred all of my containers over to another Proxmox host and updated to a fresh install of Proxmox 7. The TinyPilot Voyager 2 made the process much easier so I didn't have to hunt down another monitor, keyboard and mouse.
Is it worth it?
If you are looking for a plug and play KVM over IP solution that is very competitively priced with easy-to-use features, then yes! And what better way to support an amazing open source project? I can highly recommend the Voyager 2 to any homelab enthusiast looking for a KVM over IP.


Discussion