

This product was sent to us for review. If you want to pick one up for yourself - TinyPilot
After testing the TinyPilot Voyager 2a PoE model for several weeks here is what I have experienced and what I think of it.
Design
Let's first talk design, this is a well-thought-out product and feels very polished and like it belongs in a data center and not sitting on my desk connected to my home lab. The case is a black anodized metal with all the ports labeled in white. It is compact enough that I haven't even noticed it sitting right next to my Intel NUCs.
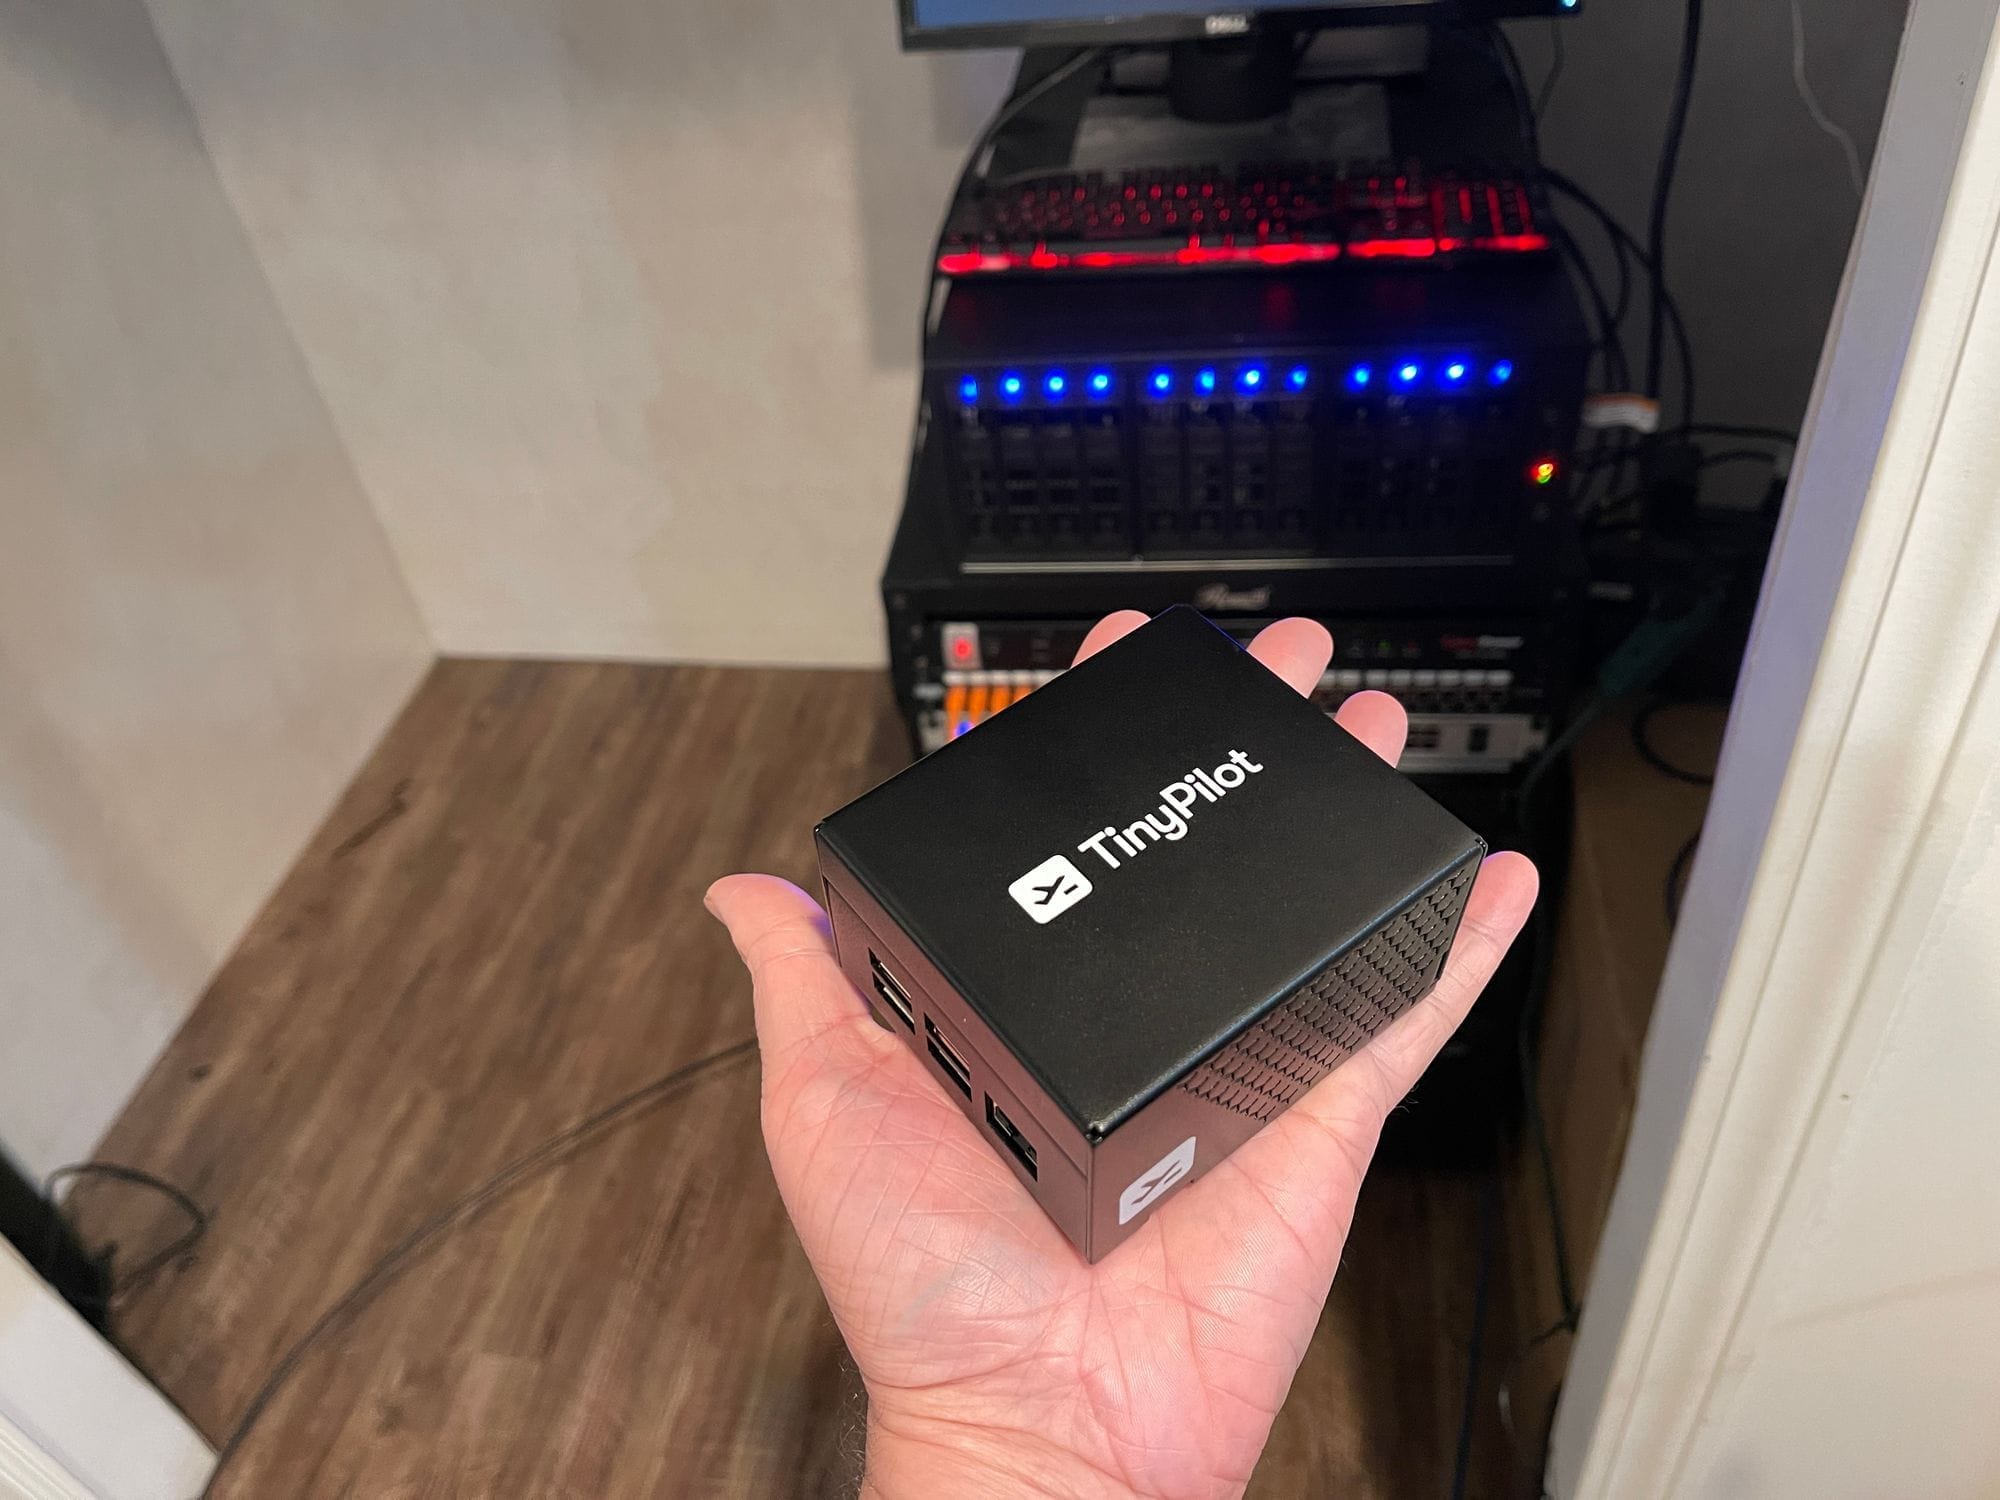
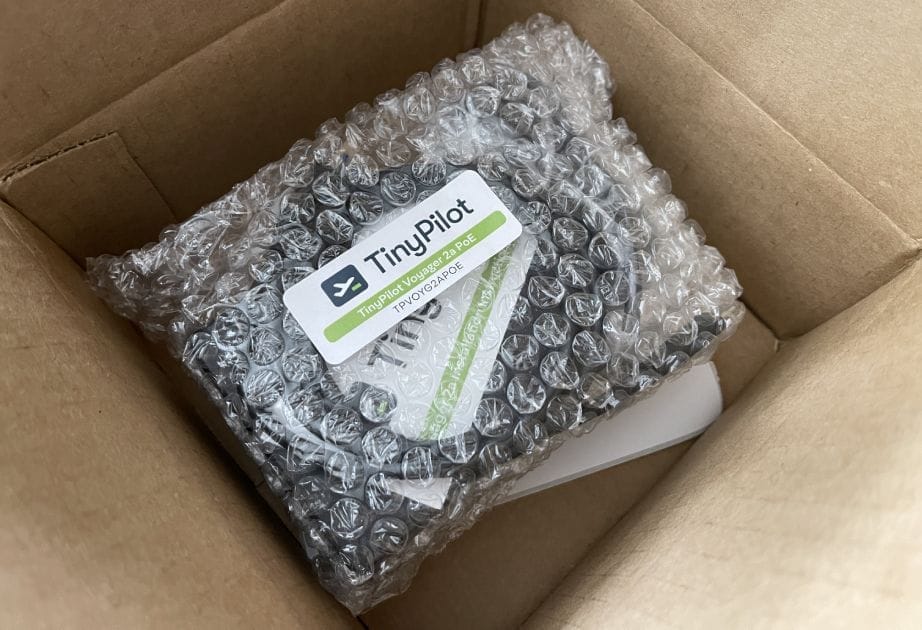
Getting this device up and running was an even bigger surprise. It shipped with everything needed to connect to one of my computers. Once all that was done I simply plugged it into my PoE switch and I was off to the races.
Interface
Once logged into the web interface I was in heaven. The layout and design are just simple. There is not a lot of extra stuff just for the sake of adding stuff. With the expectation of a few tasks, there is no reason to need to leave the web interface. We are presented with 4 menu options System, Actions, View, and Help.
Under the System, we have the following options.
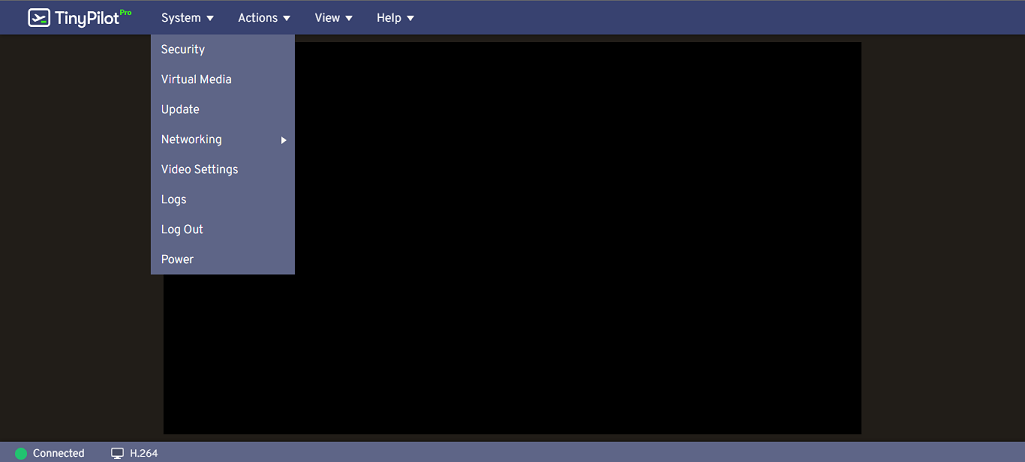
Security, which enables you to set a username and password, add multiple users, enable SSH access directly to the system (this is disabled by default), and an option to require encrypted connections (disabled by default). Virtual Media, which would be used to have disk images or other files loaded on the TinyPilot to share through the connection. Update, which is used to check for new updates. Network, where you can change the hostname and get instructions on how to set a static IP. Video, where you can adjust between streaming with MJPEG or H.264. Then there is a spot to look at logs, log out, and power.
Under Actions, we have the following options.
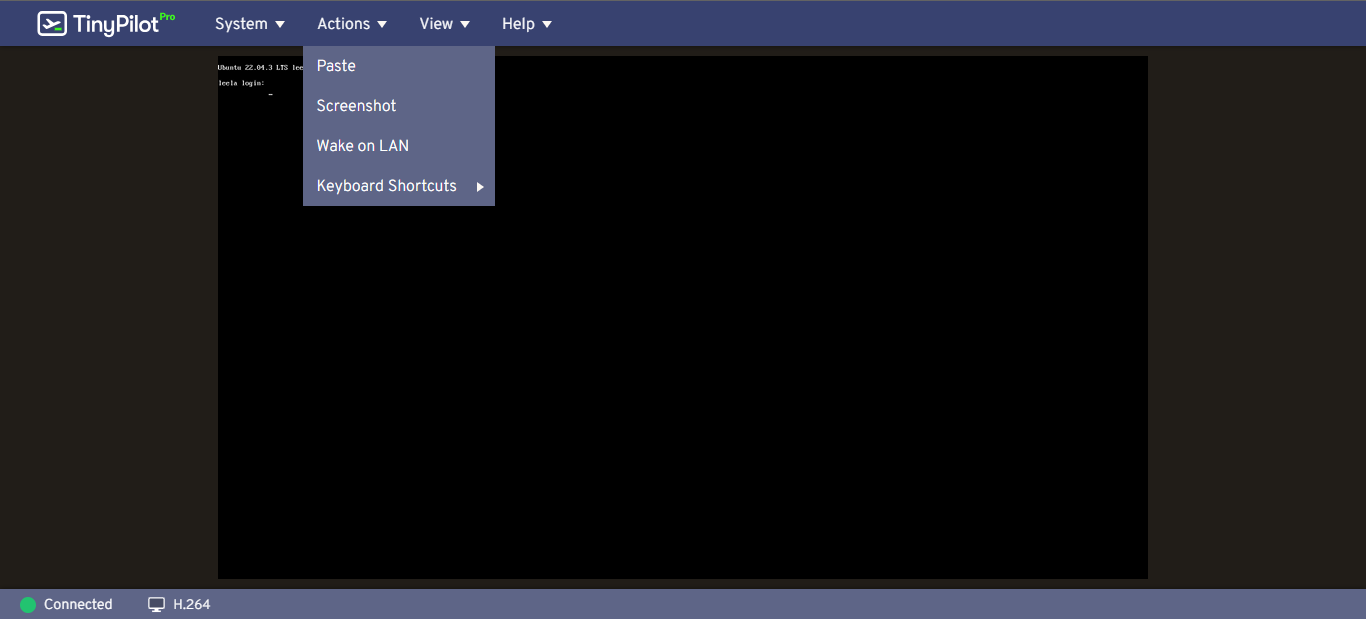
Paste, Screenshot, Wake on LAN, and keyboard shortcuts. Keyboard shortcuts currently only have the option to send Ctrl-Alt-Del to the connected system.
Under View, we have the following options.
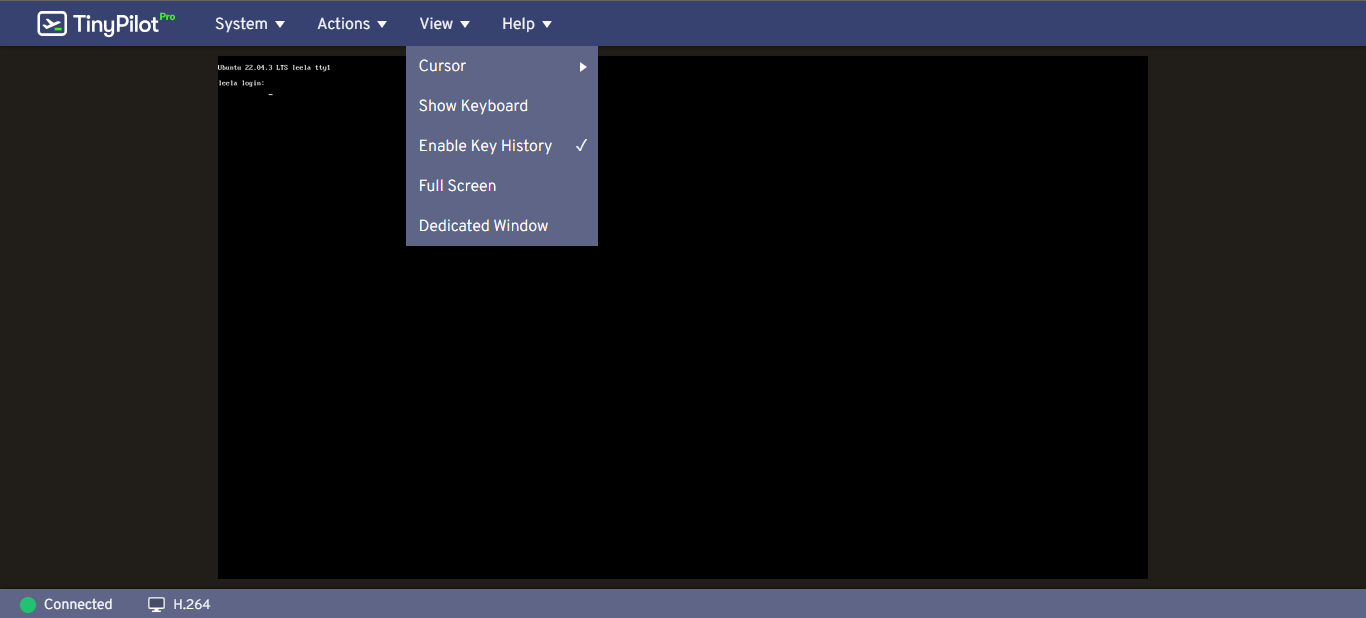
Cursor, which gives you different options to show. As I have my box connected to a headless server I do not have any cursor on the system. Next, you have the option to have an on-screen keyboard, enable key history, full screen, and a dedicated window.
Under Help, we have the following options.
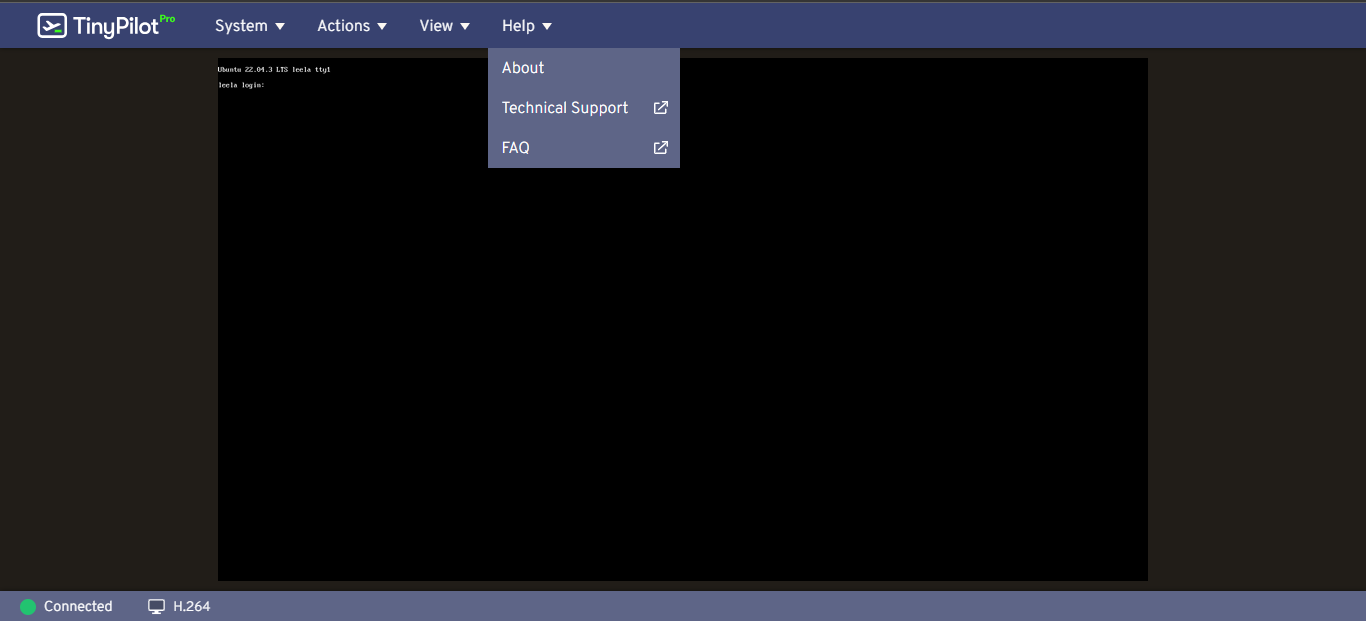
About, which lists information of version, website link, license link, and a link to the privacy policy. It also has a list of thanks to people and software that has made this possible. Next, we have two options which take you to either the technical support or the FAQ section of the website.
Complaint
My only complaint is you can't adjust the screen resolution that the TinyPilot is displaying. This was discovered when I was working in the CLI and I was unable to read text at the very bottom of the screen while editing stuff with Nano. This may be due to a video setting on the host and not the Tiny Pilot but I haven't looked into it.
Bonus
While waiting for this device to arrive in the mail I was looking on the GitHub, technical support section, and just generally researching the product when I stumbled across this nugget. Which has a link to GitHub where it links to additional expandability and uses one TinyPilot with an external KVM. This allows you to have one TinyPilot connected to multiple systems and well I just had to. I ordered a 4 port KVM from the list(this) and some additional HDMI cables(these) and waited.
After moving the data cable and the HDMI cable to the correct ports on the External KVM and routing the HDMI cables and USB cables to the servers to my pleasant surprise everything worked. I am now able to see all my NUCS from my desktop computer while they boot up.
Overall Thoughts
I would recommend this to anyone wanting to have remote access to their headless servers should you need to see what is going on during boot or in my case while the system is not booting up correctly and make a fix. It is so much easier having everything plugged into this device versus pulling out a mouse, keyboard, and monitor anytime I need to modify the system directly on the host.


Discussion