

"wg-easy" is a Docker image that provides a simple way to set up and manage WireGuard VPN connections.
What is Wireguard ?
Wireguard is VPN protocol that's faster, more secure, and easier to use than traditional VPN solutions. It allows users to create secure, point-to-point connections over the internet and is often used to protect network traffic and access resources that are on your home network without the need to open ports!
What is wg-easy ?
The "wg-easy" Docker image is designed to simplify the process of setting up and managing WireGuard connections by providing a pre-configured environment that includes all the necessary components, such as the WireGuard kernel module, the wg-tools package, and a web-based interface for managing VPN connections.
To use the "wg-easy" Docker image, you will need to have Docker installed on your system and then pull the image from a Docker registry.
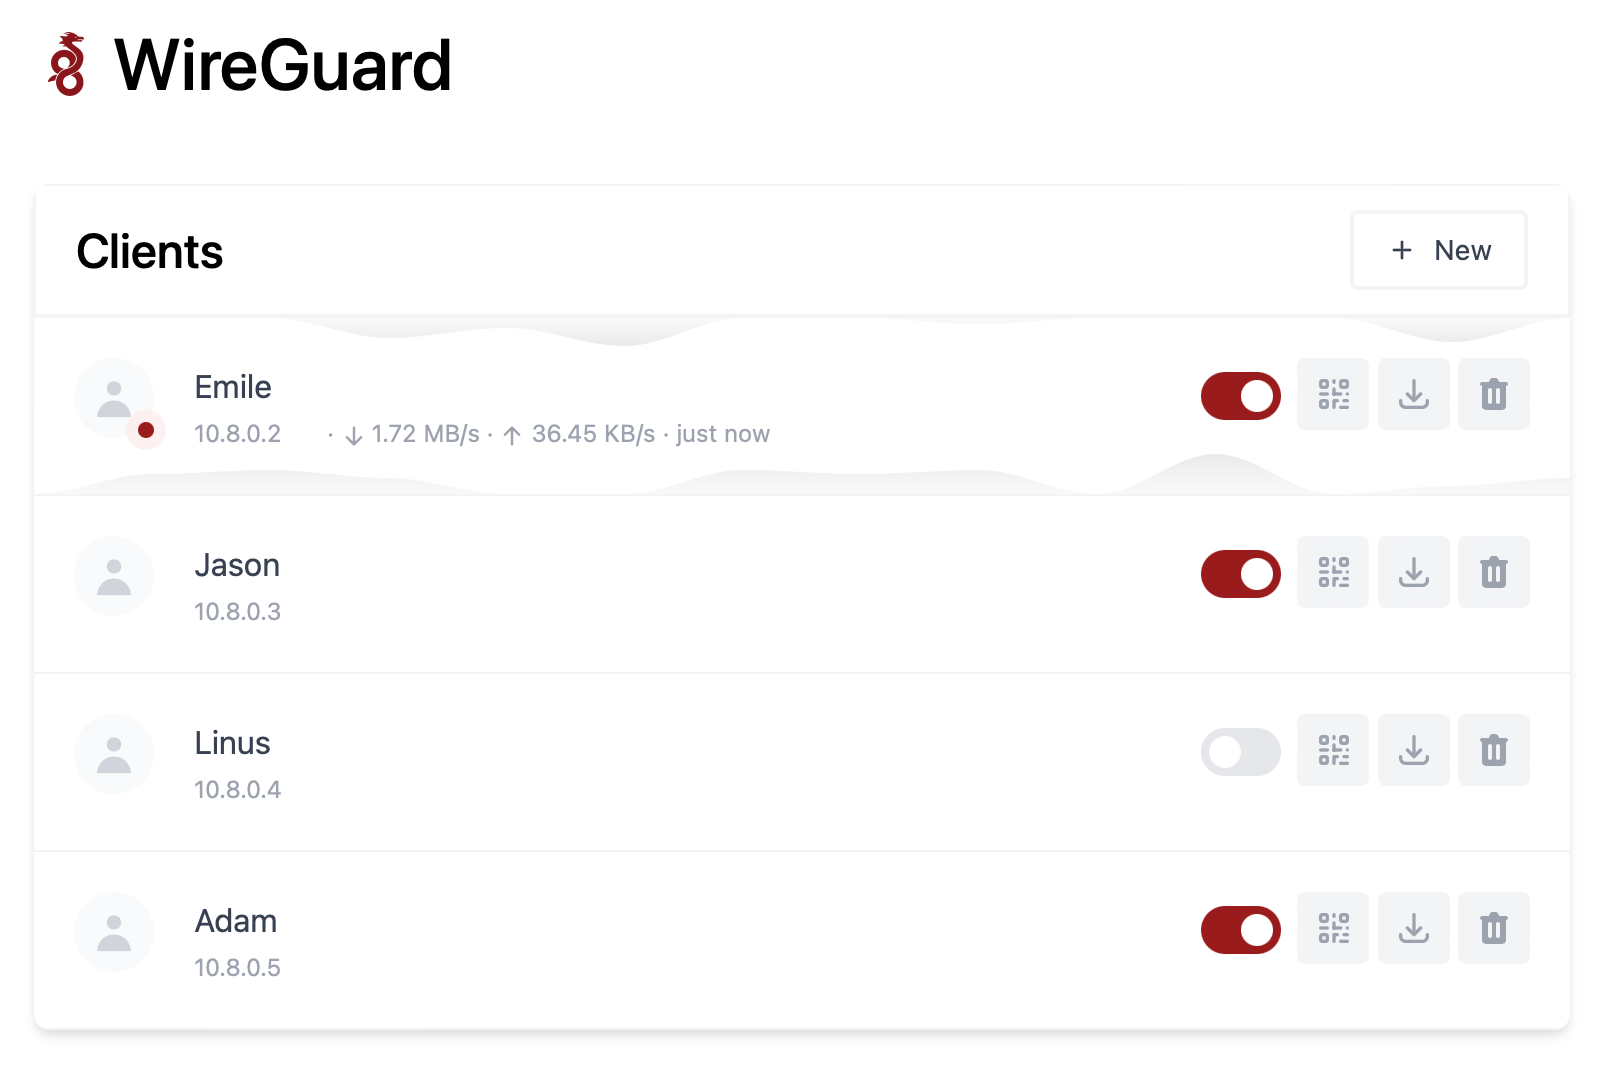
Once you have the image, you can run it as a container and start configuring your VPN connections using the provided web interface or command-line tools.
Installation
Docker run :
docker run -d \
  --name=wg-easy \
  -e WG_HOST=YOUR_SERVER_IP \
  -e PASSWORD=YOUR_ADMIN_PASSWORD \
  -v ~/.wg-easy:/etc/wireguard \
  -p 51820:51820/udp \
  -p 51821:51821/tcp \
  --cap-add=NET_ADMIN \
  --cap-add=SYS_MODULE \
  --sysctl="net.ipv4.conf.all.src_valid_mark=1" \
  --sysctl="net.ipv4.ip_forward=1" \
  --restart unless-stopped \
  weejewel/wg-easy
You need to modify the command and adapt it :
YOUR_SERVER_IP= WAN IP or Dynamic DNSYOUR_ADMIN_PASSWORD= Password for Web UI
Docker compose :
version: "3.8"
services:
  wg-easy:
    environment:
      # ⚠️ Required:
      # Change this to your host's public address
      - WG_HOST=
      # Optional:
      - PASSWORD= [ADMIN PASSWORD]
      # - WG_PORT=51820
      # - WG_DEFAULT_ADDRESS= 10.8.0.x
      # - WG_DEFAULT_DNS=
      # - WG_MTU=1420
      - WG_ALLOWED_IPS= [SUBNET]/[MASK]
      # - WG_PRE_UP=echo "Pre Up" > /etc/wireguard/pre-up.txt
      # - WG_POST_UP=echo "Post Up" > /etc/wireguard/post-up.txt
      # - WG_PRE_DOWN=echo "Pre Down" > /etc/wireguard/pre-down.txt
      # - WG_POST_DOWN=echo "Post Down" > /etc/wireguard/post-down.txt
    image: weejewel/wg-easy
    container_name: wg-easy
    volumes:
      - /storage/path/ofyour/choice:/etc/wireguard
    ports:
      - "51820:51820/udp"
      - "51821:51821/tcp"
    restart: unless-stopped
    cap_add:
      - NET_ADMIN
      - SYS_MODULE
    sysctls:
      - net.ipv4.ip_forward=1
      - net.ipv4.conf.all.src_valid_mark=1
You need to define the :
PASSWORD: Admin web UI passwordWG_ALLOWED_IPS: your home subnet, this will allow your VPN clients to reach your lan (ex : 192.168.1.0/24]
Github Link.
Remember you need to open 51820/UDP on your firewall for the magic to happen.
Self-hosting WG-easy can provide several benefits, including increased control, privacy, and security. By hosting your own VPN server using WG-easy, you can have complete control over your network and data, as well as the ability to customize the server to meet your specific needs. Self-hosting can offer increased privacy, as you are not relying on third-party VPN providers to protect your data. By using WG-easy's strong encryption and security protocols, you can be confident that your data is protected from outside threats.


Discussion