

Ever wondered how to access websites like Wikipedia when you're offline? Enter ZIM files, your go to solution. Today, we'll take a closer look at what ZIM files are, how to convert a website using a free tool, then serve it up using Kiwix Serve.

What is a Zim File?
A ZIM file is a digital format used to store information from websites like Wikipedia so you can access it without needing an internet connection. It's created by the openZIM project and can be read with a program called Kiwix. The name "ZIM" comes from "Zeno IMproved." To save space, it uses compression techniques like the XZ Utils library and Zstandard. It's supported by organizations like Wikimedia CH and the Wikimedia Foundation. So, it's a way to keep website data on your device for offline use.

The Purpose
To begin, it's important to underline that at Noted, we firmly stand behind the belief that access to knowledge is a fundamental human right. (cats count too) This belief is at the core of Kiwix, a non-profit organization and a free, open-source software project committed to providing offline access to educational content. This is why we provide public archives of Noted that can be downloaded as ZIM files.

Zimit: The Tool
Zimit is a tool that can turn a website into a .zim file. It works by running a special kind of website scan inside a Docker container.
Zimit uses a system called Browsertrix Crawler to do the website scan. Once it has all the website's data, it converts it into a .zim file using a tool called warc2zim. To start the task, you use a file called zimit.py that orchestrates the entire process making it easier to manage.
After the scan is finished, Zimit saves the .zim file in a folder called /output. This folder can be easily accessed and used for your needs. If you want to keep the original data from the website scan, you can use a special option called --keep, which stores it in a temporary folder inside /output.
To install and run Zimit, you can easily do it by following the well written and simple instructions here.
docker run \
  -v /docker/backups/zims:/output \
  --shm-size=1gb \
  ghcr.io/openzim/zimit \
  zimit --seeds https://noted.lol \
        --name noted.lol-backup \
        --workers 2 \
        --waitUntil domcontentloaded
Here’s a clean breakdown of the command:
docker run– Runs a container based on a Docker image.-v /docker/backups/zims:/output– Mounts a local folder to the container so Zimit can save the.zimfile to your host.--shm-size=1gb– Allocates 1 GB of shared memory for the container to handle dynamic content.ghcr.io/openzim/zimit– The Docker image containing Zimit.zimit– The command inside the container to start Zimit.--seeds https://noted.lol– The starting URL for the crawl.--name noted.lol-backup– The name of the resulting.zimfile.--workers 2– Number of parallel threads used for crawling.--waitUntil domcontentloaded– Waits for the page’s main HTML to load before capturing content.
You can change the "--seeds" to the website you want to archive. Depending on the size of the site, images etc., it could take up to 10 minutes to complete. Once finished, you will find your .zim file in the /docker/backups/zims folder.
I recommend you have a machine with at least 2gb of ram, 2 CPU cores and enough space to house your .zim files. I run Zimit on a LXC container with these specs and it works really well.
Kiwix Server: The Messenger
Kiwix Server acts like a web server that can host .zim files. It lets you share these .zim files using the HTTP protocol, but just within your own local network. You can choose how you want to serve the .zim files over on the Kiwix applications page.
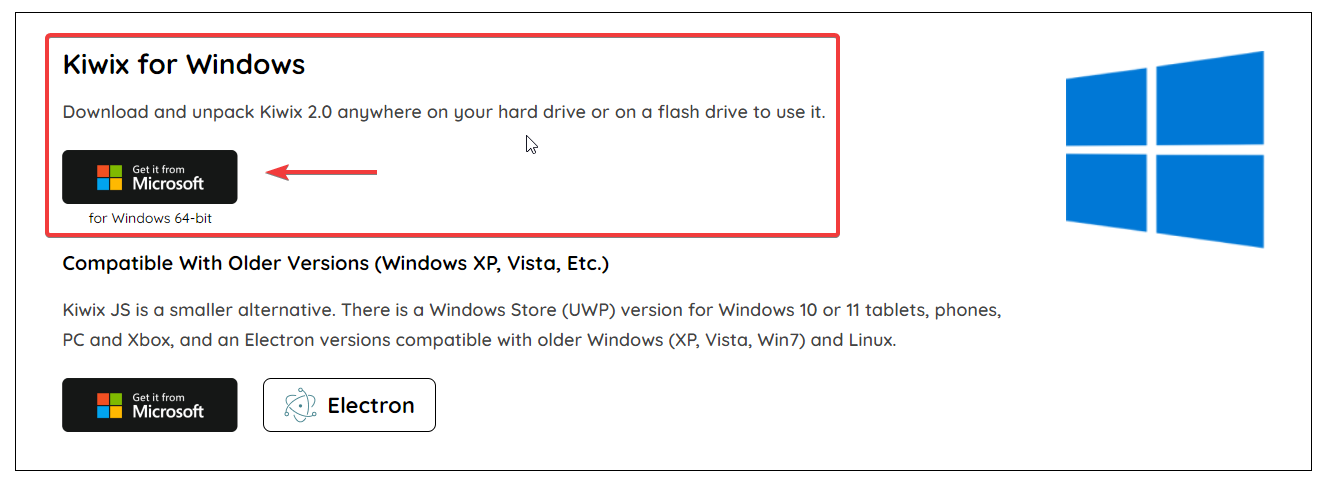
Windows - To serve up the ZIM file locally on Windows, you can use Kiwix Server.
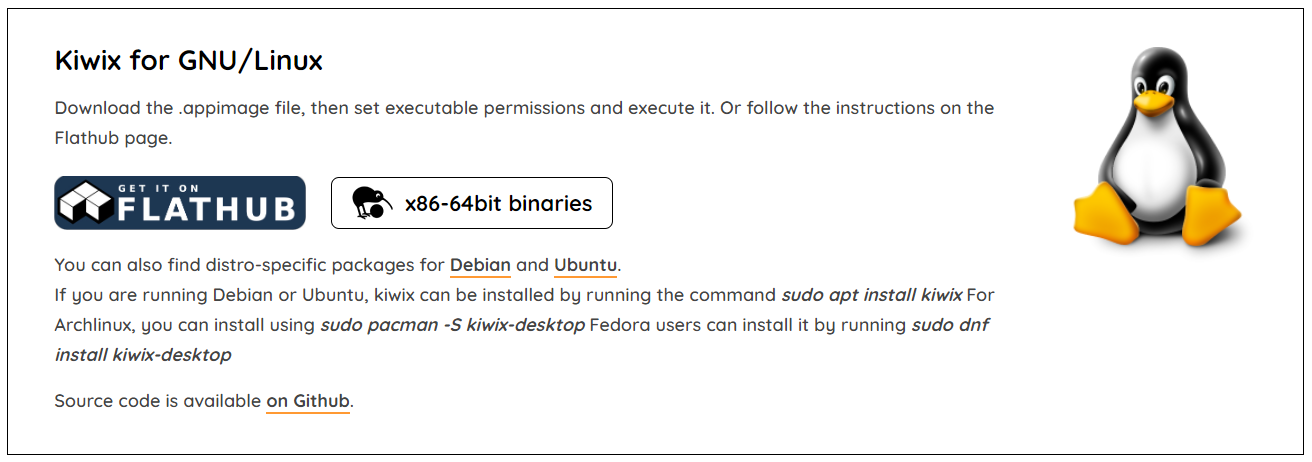
Linux - For Debian, there are binaries you can download. First, get the .appimage file and make it executable by adjusting its permissions. Then, simply run it. Alternatively, you can check out the instructions on the Flathub page for guidance.
Docker - Docker is also an option and can be ran locally. However, if you try to run it in a VM or container over anything other than localhost, you may run into HTTPS errors.

As I mentioned, you can run it on your own computer using Docker. However, if you want to use a virtual machine (VM) or a different method than just your computer, you'll need to make it accessible over HTTPS through a reverse proxy. But, honestly, that kind of takes away the whole idea of offline viewing!
Here is a working Docker Compose using the official Kiwix latest Docker image.
version: '3.3'
services:
  kiwix-serve:
    image: ghcr.io/kiwix/kiwix-serve:latest
    volumes:
      - /docker/output:/data
    ports:
      - '8080:8080'
    command:
      - '*.zim'
This assumes your .zim files are located in /docker/output. It's a good idea to mount this folder to the same place you mounted the Zimit output.
Testing Kiwix Server
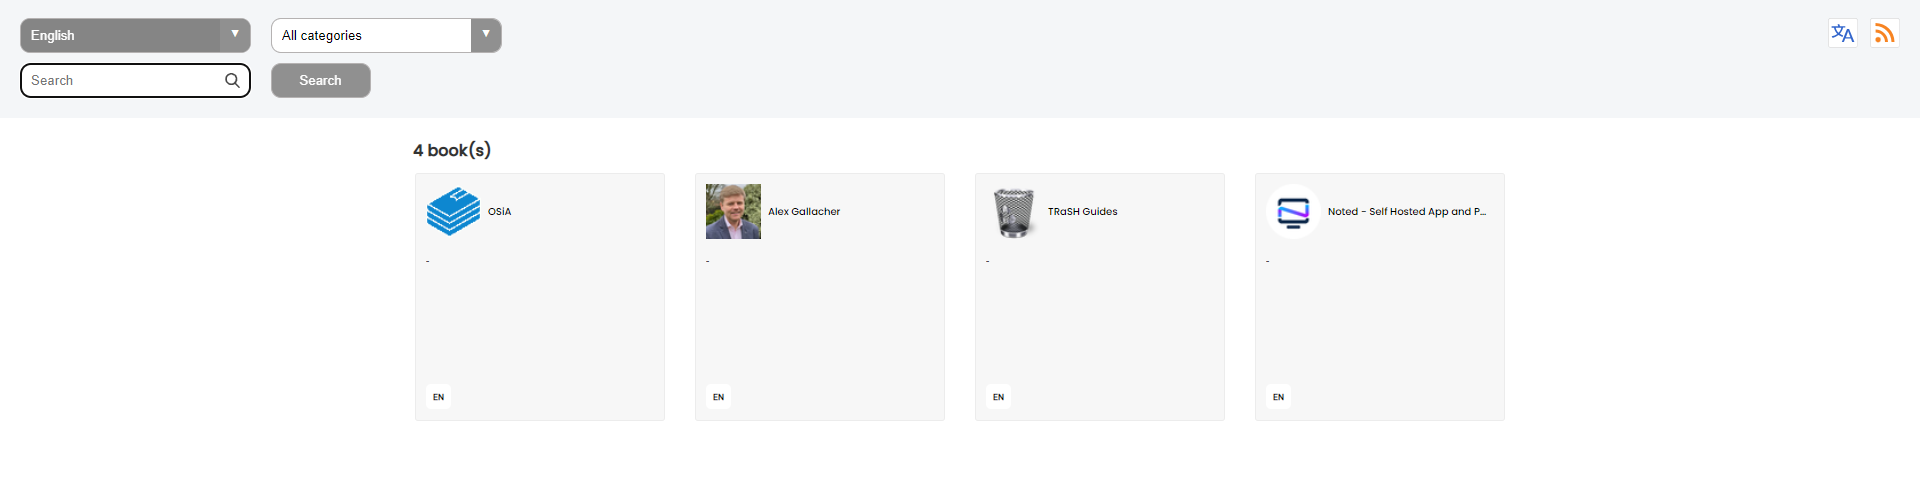
I scraped a couple websites and smaller wiki's of people I like to follow and was impressed with how it turned out. Zimit makes a carbon copy of the entire website that you can browse and search all locally.

Final Notes and Thoughts
Once you realize how easy it is to transform websites into .zim files with Zimit, you might find yourself naturally inclined to save more. This fantastic tool is going to be our not so secret weapon for preserving Noted for the generations ahead. With it, we can ensure that the wealth of information and knowledge contained within our publication remains accessible and ready to stand the test of time.
The creators of Kiwix reached out to me and have created an archive of Noted.lol using this same process. You can see their archive as an example.
If you find this application valuable or would like to explore further information, I encourage you to visit the Zimit GitHub repository and give the project a star.


Discussion