

Imagine all the photos you never get to see that other people are taking at your wedding, graduation party or other events. This idea will not only let people know you want those photos, but also encourage people to take photos at your event using their mobile phones.
Most people will hire a photographer for weddings regardless. However, mobile phone cameras are only getting better and people love to take videos and photos at events so why not encourage those folks to upload the photos they take to your self hosted server?
How to encourage people to take photos at weddings and events?
A sign with a photo of the couple getting married with a small blurb like "We encourage you to take photos with your mobile phones! If you do, please upload them here. No login is required!" then you can place a large QR code that links to the upload page hosted on your server. "Use your phone camera to scan this QR code then go to the website and upload your photos!"

You may even want to place small cards with QR codes on each dining table where food is served because this is usually where people tend to mingle the most.
What FOSS and self hosted file upload app should you use?
For me, it was a toss up between PicoShare and FileGator. But, in the end, I went with FileGator because it can upload directly into a folder of your choice rather than random folders for each file. Each of these options also support guest uploading and that is the most important part of all. People don't have to log in to upload their photos and videos. While I wouldn't recommend this on a larger, permanent scale, this will be fine for events as it is only temporary.
Setup FileGator
To get an instance of FileGator setup, you'll need a dedicated computer or VM/LXC. I am using Proxmox with Docker Compose. You can use the following FileGator Docker Compose example.
version: '3.3'
services:
    filegator:
        container_name: filegator
        ports:
            - '5517:8080'
        volumes:
            - /docker/filegator/images:/var/www/filegator/repository
            - /docker/filegator/conf/configuration.php:/var/www/filegator/configuration.php
        restart: always
        image: 'filegator/filegator:latest'
Before running the stack, be sure to create a configuration.php file and place it where you plan to mount the volume. Also, you may need to give the folder proper permissions.
Prepare FileGator and your Domain
Once FileGator is setup, you will want to go and give the guest account permission to upload to the server. It's important to note here that giving the guest "Write" access is NOT the same as "Upload". Write access will allow guests to delete, copy, rename and move files. So be careful not to tick "Write" unless you really want them to have those permissions.

You will also need to expose FileGator on a domain name so people can access it. You can do this by following our Cloudflare Zero Trust guide here.
When you are finished setting up your domain for FileGator, visit a site that will allow you to create a QR code. I am using the CyberChef website for this.
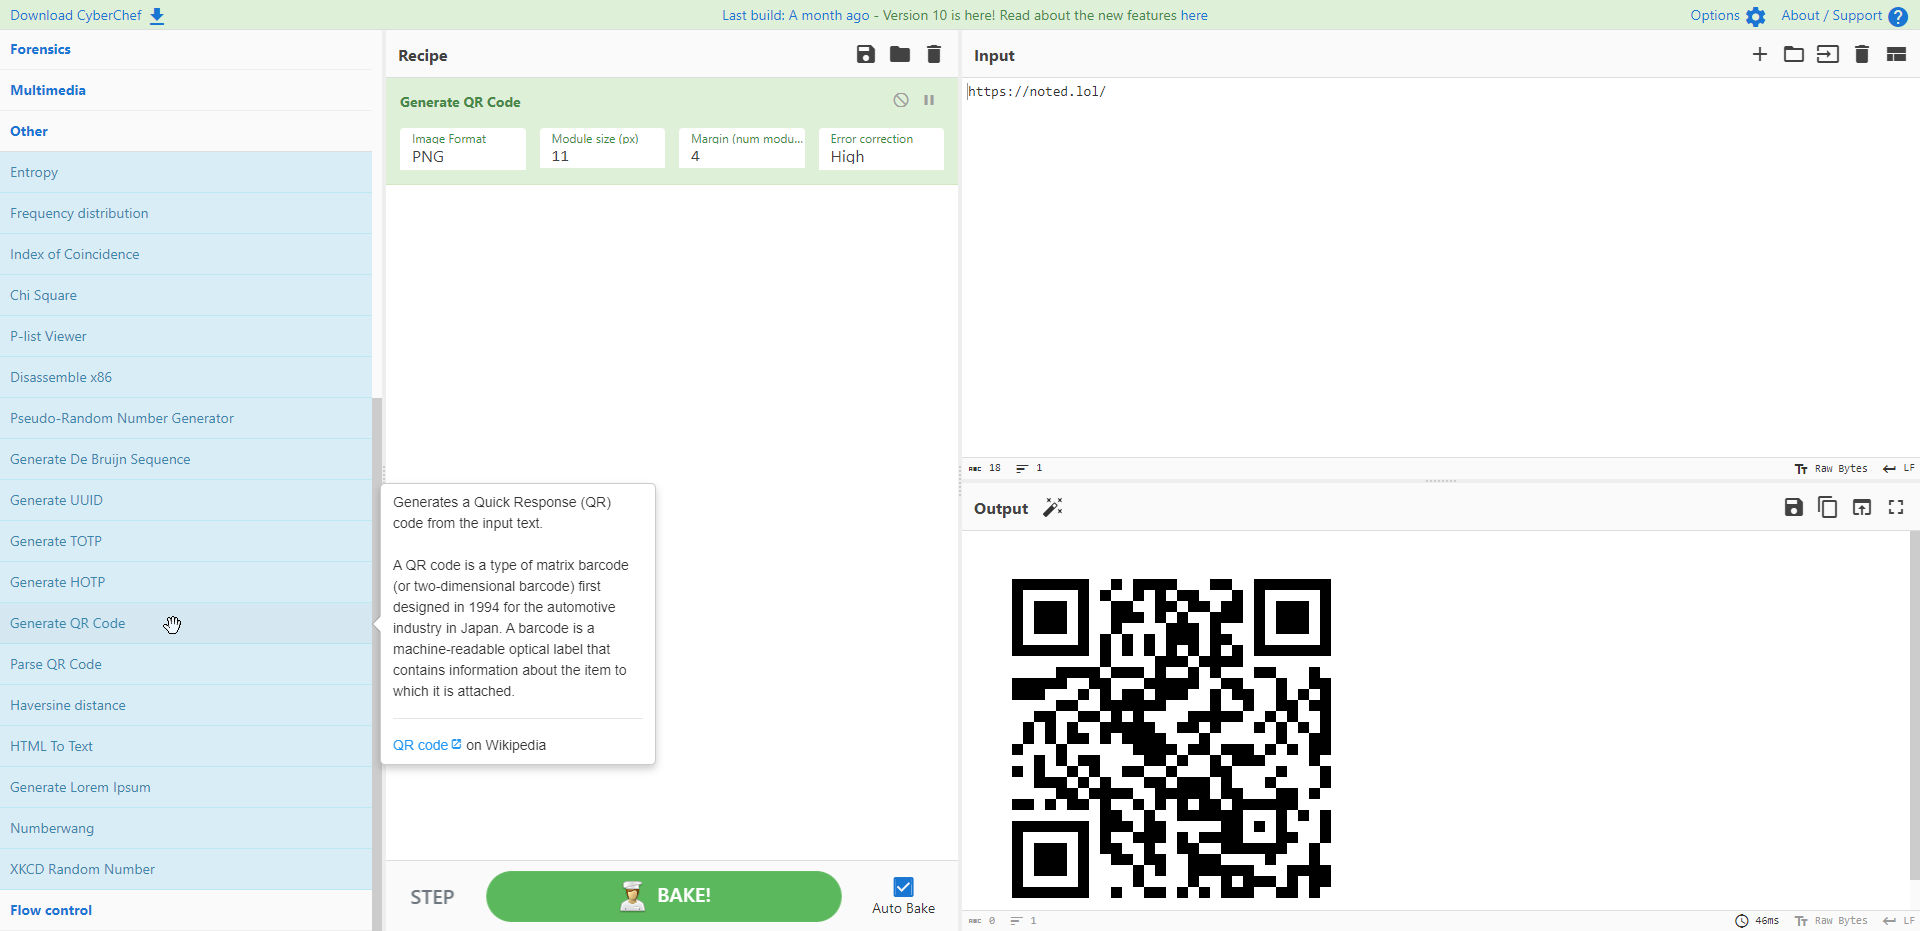
Now you can print your QR code on a poster, cards or whatever you want so people who attend your event can scan it to upload their photos to your FileGator server.
Final Notes and Thoughts
You can go crazy with this and I'm sure you will come up with more creative ideas than I could!
Now you can collect all the photos you would otherwise never get to see! This is a great way to put your self-hosted skills to the test and also show them off.


Discussion