

Cloudflare is a great asset to have regardless if you are hosting a website from home or a 3rd party hosting provider. Today we will be focusing on how to use Cloudflare as our DNS or Domain Name Server. Then, we will take a look at some basic Cloudflare tools to help keep your website from being attacked by bots and malicious attackers.
Table of Contents
Previously, I wrote about how to Self Host a Ghost Blog on Your Homelab Using Docker. If you are looking for a fantastic blogging platform to self host from home, check it out!
I'm going to assume since you are here reading this article that you already have your website setup and ready to go public. Great! Let's get started by purchasing a domain name. I don't want to assume you already have one. 😉

Buy a Domain Name
When you buy your domain name, you may need to wait a few minutes to change the name servers to the Cloudflare name servers. Usually you can do it right away though. So I recommend buying the domain first then go register on Cloudflare.
I recommend Porkbun for domain names. I have been using the Porkbun registrar for about 2 years now and it has been a pleasant experience. I can show you how I do things using their domain panel. Other registrar panels may look much different and or be far more complex to do these next steps to come.
I bought the domain selfhost.blog for this example so I will be using that domain to show you how I do things moving forward.
Register a free account with Cloudflare
Cloudflare allows us to use their name servers so we can obfuscate our home IP. We will also have a wide variety of security tools at our disposal all for free.
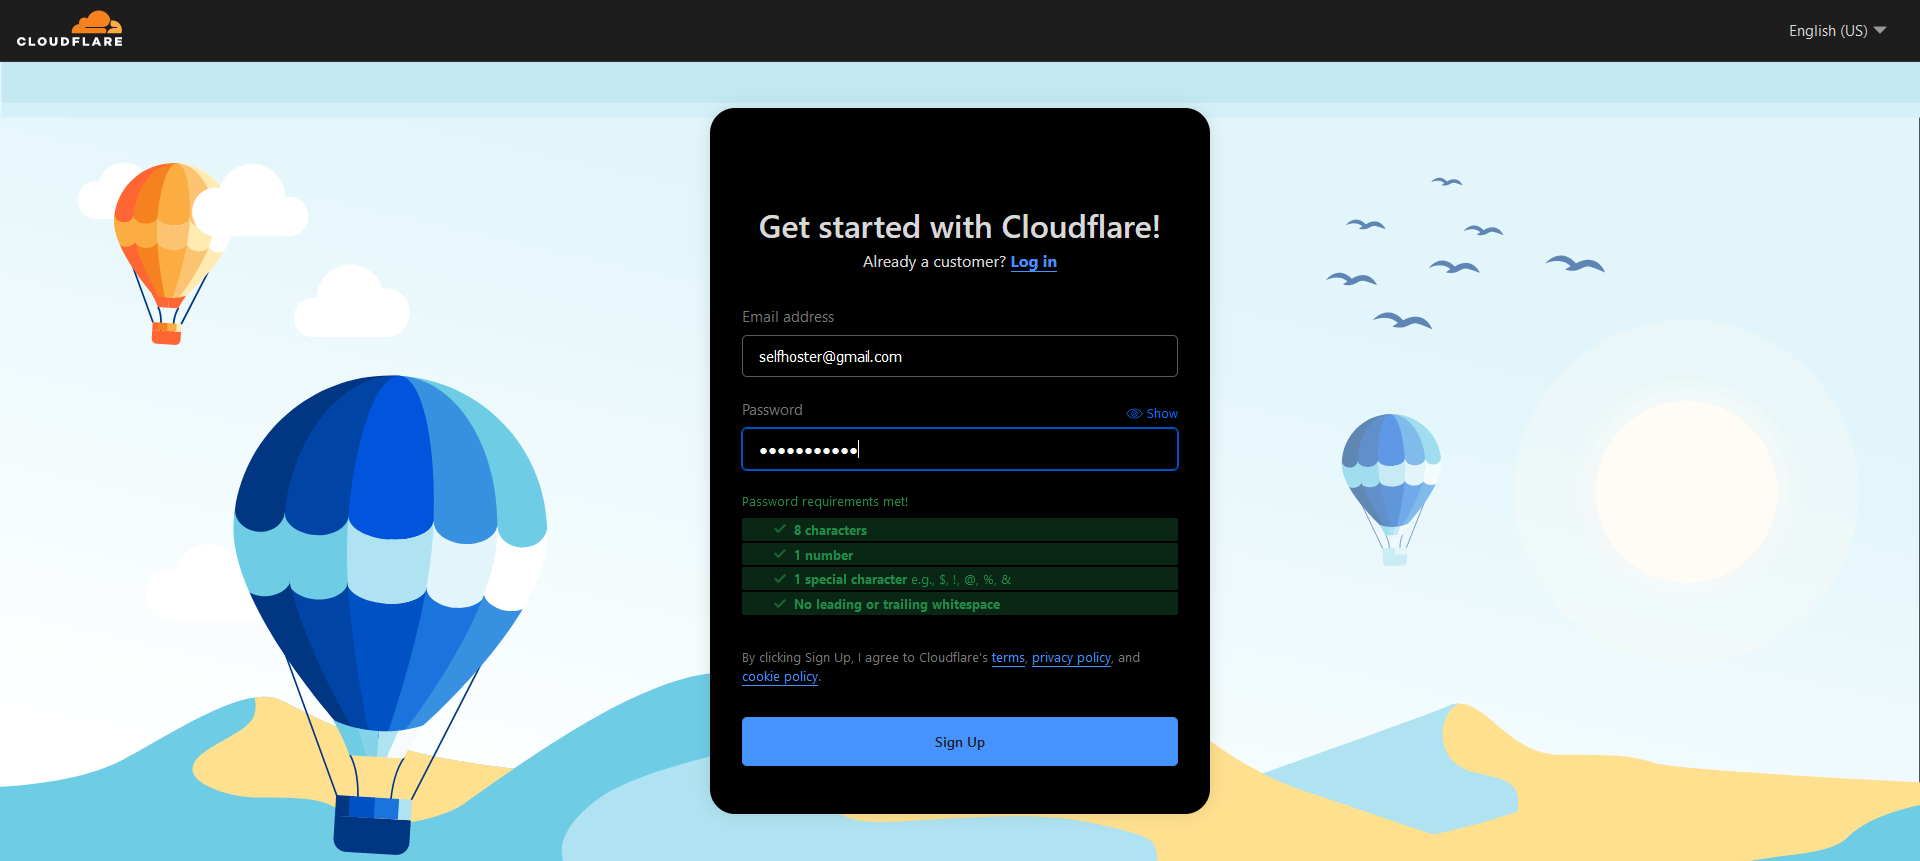
Register an account at Cloudflare. It's free and well worth your while. You will need to verify your email so be sure to use an email you have access to.
Add your site/domain to Cloudflare
Once you get logged in and verify your email, you can now add your domain to Cloudflare. Since I bought my domain from the Porkbun registrar, I will need to do a couple extra steps. First, I will put the dashboard into dark mode!

To add your site just click the "add site" button and add your domain like so. Then scroll down, select the "free" tier and click "continue".
Since I bought my domains from Porkbun, I will need to replace the Porkbun name servers with the provided Cloudflare name servers as seen below.

For me, I will have to take henrik.ns.cloudflare.com and leia.ns.cloudflare.com and place them in the Porkbun dashboard under "Edit Authoritative Nameservers".
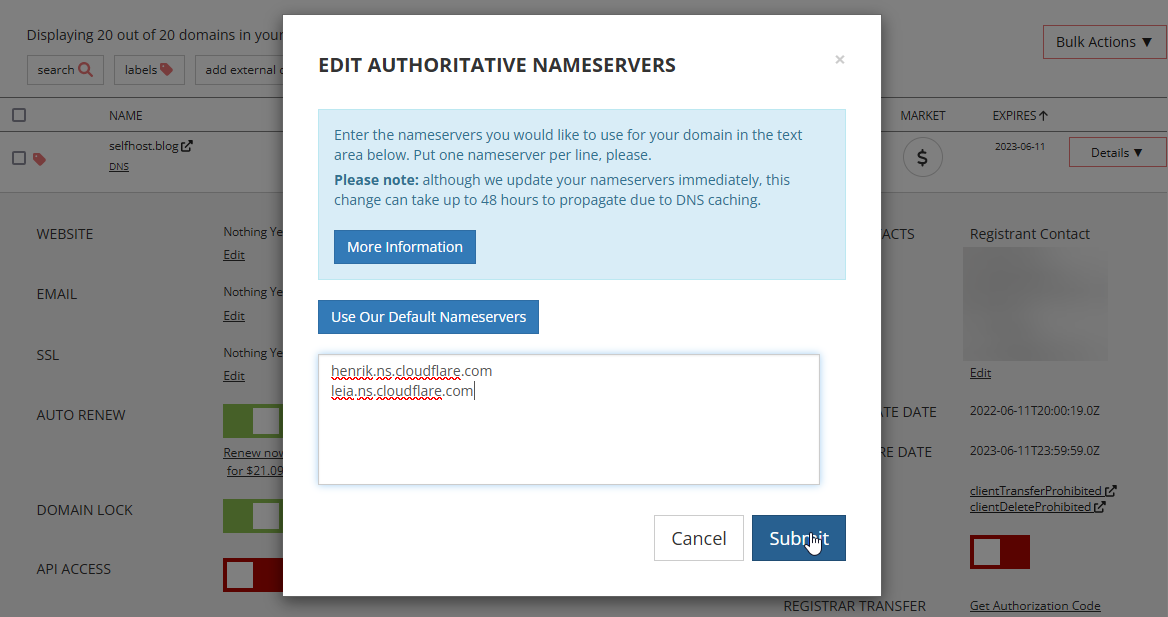
Click submit then go back to the Cloudflare dashboard.
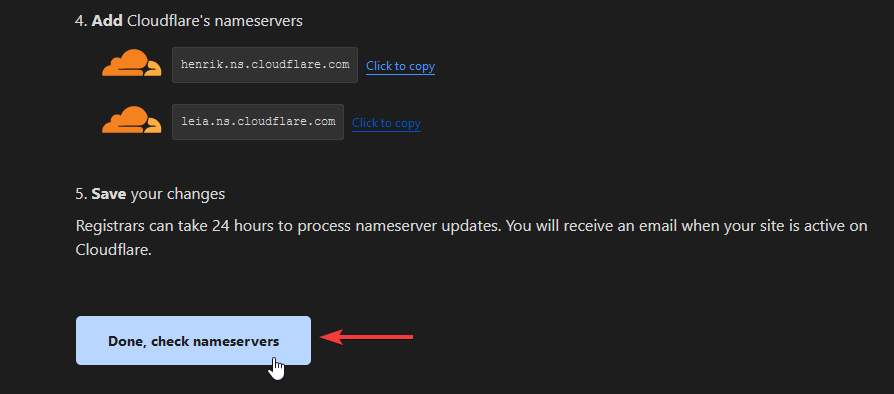
Now you can click the "Done, check nameservers" button and complete the quick start guide.
It's a good idea to enable "always use HTTPS" and the rest are good by default values for now.
At the end of the guide you will be taken back to the name server setup page. You will have to wait about 10-15 minutes depending where you live for Cloudflare to propagate the new name servers. You will get an email when it has been completed so be patient! You will eventually get this email letting you know your domain was successfully activated on Cloudflare.
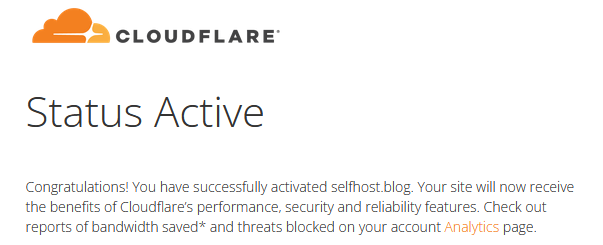
Then you can see in the dashboard overview another message letting you know that you can now control your domain name using Cloudflare.
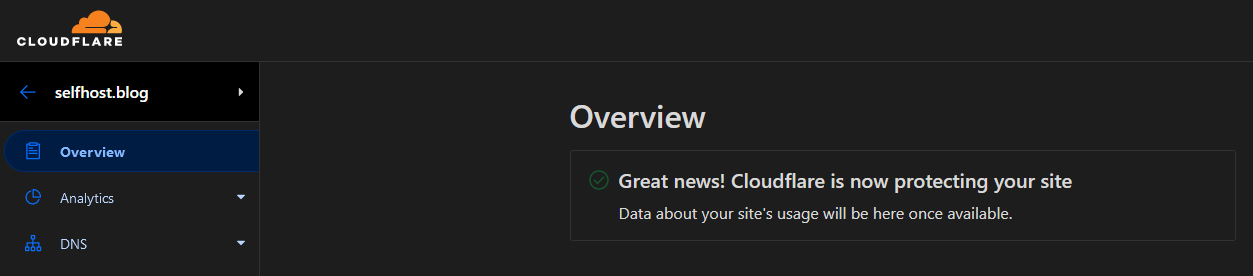
That's really how easy it is to add your domain to Cloudflare DNS. It's free, painless and just simple to setup.
I recommend going into the Cloudflare DNS settings for your domain and clearing out any current Porkbun or other registrar records before you move forward to avoid any confusion. If it's a brand new domain, there shouldn't be much there if anything at all.
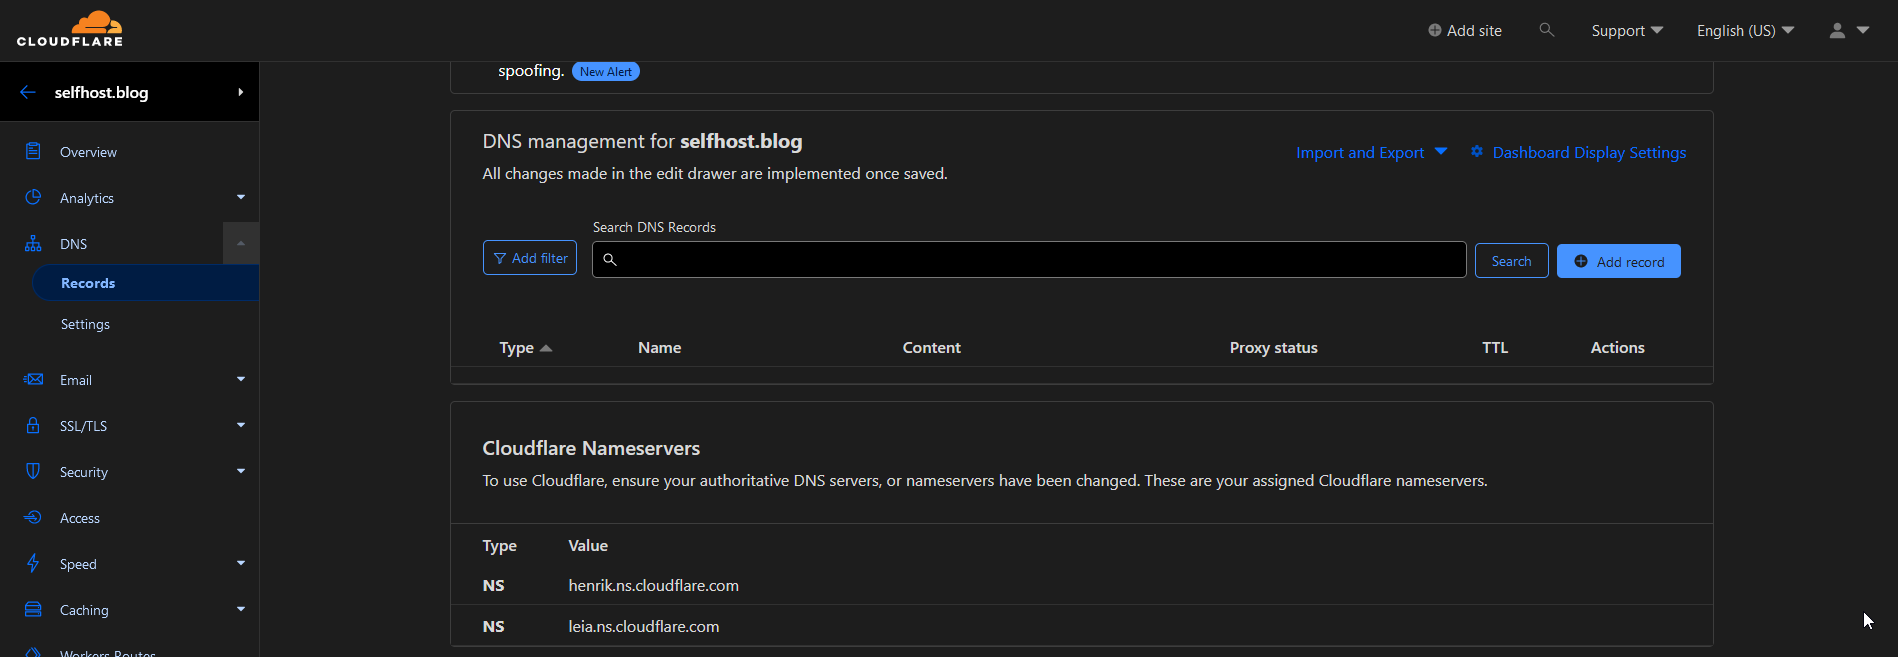
You can see I have no records for my new domain selfhost.blog. All of that will be controlled through Cloudflare Zero Trust.
Next, we will go over setting up Zero Trust to tie your Ghost blog to your domain. We will utilize the Zero Trust Access Tunnel and install the provided Cloudflared agent using Docker.
Cloudflare Zero Trust
This is where things can get a little confusing so stay with me as we move forward full speed ahead.
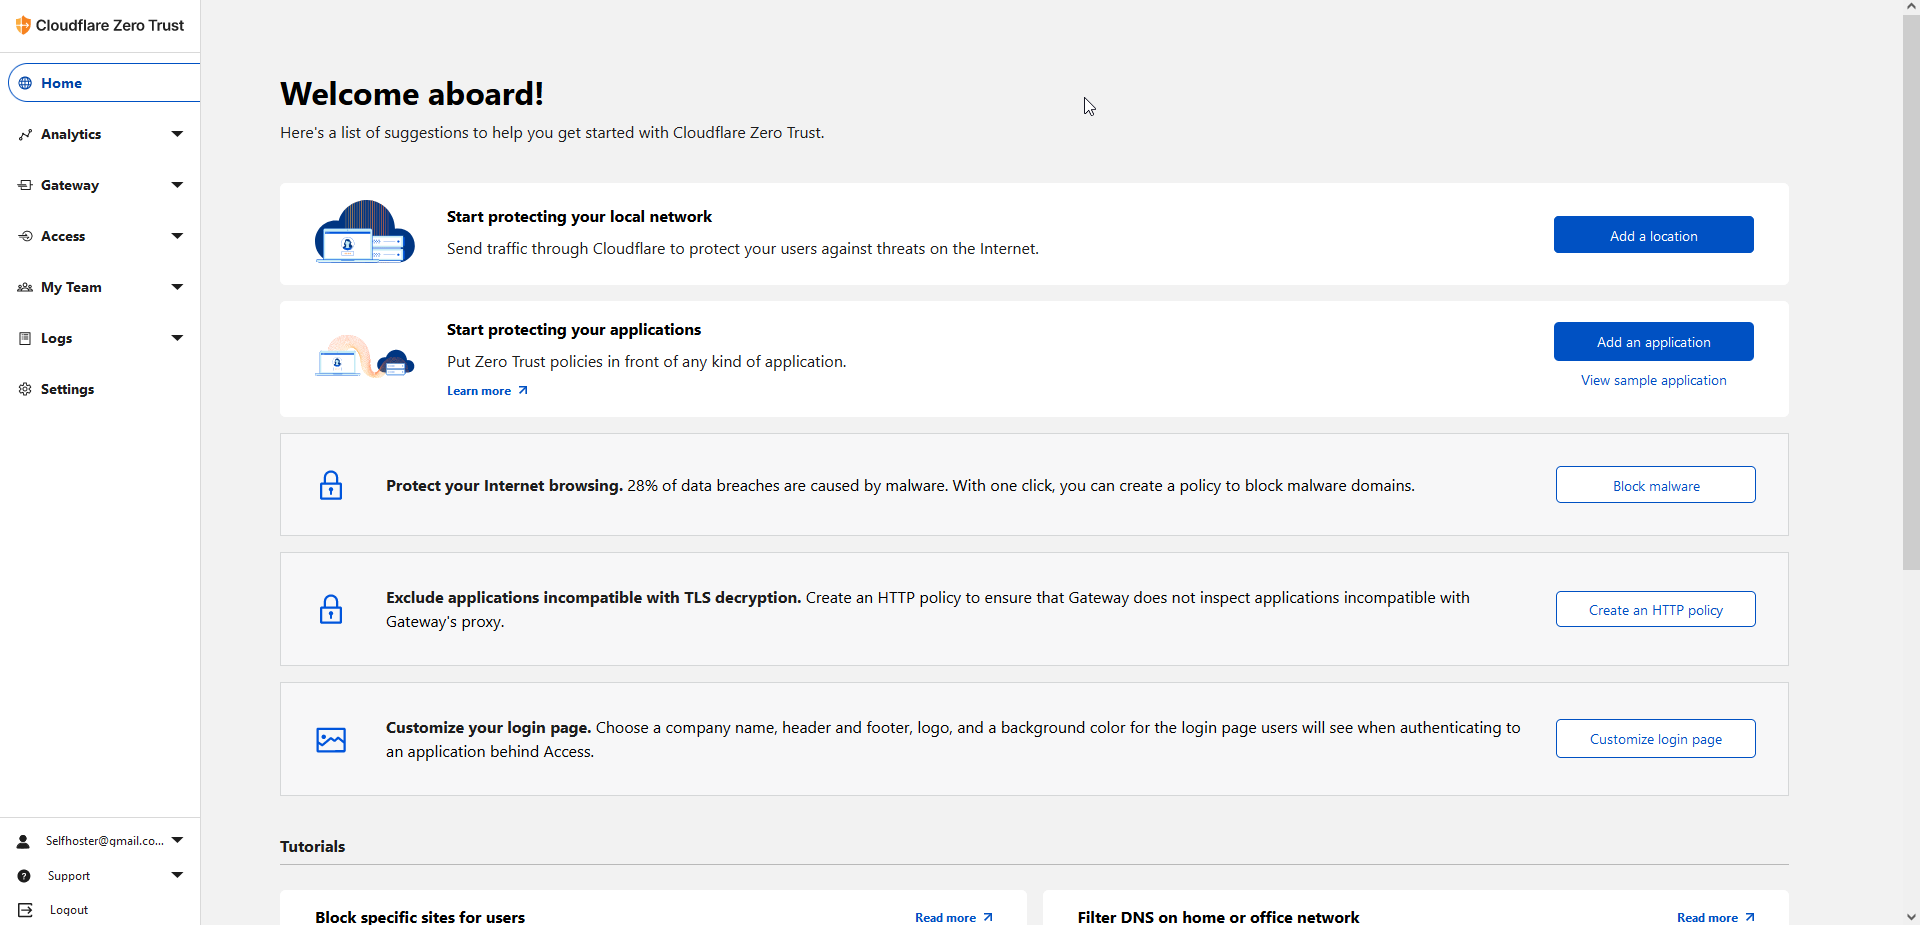
On your main Cloudflare dashboard, you will see a link on the left side panel called "Zero Trust". Click that and it will open in a new window. Let's begin the journey of Zero Trust! If you can't seem to find the link, try this.
The first thing we want to do is setup our access tunnel using Docker. This will allow Cloudflare to pass traffic to your domain even if your home IP address changes. This will also obfuscate your home IP address which is a good thing.
Click on Access on the left side to expand the menu, then click tunnels. This will prompt you to select a plan and again, we can choose the free plan but you will still be required to add a payment option. I connected Paypal and it works great. I've been using Zero Trust free plan for over a year and have never been charged once so you can rest easy knowing you won't be randomly charged for anything.
Once you get your payment gateway connected, you can create your first tunnel.
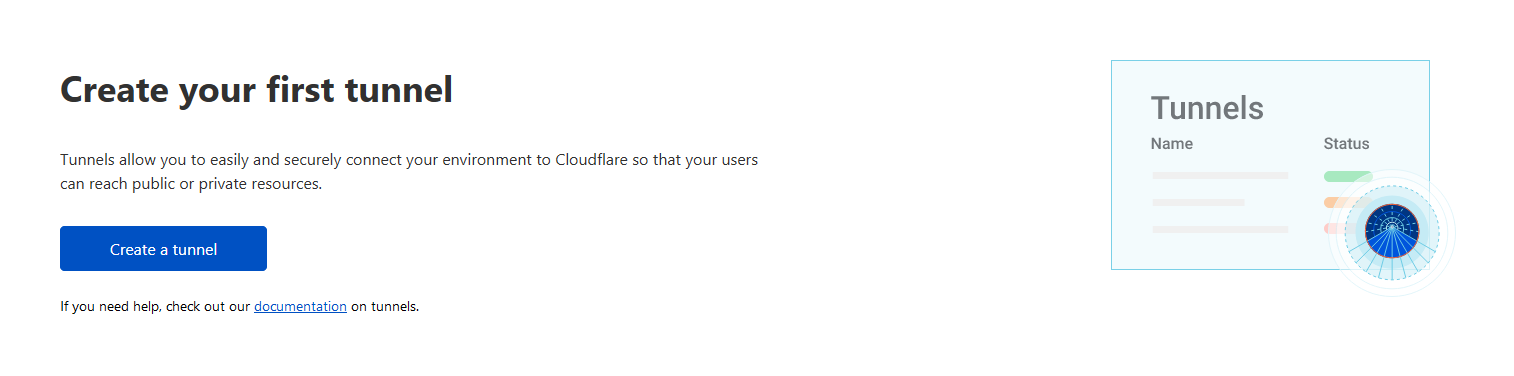
Let's go ahead and click that big blue button and get rolling! Give your tunnel a name and press next. I called mine "selfhostedblog".
Now we have to install Cloudflared on our network. I'll be installing the Docker version on the same host my Ghost instance is on. So go to your website host terminal and drop the Docker command given to you on the Docker option page like so.
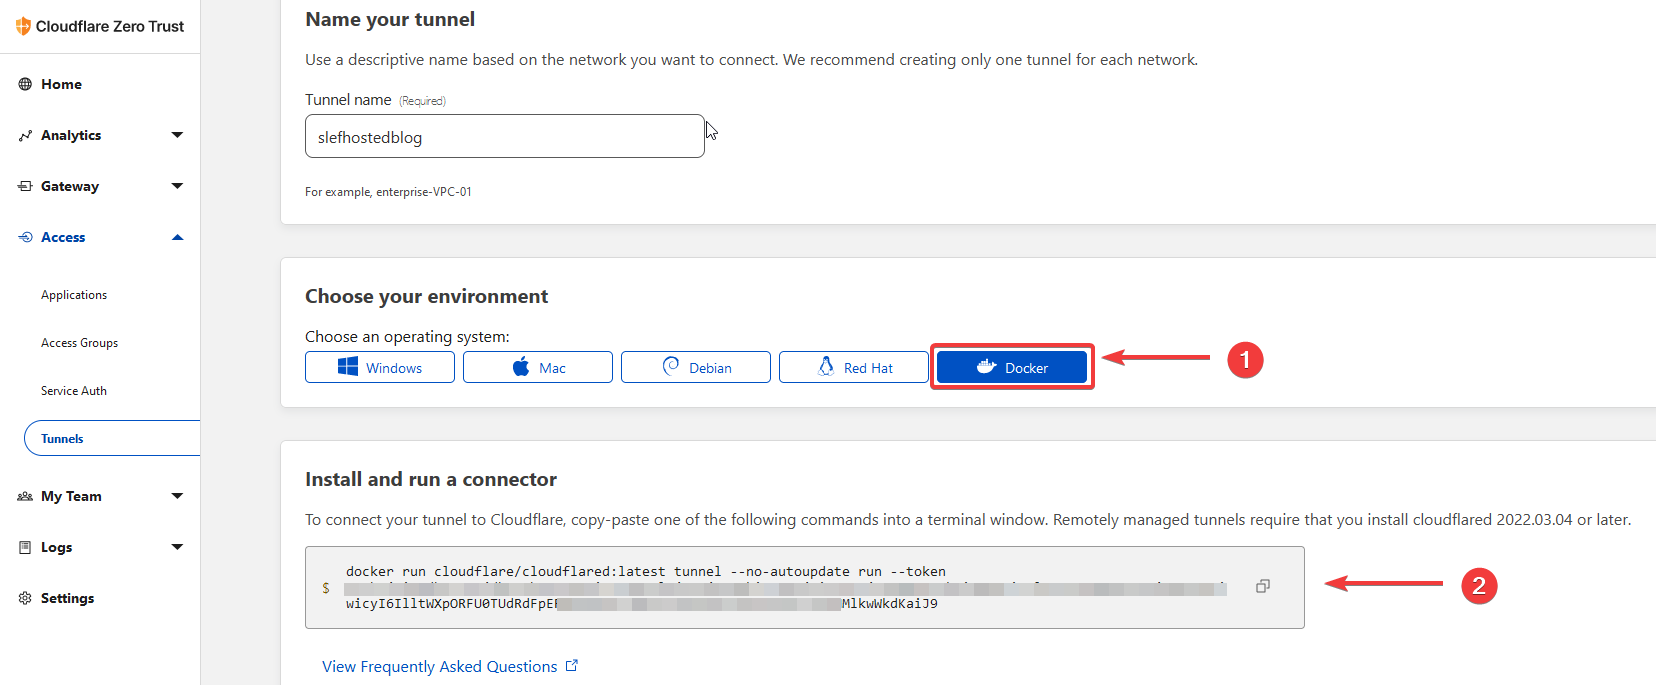
Don't share this command because this has a unique token ID that ties to your account with Cloudflare. If this Docker container is not running, your website will not load properly.
Now all that's left to do is add your Public Hostname
Choose your domain from the dropdown menu, add the ip and port of the Ghost or Wordpress instance then select "HTTP" as the service type. Hit "Save hostname" and you're done... with this part 😉
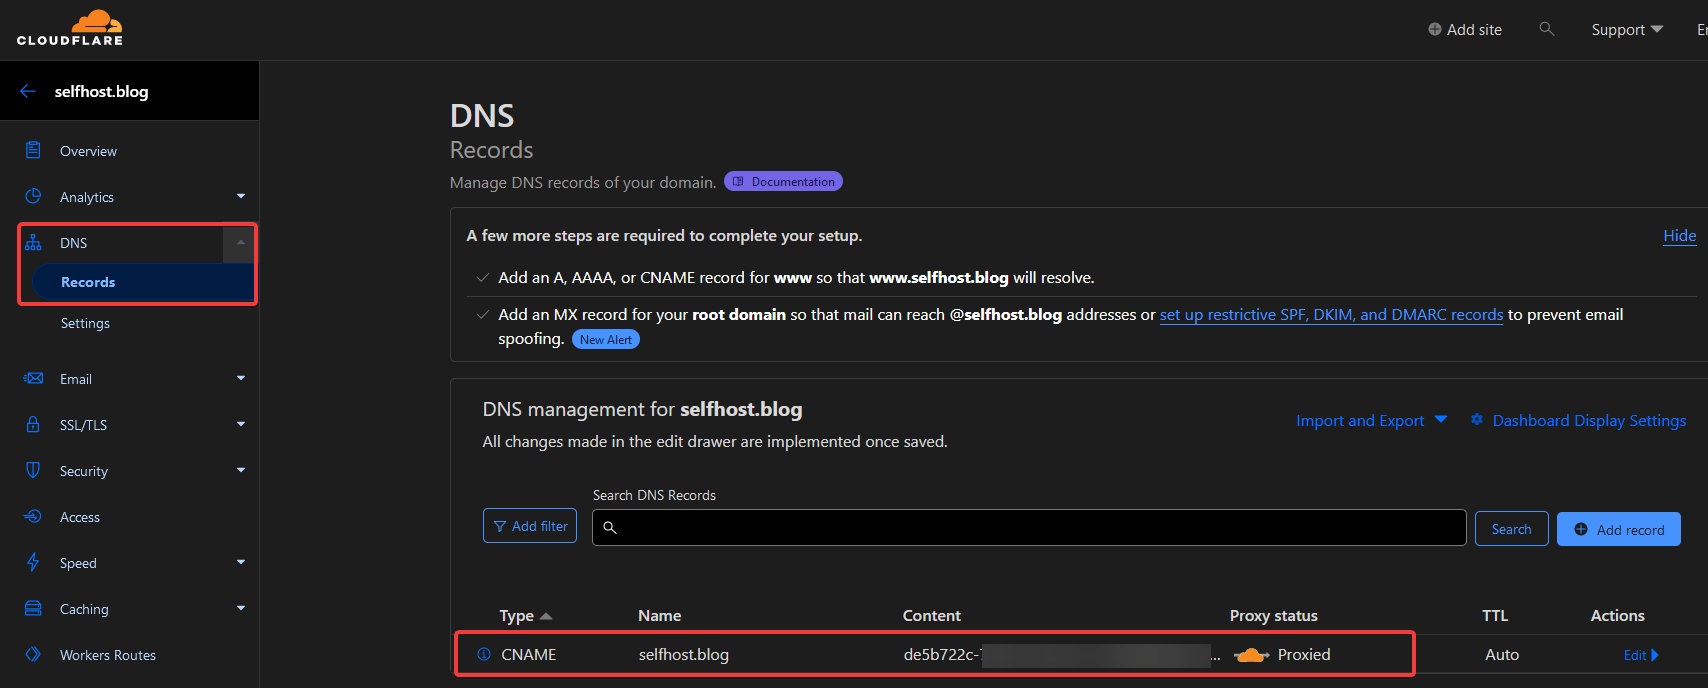
If you have a look in your Cloudflare DNS records for your domain, you will see that Zero Trust automatically creates records for you. It will also ensure the record is proxied by default to cloak your home IP address.
Now that you can access your self hosted website on your domain name, I think this is a great place to stop before moving on and overwhelming you with more Cloudflare tools.
Final Notes and Thoughts
Well, there you have it! You setup your first Cloudflare tunnel with Zero Trust and you can now access your self hosted Ghost blog on your new domain. That was easy eh?
In the next chapter we will go over some Cloudflare goodies such as Access Applications to further secure the Ghost admin and Rate limiting to block page load spamming and DDoS attacks.


Discussion