

Need to take a break from the terminal window when it comes to editing and moving files around on your Linux host? Filebrowser is my favorite way to take control of my files on a Linux host when I just want to be lazy and use a GUI. And that's pretty much all the time!
What is Filebrowser?
Filebrowser provides a file managing interface within a specified directory and it can be used to upload, delete, preview, rename, share and edit your files. It allows the creation of multiple users and each user can have its own directory. It can be used as a standalone app.
Install Filebrowser with Docker
This short guide will walk you through installing Filebrowser using Docker. Click the collapsible menu below to expand and view the instructions.
Click for installation
In your host terminal, create a folder.
mkdir -p docker/filebrowser
Then, go to the folder.
cd docker/filebrowser
Create the necessary configuration files.
touch filebrowser.db
touch .filebrowser.json
Then, using any editor, edit the json file.
nano .filebrowser.json
Then paste the content below into it.
{
"port": 80,
"baseURL": "",
"address": "",
"log": "stdout",
"database": "/database.db", "
root": "/srv"
}
Save the file and exit the terminal editor.
Use Docker to deploy the container.
The -d flag tells the container to run in detached mode.
-v /files:/srv – Here, the left-hand path is the path that needs to be served on the filebrowser (to access root, use /:/srv)
-p specifies a port mapping with the host port on the left and the container port on the right.
docker run -d \
-v /files:/srv \
-v /docker/filebrowser/filebrowser.db:/database.db \
-v /docker/filebrowser/.filebrowser.json:/.filebrowser.json \
-p 8008:80 \
filebrowser/filebrowser
When the install is completed, navigate to http://hostipaddress:8008 to access the Filebrowser, where IP is the machine’s IP and port is the port where the container was deployed. A login screen will appear, as shown below.
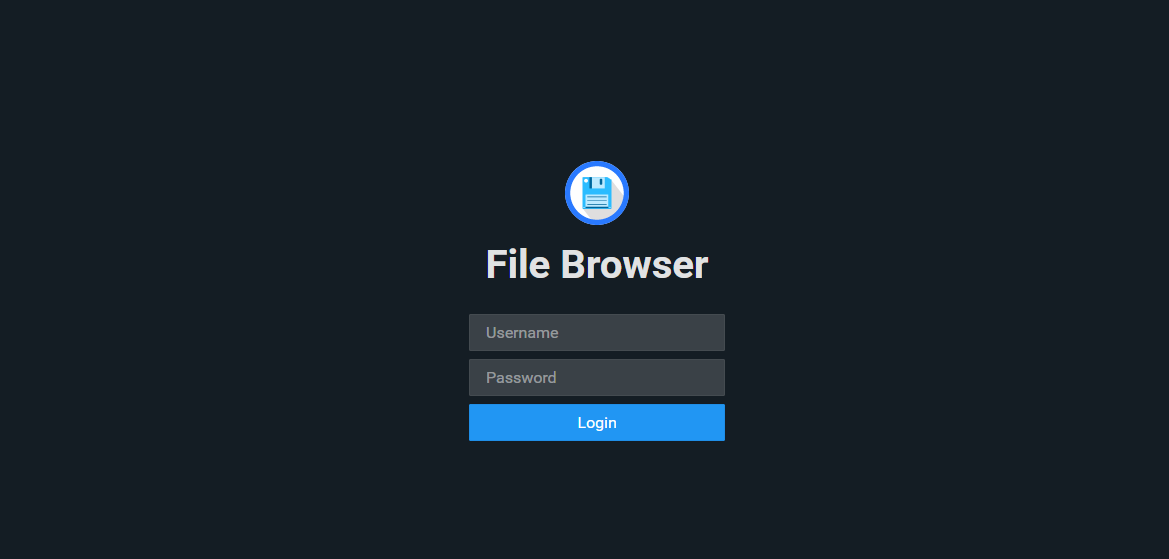
Use the following credentials to log in:
Username: admin
Password: admin
You might be asking yourself how or why my theme is dark and yours is blinding white right? Get logged in and I'll show you.
To enable dark mode go to settings then global settings and scroll down to the branding section and change the theme color there. Make sure you click Update to save then refresh your browser.
Before we do anything else, be sure to change the default username and password. You can do so in the settings under User Management. Usernames are case sensative.
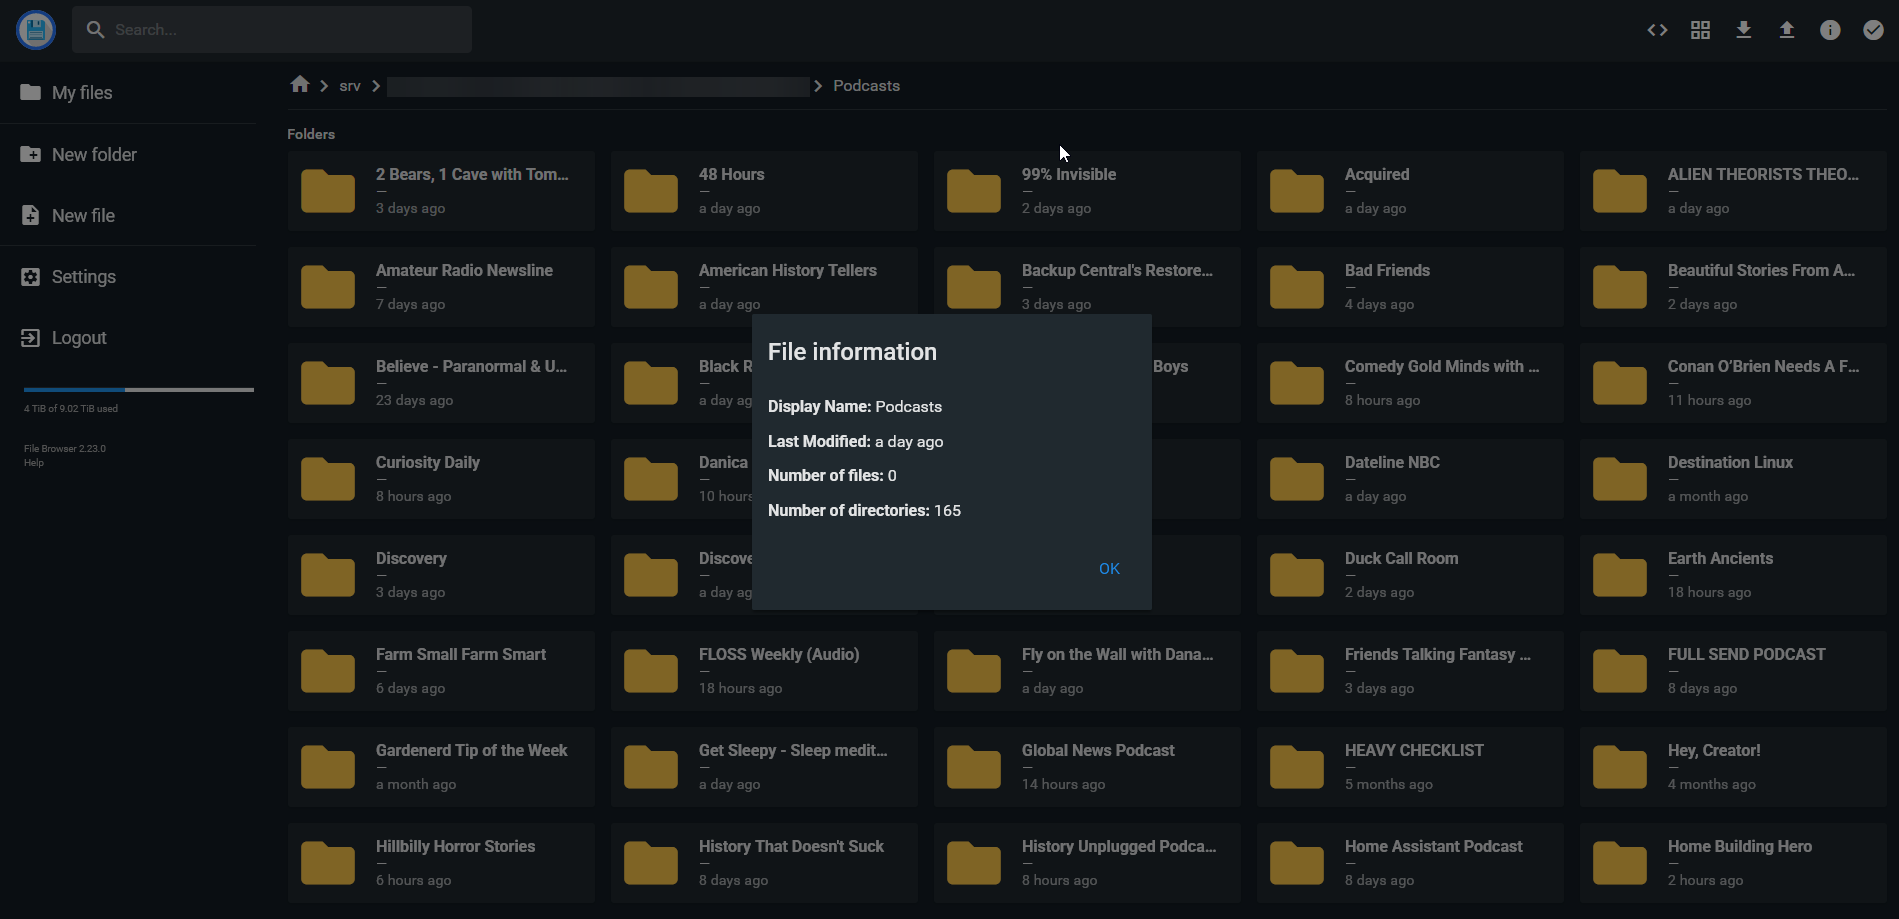
Here you can see the different folder views in Filebrowser.
This is especially nice when you want to see more details about files and folders.
One thing Filebrowser is not good at is counting files. But it will count folders and quite well!
Filebrowser user management
From here, you can also add more users and give them the permissions. You can easily set the scope or "directory" they have access to. For example if you are running a photography business and want to give a client access to only their photos, you can do that as well.
Filebrowser directory scope
Let's do an example where we assign a user a folder to access. Simply create a new user then under scope put "photos". Now in the root directory create a folder called "photos" with a test file in it.
You can choose to only let them download for now in this example. Save the user and test it by logging in. Here you can see they only have access to that folder you assigned them.
Currently, you are browsing Filebrowser locally on your system. However, if you need to share files with others remotely, you can by setting up a domain name. Let's go ahead and do that, then we will discuss more awesome features about Filebrowser.
Add a domain to Filebrowser for Sharing Remotely
For this section, I'm going to pull a page out of my previous article "Setup your Domain using Cloudflare Tunnels and Zero Trust". I will also assume you already have a domain name. If not, the article I mentioned will explain where I like to buy mine and how I set everything up using that registrar.
It's the same concept in that article and you can follow that guide to setup your domain for Filebrowser. When you do it once, you can see how easy it is to add more Public Hostnames in Zero Trust.
Adding Zero Trust Access Application to Filebrowser login
You can even further harden the login page using an Access Application which I highly recommend. Only use this if you are not creating publuc shares.
I go over how to set this up in great detail here. How to Protect Self Hosted Login Pages using Cloudflare Zero Trust Policies
Here is an example using my domain name and the path I wanted to block access to. In this case it is the admin login page.
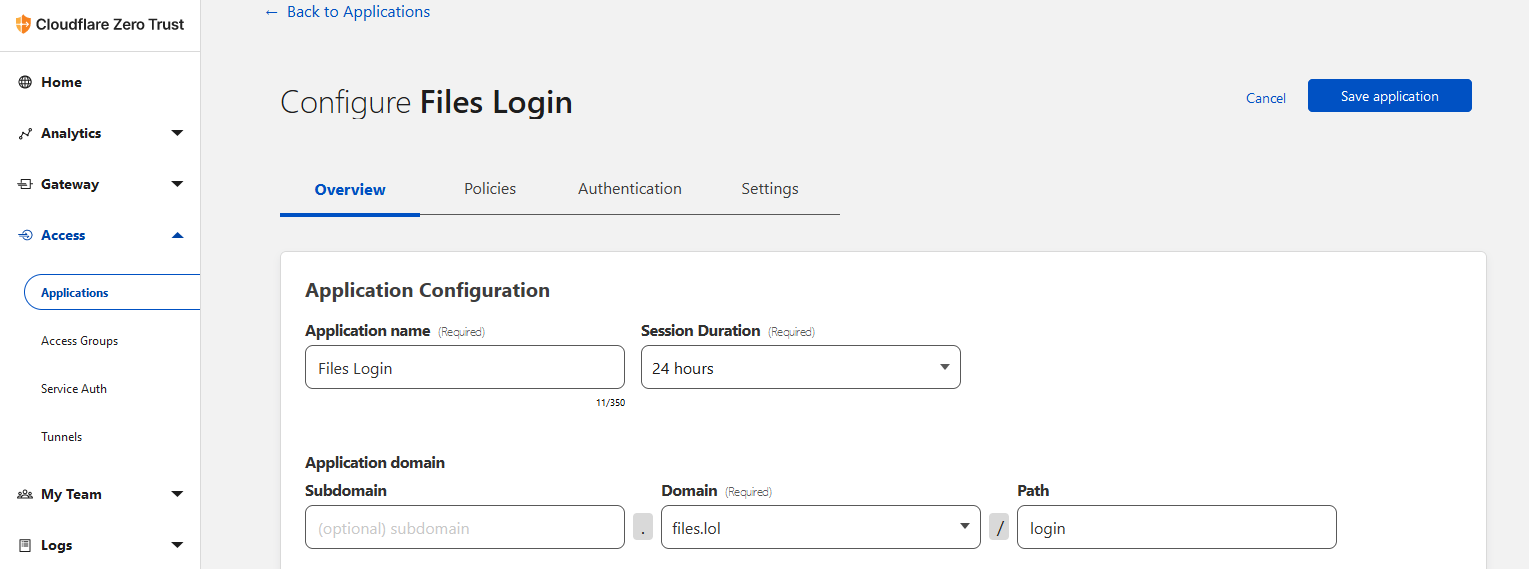
I setup a one-time PIN so only my email has access to the login page. It's just another layer of security for self hosted apps like this one.
Creating public shares in Filebrowser
Filebrowser has a great public file sharing option. You can share entire folders or single files. To share a folder simply select the folder you want to share then at the top right side click the share icon.
You can choose the expiration time on the share and even set a password. Click share then get your unique share ID. You can view all of your public shares in the Share Management section in the settings.
Final Notes and Thoughts
What I love most about Filebrowser is how simple it is to navigate and use. It's a happy medium between a web directory listing and a full fledged file manager. It gives you complete control of your files while not bloating the app with tons of features you will never use.
If you enjoy using Filebrowser, give the Github project a star on the Filebrowser Github repo!


Discussion