

We have reviewed quite a few self-hosted file hosting/sharing apps. In-fact, file hosting/sharing apps are currently the most reviewed apps on Noted. Pingvin Share is definitely on the top of the list.

What is Pingving Share?
Pingvin Share is self-hosted file sharing platform and an alternative for WeTransfer.
With a small but rich set of features, Pingvin Share was crafted to be an alternative to a popular sharing service known as WeTransfer. However, since Pingvin Share has been developed, WeTransfer has changed quite a bit but I think where Pingvin Share outshines WeTransfer is the sharing options.
Pinvin Share Features
- Share files using a link
- Unlimited file size (restricted only by disk space)
- Set an expiration date for shares
- Secure shares with visitor limits and passwords
- Email recipients
- Integration with ClamAV for security scans
Let's jump in and install Pingvin Share using Docker then go over some configuration settings.
Install Pingvin Share using Docker Compose
You will need a host machine with Docker and Docker Compose installed for this example. If you need assistance, see our guide Install Docker and Portainer on Debian for Self-Hosting.
Below is the Pingvin Share Docker Compose I used.
version: '3.8'
services:
  pingvin-share:
    image: stonith404/pingvin-share
    restart: unless-stopped
    ports:
      - 3000:3000
    volumes:
      - "/docker/pingvin:/opt/app/backend/data"
      - "/docker/pingvin/images:/opt/app/frontend/public/img"
When you setup Pingvin Share for the first time, you will have to create a new account. That account will become the administrator account by default.
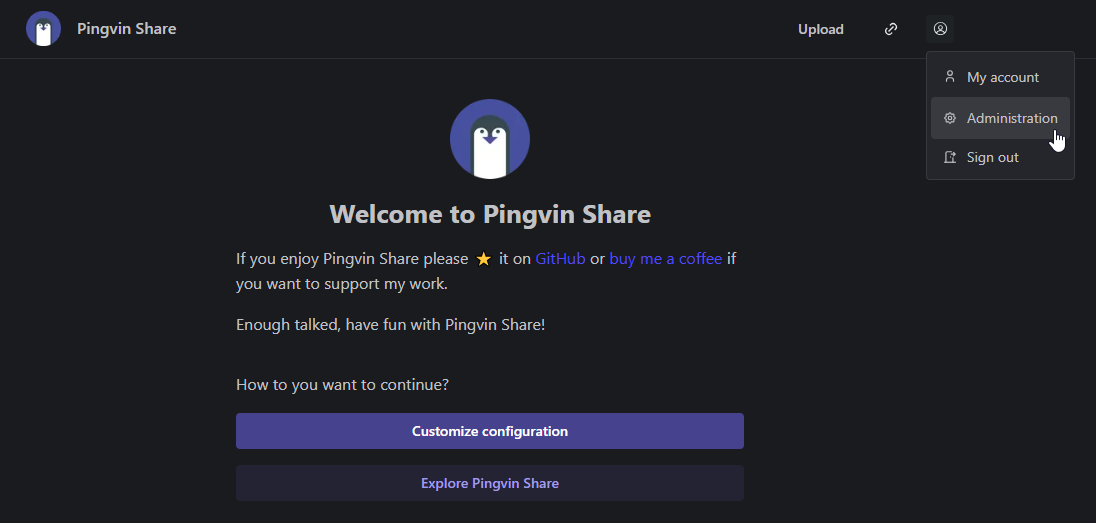
From here you can customize the app by changing the configuration settings. I enabled SMTP by adding the GMail SMTP relay server details. Yay, free SMTP and it works great too!
Here is a look at an example share I created and emailed to myself.
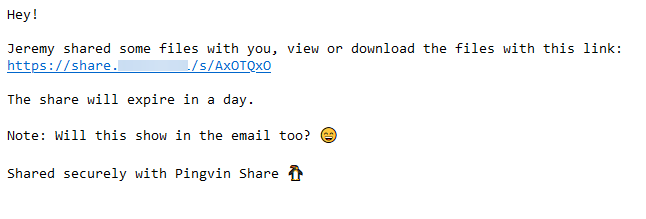
The file description will also be displayed in the email which I find very useful for adding details for co-workers or other people receiving the links to files via email.
The email templates can be customized too. So if you want to tailor it more for a business or specific use case, you can do that to better suit your needs.

Once you get all of the configurations changed, start uploading files and sharing.
Sharing files is as easy as drag and drop. You can also click to upload too. When you choose the file, add your share options.

You can choose to add a expiration date (1 day expiration by default) or tick "Never Expire" if you don't want it to expire. Add a description (that can also be seen in the email) for the file. Want to email the file to someone, add your email addresses here (needs to be enabled in settings), then decide if you want to password protect the shared files.
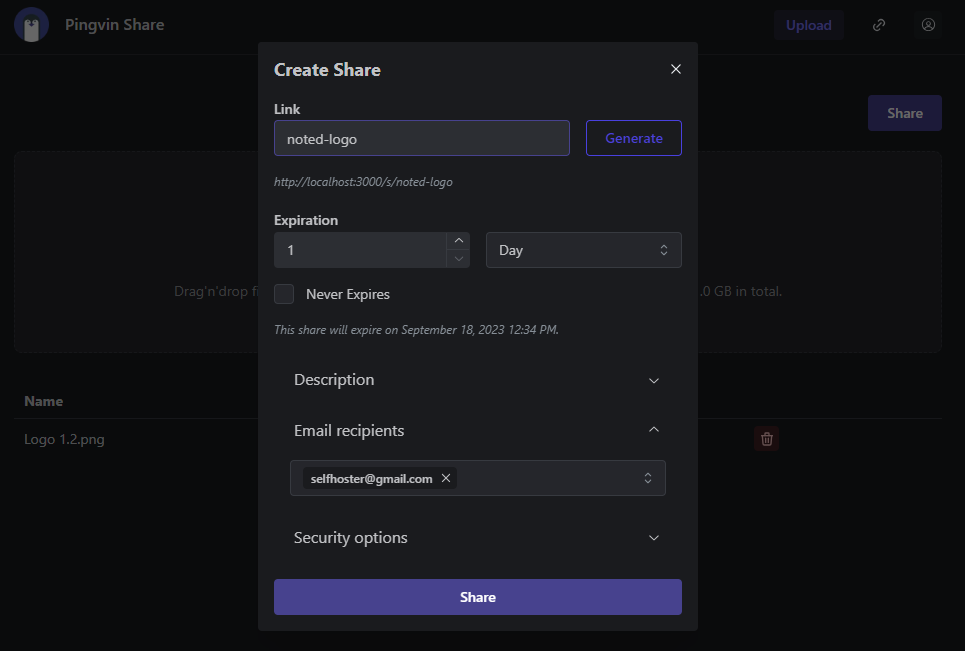
Click share and this will begin the upload and then provide your share link.
Oh, and I almost forgot! You can add a custom link name so it's easier to tell what the files are on your shared files page. You can see an example of that page here.


Final Notes and Thoughts
I really enjoyed setting up and trying out Pingvin Share. I am a big fan of well designed apps that do what they are designed to do without over complicated menus and settings. I was easily able to toss the app behind Cloudflare and within minutes I had a public instance working without any issues at all.
If you find this app useful or want to see more details, I encourage you to check out the Pingvin Share Github repo and star the project.


Discussion