

When I started tinkering with self-hosting, Docker was by far my biggest hurdle. But to learn more about Docker, we need to figure out how to install it first. Then, later will will install and use Portainer to manage and monitor our Docker containers.
Table of Contents
Docker does a good job at explaining how to install Docker on specific distros. However, I always found it intimidating with how the instructions are laid out. So this guide is from a different perspective. A perspective from someone who once was lost and was learning like you are.
I'll lay it out in a much more simple format for beginners to move forward as quickly as possible. Aftrall, we live in a "I want it now" society and quite frankly, that's how I would want to see it done!
Update and upgrade the Host Machine
It's important to keep your host machine up to date. This can include important patches that keep your host safe from vulnerabilities.
Step 1. Update the host.
apt updateStep 2. Upgrade the host.
apt upgrade -yInstall Docker on your Host Machine
Docker has made this very simple by creating an official install script that does all the work for you. You can see what this script includes and how it works on the Docker Github repo.
The purpose of the install script is for a convenience for quickly installing the latest Docker-CE releases on the supported linux distros. It is not recommended to depend on this script for deployment to production systems. For more thorough instructions for installing on the supported distros, see the install instructions.
Step 1. Install curl.
apt install curlStep 2. Install Docker.
curl -sSL https://get.docker.com | shStep 3. Check if Docker is functioning.
systemctl status docker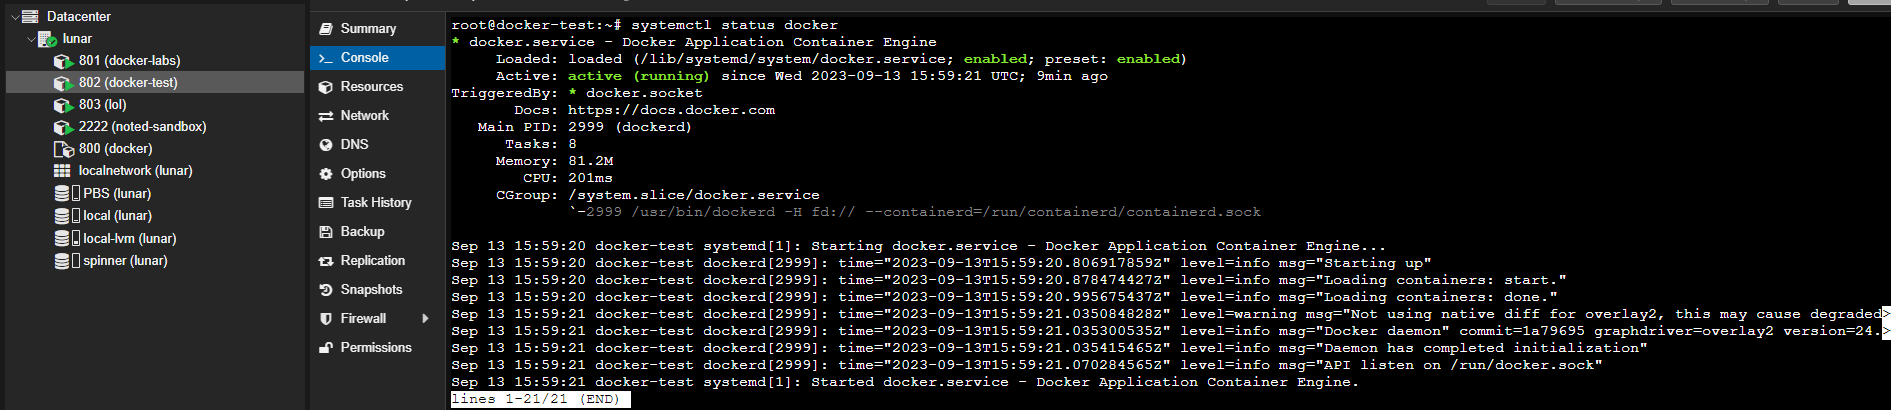
Step 4. Force Docker to start at boot.
systemctl enable dockerThis step is not necessary but can make the process of starting docker quicker by doing it automatically. This way you don't have to manually start Docker when you reboot your host machine. I haven't seen any official documentation but Docker always seems to start automatically regardless after testing on my hardware.
As you get more comfortable with Docker and setting up self-hosted applications, you'll also find it useful to install Docker Compose and Git along the way.
Install Git on the Host Machine
You may come across a project that requires you to clone it to your host machine from Github. To do this, you will need to install Git.
apt install git -yNow you can use the git clone command to clone repositories to your host machine.
Setting up Portainer on the Host Machine
I think it's a great idea to learn basic Docker commands because they will come in handy at a later time. Especially when you want to update Portainer. Portainer makes managing Docker containers easier and in my opinion, faster. You want it now right? 😆 Well Portainer will give you a nice graphic interface for what would otherwise be a much larger learning curve using only the CLI (command line interface).
Step 1. Install Portainer.
Now that Docker is installed, you can install Portainer using Docker run. Open your terminal and run the following command to install Portainer.
docker run -d \
--name="portainer" \
--restart on-failure \
-p 9000:9000 \
-p 8000:8000 \
-v /var/run/docker.sock:/var/run/docker.sock \
-v portainer_data:/data \
portainer/portainer-ce:latest
When complete, navigate to your host IP on port 9000. Example: 192.168.1.5:9000. You will see the Portainer registration page.
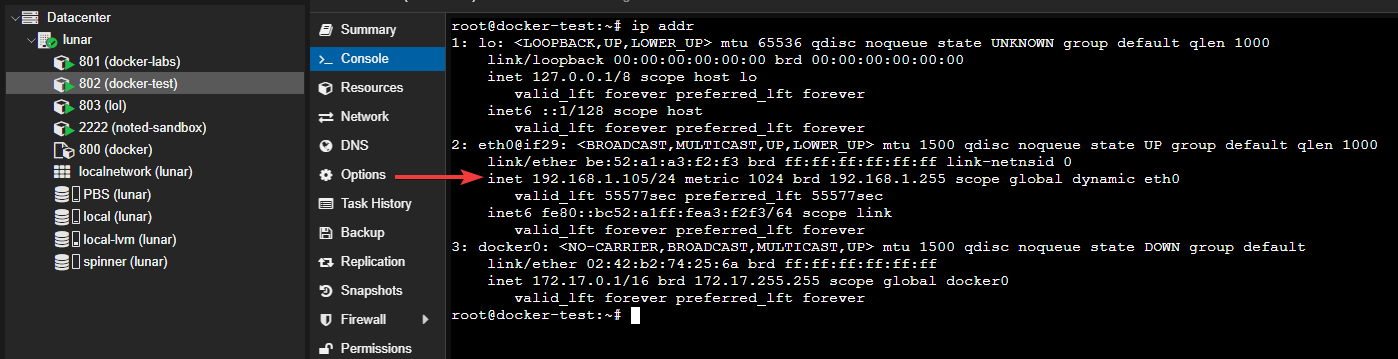
If you don't know the host machine IP, you can use the following command to output the information.
ip addrMine is usually always listed under number 2 in the output.
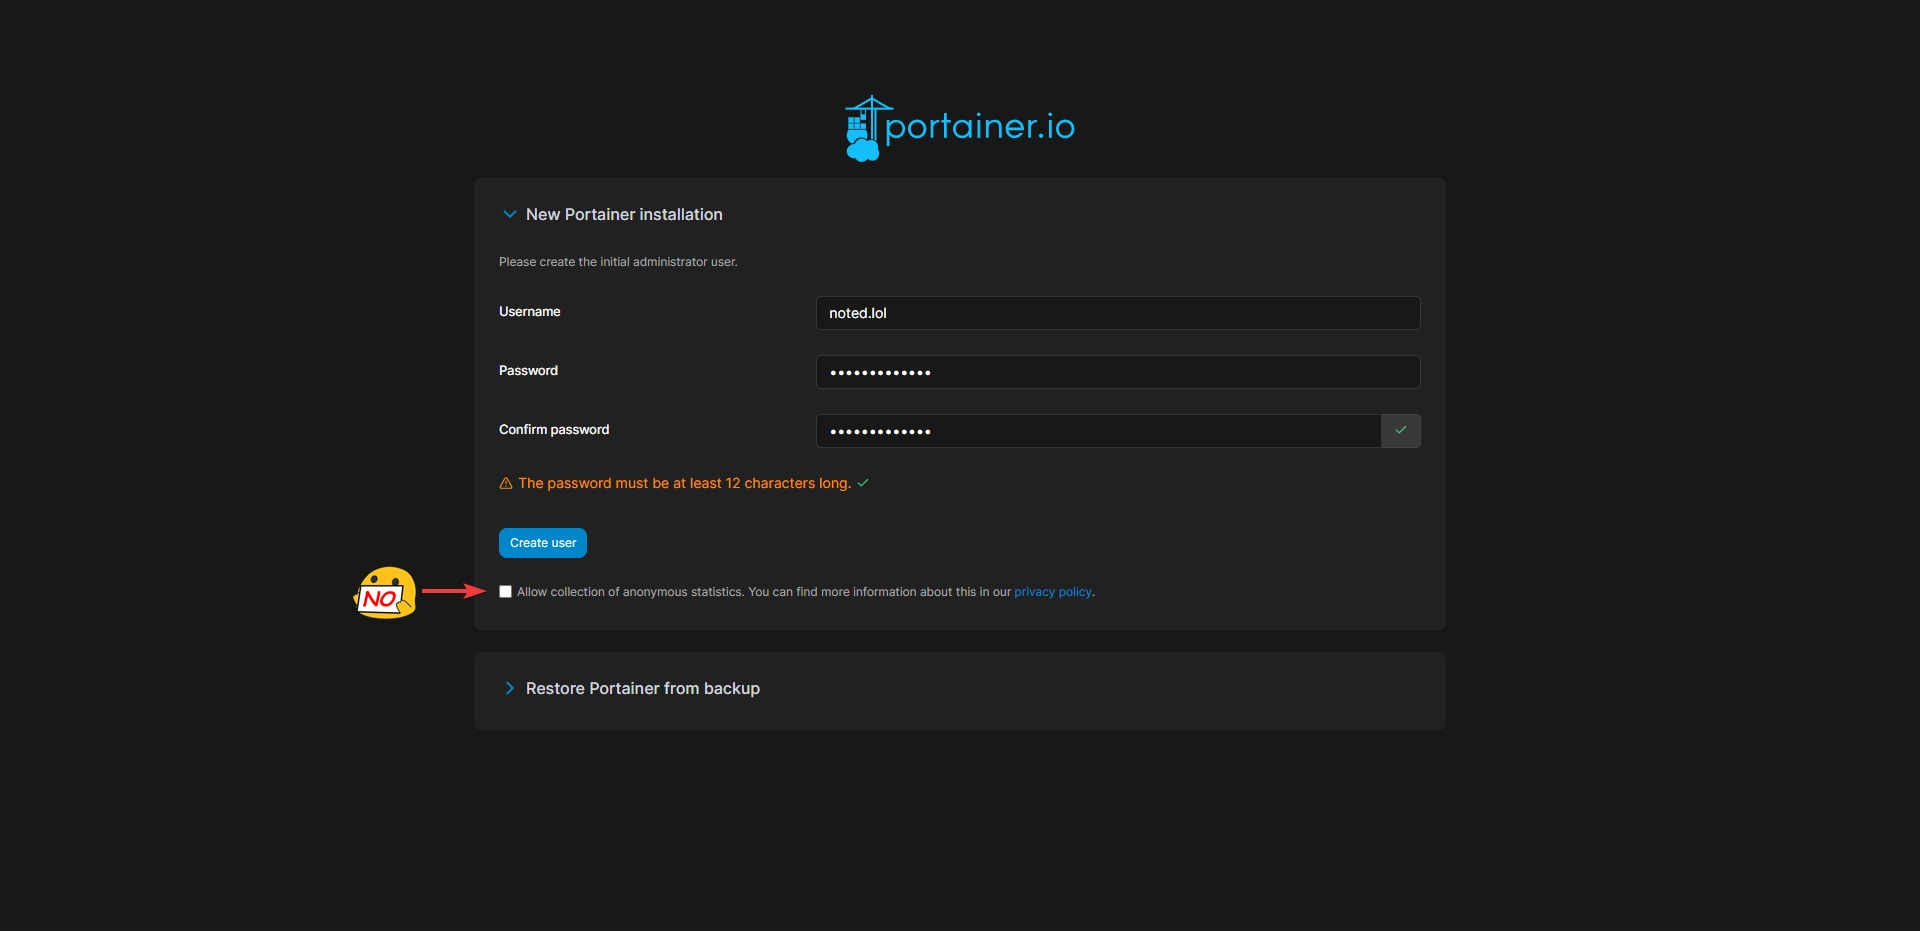
Step 2. Create a Portainer admin account.
I uncheck the collection of anonymous statistics. I don't need anyone knowing what I do or when I do it, but I am happy to give feedback of course.
Then click "Create user" and log in!

Final Notes and Thoughts
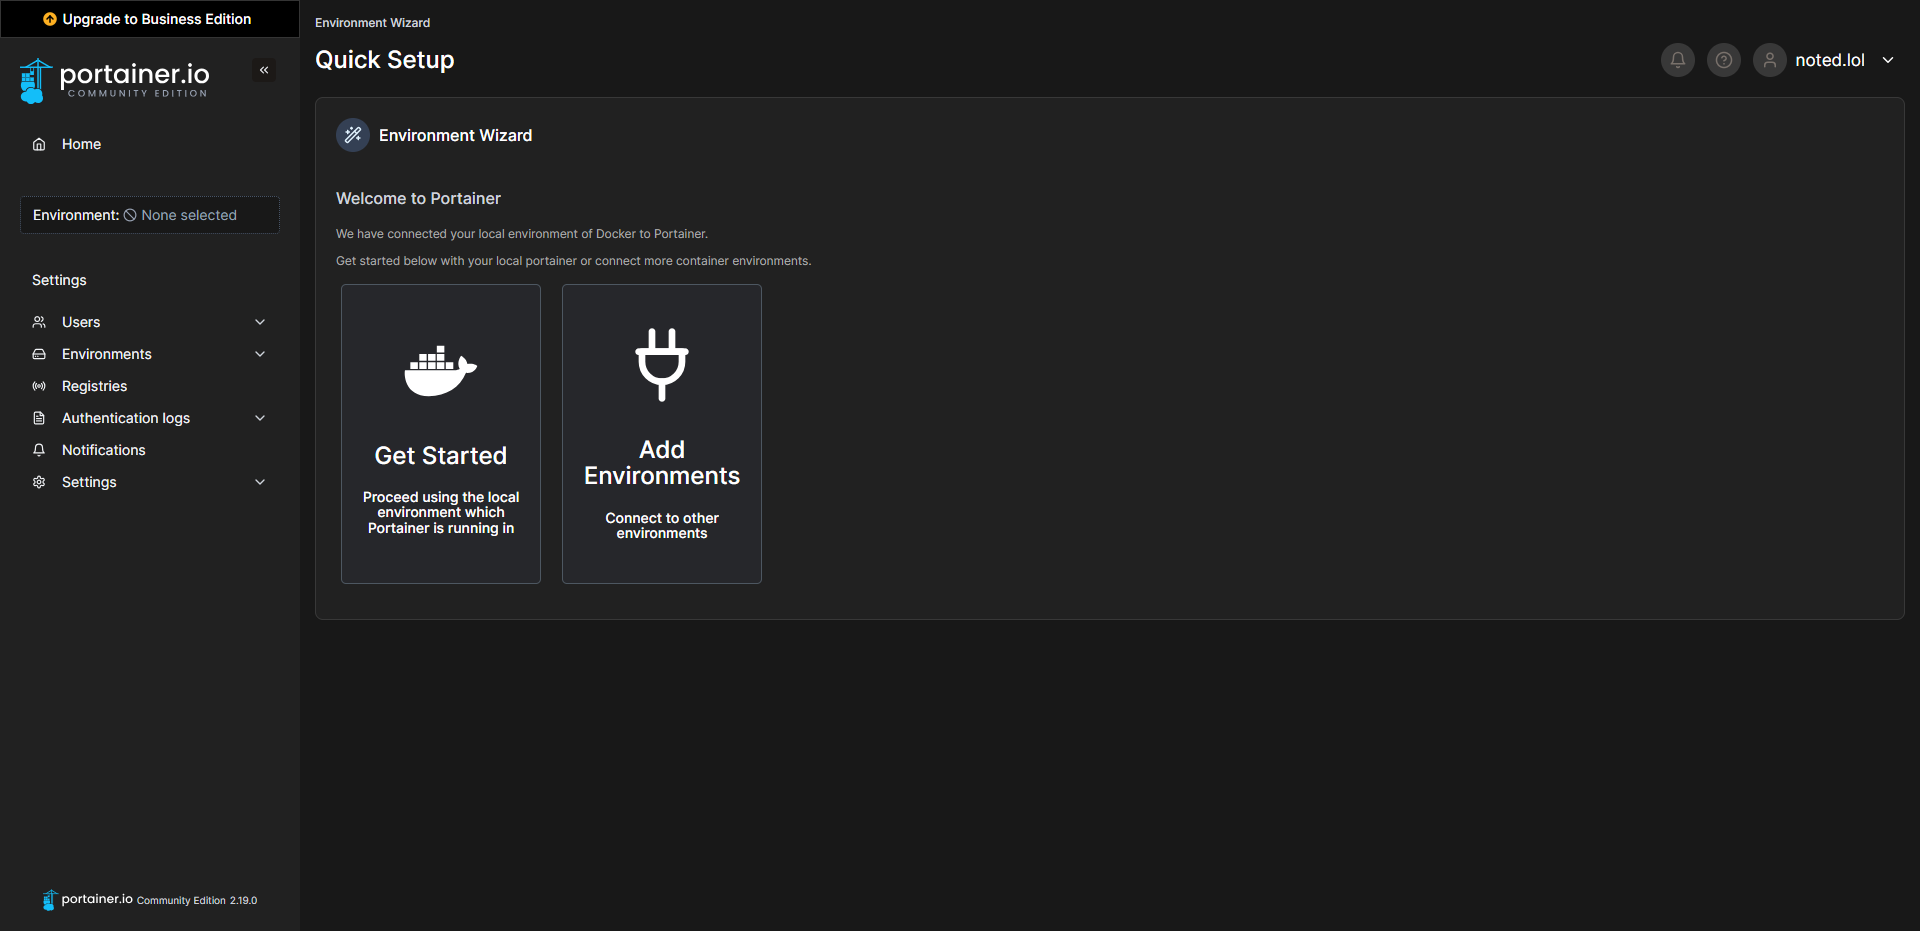
For now, this is a great place to stop and get familiar with Portainer and the menu within the dashboard. Browse around and check out the different settings but try not to get overwhelmed by all the technical jargon you may not understand.
In the next article, we will go over Portainer basics and launching your first self-hosted application using Portainer and the Docker Compose stacks feature.


Discussion