

Vaultwarden is an open-source password manager that is designed to be self-hosted. Although Vaultwarden is not technically a fork of Bitwarden, it is instead a recreation of the backend using Rust.
For individuals seeking complete command over their password management system, self-hosting Bitwarden is a great alternative. With a self-hosted Bitwarden, you can store your private data, including passwords, on your own server. It guarantees you that your sensitive data is not saved on someone else's servers, giving you peace of mind. This article delves into the advantages of self-hosting Bitwarden, the installation process, and essential practices to keep your data secure.
In this article, we will guide you through the process of self-hosting a Vaultwarden server on your own. We will cover everything from installing the necessary software to configuring your server and securing your data.
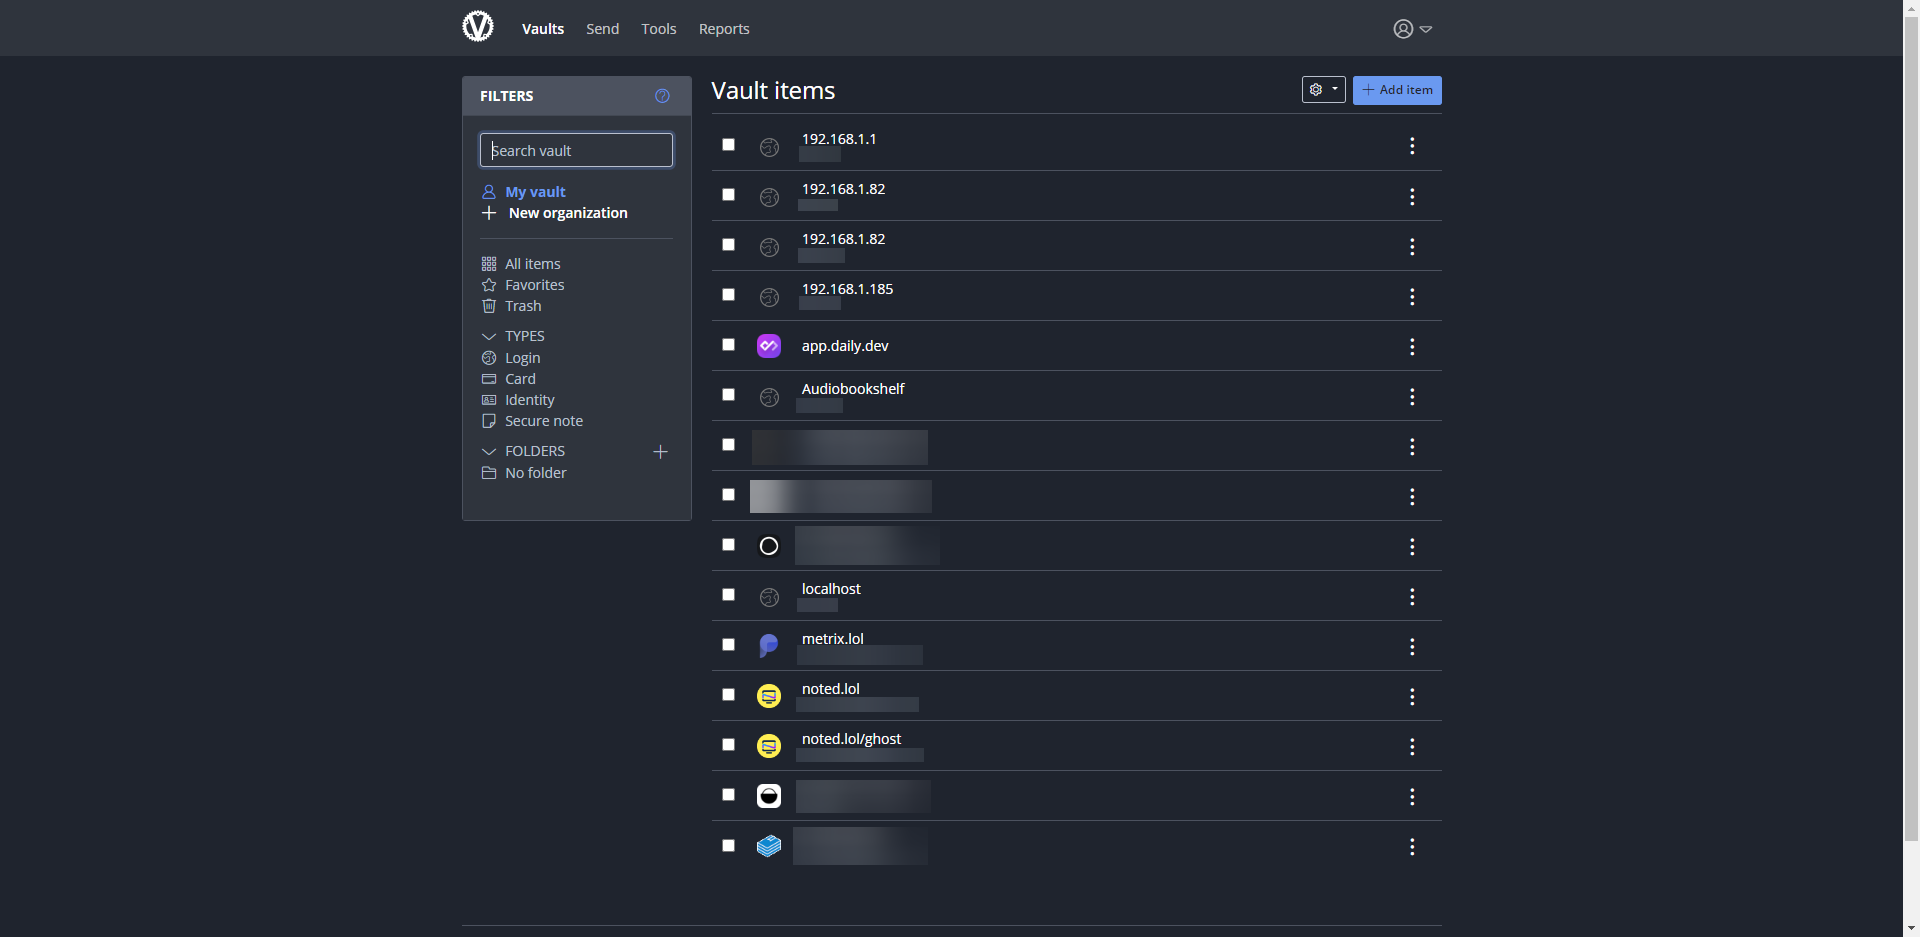
Once you have installed Vaultwarden, you can access the web interface to create an account and start storing your passwords securely. You can also use the Bitwarden browser extension or mobile app to access your Vaultwarden instance and manage your passwords on the go.
Prerequisites
Before we start, there are a few things you will need:
- A server: You will need a server to host your Vaultwarden server. This server can be a VPS or a physical server that you have access to.
- Docker: Docker is a containerization platform that allows you to run applications in isolated environments. We will be using Docker to run the Vaultwarden server.
- Docker Compose: Docker Compose is a tool that allows you to define and run multi-container Docker applications. We will be using Docker Compose to manage the Vaultwarden server and its dependencies.
- A domain name: You will need a domain name to access your Vaultwarden server. If you don't have a domain name, you can use a free dynamic DNS service like DuckDNS.
Installation
Step 1: Install Docker
The first step is to install Docker on your server. The installation process will depend on your operating system. You can find installation instructions for your operating system on the Docker website. For Debian run the following command.
curl -sSL https://get.docker.com | sh
Step 2: Install Vaultwarden using Docker Compose
Next, you will need to install Docker Compose. You can find installation instructions for your operating system on the Docker Compose website. For Debian, run the following command.
apt install docker-compose
Use the following Docker Compose to spin up your Vaultwarden server
version: '3.3'
services:
    server:
        container_name: vaultwarden
        volumes:
            - '/docker/vaultwarden:/data/'
        environment:
            - SIGNUPS_ALLOWED=true
            - ADMIN_TOKEN=randomPassword40characters
        ports:
            - '80:80'
        image: 'vaultwarden/server:latest'
Now we are ready to start the Vaultwarden server. Run the following command to start the server:
docker-compose up -d
This will start the Vaultwarden server in the background. It may take a few minutes to download and start all the necessary containers.
Step 6: Access the Vaultwarden server
Once the server is up and running, you will need to asign a reverse proxy or a Cloudflare tunnel to the app with a valid SSL certificate.
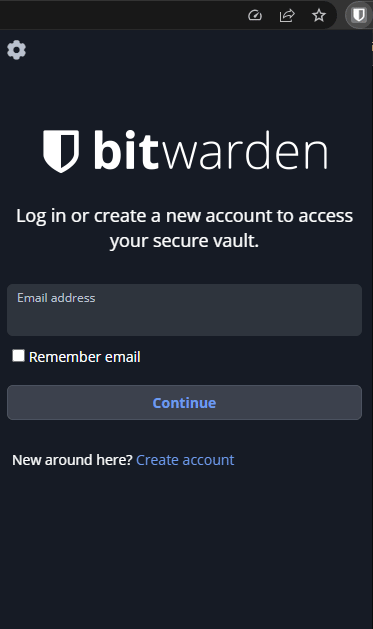
Navigate to the app using your domain and you should see the login screen. Register a new account then disable signups from the compose file by changing SIGNUPS_ALLOWED=true to SIGNUPS_ALLOWED=false. You can also manage signups through the web administration at https://your_domain_name/admin using the admin token in the ADMIN_TOKEN=randomPassword40characters environment variable.
Congratulations! You have successfully self-hosted a Vaultwarden server.
When using Vaultwarden, there are several security considerations that you should keep in mind to ensure that your data is secure:
- Use strong and unique passwords: Vaultwarden is only as secure as the passwords you use. Make sure to use strong and unique passwords for your Vaultwarden account and for all the passwords stored in it.
- Enable two-factor authentication (2FA): Vaultwarden supports two-factor authentication, which provides an extra layer of security. Make sure to enable 2FA for your Vaultwarden account.
- Secure your Vaultwarden server: Since Vaultwarden is self-hosted, you are responsible for securing the server where it is installed. Make sure to keep the server updated with security patches and follow best practices for securing servers.
- Encrypt your data: Vaultwarden encrypts your data both in transit and at rest. However, you can take additional steps to encrypt your data further by using full disk encryption and encrypting backups.
- Monitor access logs: Vaultwarden logs all access to the server, including failed login attempts. Monitoring access logs can help you detect and prevent unauthorized access.
- Regularly back up your data: Make sure to regularly back up your Vaultwarden data to prevent data loss in case of hardware failure or other issues.
- Use trusted third-party integrations: Vaultwarden supports third-party integrations with various services. Make sure to only use trusted integrations and review their security practices.
- Educate yourself and your team: Stay up-to-date on the latest security best practices and educate your team on how to use Vaultwarden securely.
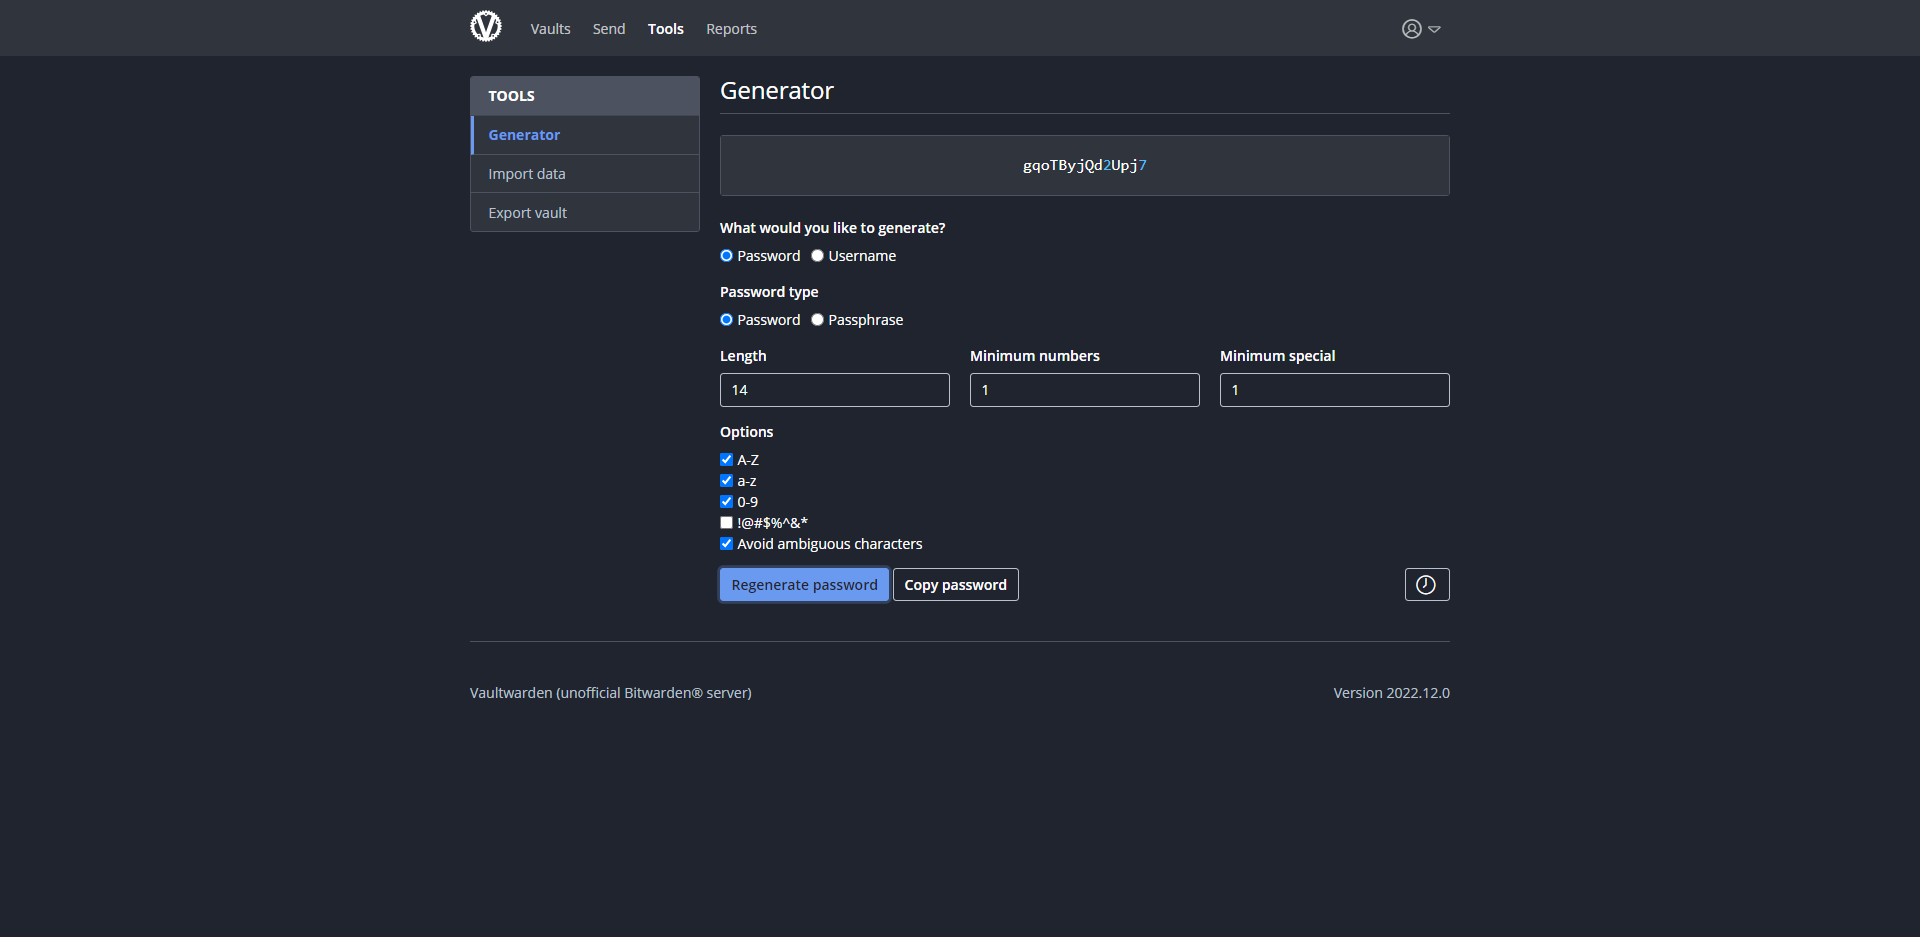
For the enhancement of keeping online accounts secure, users can utilize the password generation tool of Vaultwarden. This tool creates highly robust passwords that incorporate a blend of upper and lowercase alphabets, numerals, and symbols. With customizable options, users can select the length and intricacy level of their passwords. The program then stores the password in a database for future use. The password generator is an uncomplicated yet notably efficient means of enhancing online security by adopting strong passwords.
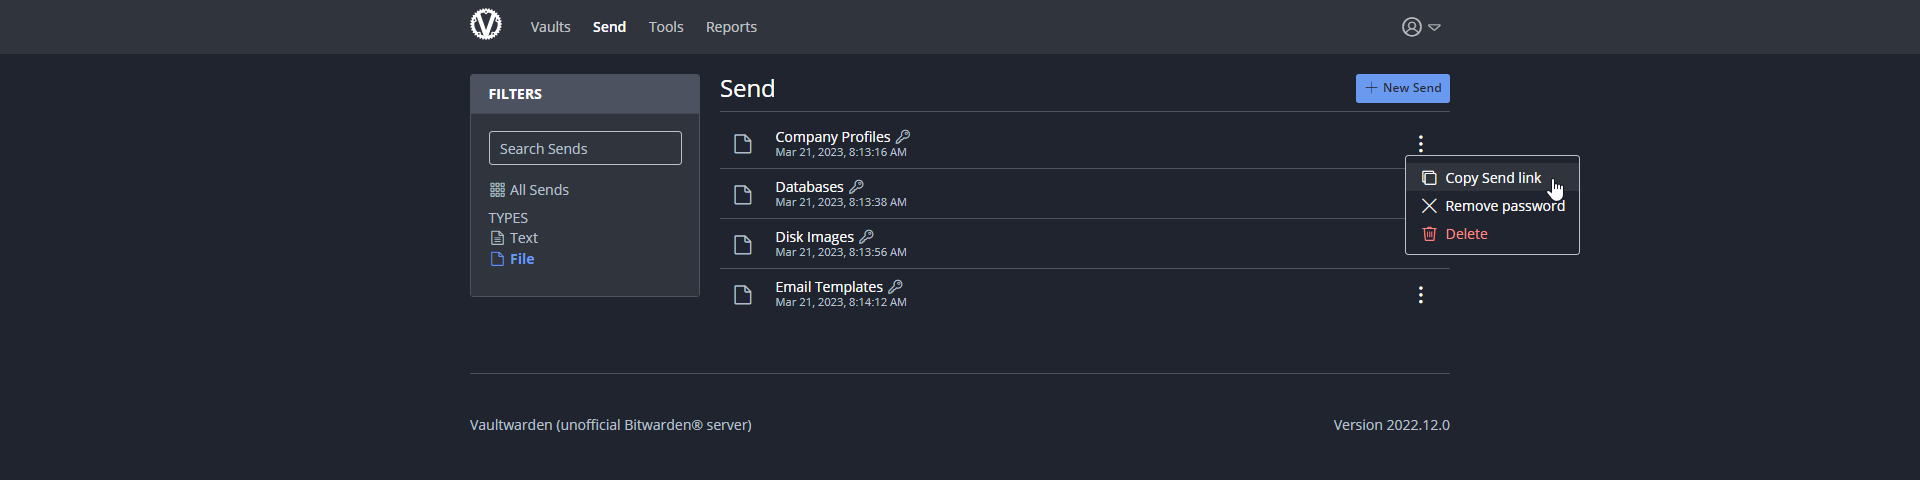
Send is an advanced and secure tool that allows users to securely send text messages of up to 1000 encrypted characters or files of up to 500 MB. The sender generates a secure link that can be shared via text, email, or any communication channel for the recipient to read. For security purposes, the link and the email do not contain any information related to the link content. Moreover, each send is encrypted end-to-end for security, and its lifespan is ephemeral, with a specified maximum date of 31 days, so the content is purged when the deletion date is reached. It offers other privacy-enhancing options such as configuring passwords or hiding the email address from recipients.
Furthermore, you can grab the Bitwarden browser extension for Chrome or Firefox to quickly add passwords to your vault for websites you frequent.
Once installed simply click the Bitwarden addon icon on your browser, go to settings and paste the URL to your self-hosted Vaultwarden server. Then login and start using it! I highly recommend setting up 2FA to further protect your Vaultwarden server from being breached.
Final Notes and Thoughts
Self-hosting Vaultwarden is a great option for those who value control, privacy, and security. There are other great features that I didn't cover in this article such as the Send feature. It allows you to upload files and send a generated encrypted share link. For those features and more, check out the Vaultwarden wiki!


Discussion