Dashy - The Self Hosted Personal Dashboard
Dashy is a self hosted personal dashboard built for you. Includes status-checking, widgets, themes, icon packs, a UI editor and tons more!

I built my first Dashy dashboard last night! At first I was very overwhelmed when it came to customizing it to how I wanted it. But once I got the hang of the editor, it was all down hill from there!

Dashy is one of those dashboards you could spend an entire day customizing because it has so many useful widgets, themes and options. Dashy can be as simple or advanced as you desire.
Install Dashy with Docker Compose
To get Dashy installed and working, you will first have to create a config file.
- CD into the directory you want the Dashy config to live . For this example it is
/docker/dashy. Now we need to create the config file by getting into that directory. - Type
mkdir /docker/dashythencd /docker/dashy. - Create the config file for Dashy before running the install.
nano my-local-conf.yml This will create the config file you need for Dashy.
Inside this file paste the following example content to get your started:
---
# Page meta info, like heading, footer text and nav links
pageInfo:
  title: Dashy
  description: Welcome to your new dashboard!
  navLinks:
  - title: GitHub
    path: https://github.com/Lissy93/dashy
  - title: Documentation
    path: https://dashy.to/docs

# Optional app settings and configuration
appConfig:
  theme: colorful

# Main content - An array of sections, each containing an array of items
sections:
- name: Getting Started
  icon: fas fa-rocket
  items:
  - title: Dashy Live
    description: Development a project management links for Dashy
    icon: https://i.ibb.co/qWWpD0v/astro-dab-128.png
    url: https://live.dashy.to/
    target: newtab
  - title: GitHub
    description: Source Code, Issues and Pull Requests
    url: https://github.com/lissy93/dashy
    icon: favicon
  - title: Docs
    description: Configuring & Usage Documentation
    provider: Dashy.to
    icon: far fa-book
    url: https://dashy.to/docs
  - title: Showcase
    description: See how others are using Dashy
    url: https://github.com/Lissy93/dashy/blob/master/docs/showcase.md
    icon: far fa-grin-hearts
  - title: Config Guide
    description: See full list of configuration options
    url: https://github.com/Lissy93/dashy/blob/master/docs/configuring.md
    icon: fas fa-wrench
  - title: Support
    description: Get help with Dashy, raise a bug, or get in contact
    url: https://github.com/Lissy93/dashy/blob/master/.github/SUPPORT.md
    icon: far fa-hands-helping
Save and exit!
4. Using Docker Compose, we will create the container where the app will live. Let's create the compose file inside the same directory.
nano docker-compose.yml and paste the following inside the file then save and exit.
version: '3.3'
services:
    dashy:
        ports:
            - '4000:80'
        volumes:
            - '/docker/dashy/my-local-conf.yml:/app/public/conf.yml'
        container_name: my-dashboard
        restart: always
        image: 'lissy93/dashy:latest'
5. Start the install by running the following command:
docker-compose up -d
Now visit your host IP on port 4000 and start customizing Dashy to your liking!

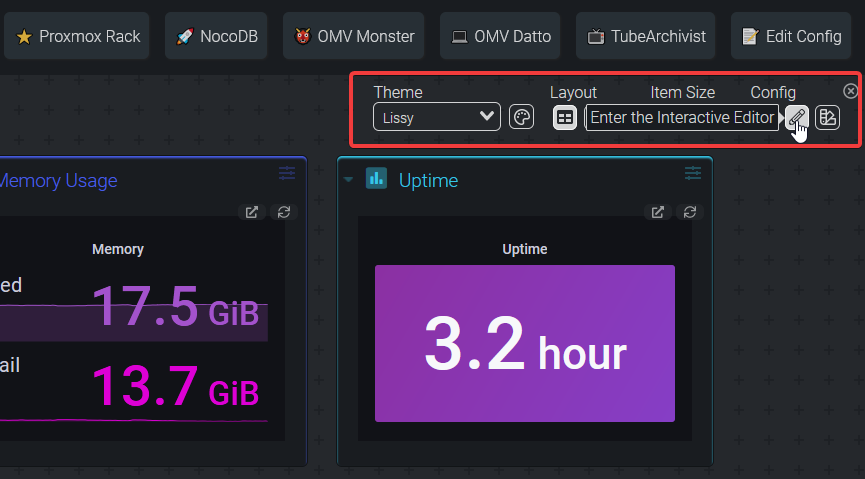
It might take you some time to get used to how the editor works. I found myself doing a mix of front end editing and also editing the config file manually. Especially when I found the example Dashy configs and widget section for Dashy.
If you run into any walls with Dashy, check out the Dashy documentation here. It's full of very helpful information that will guide you along the way!
Final Notes and Thoughts
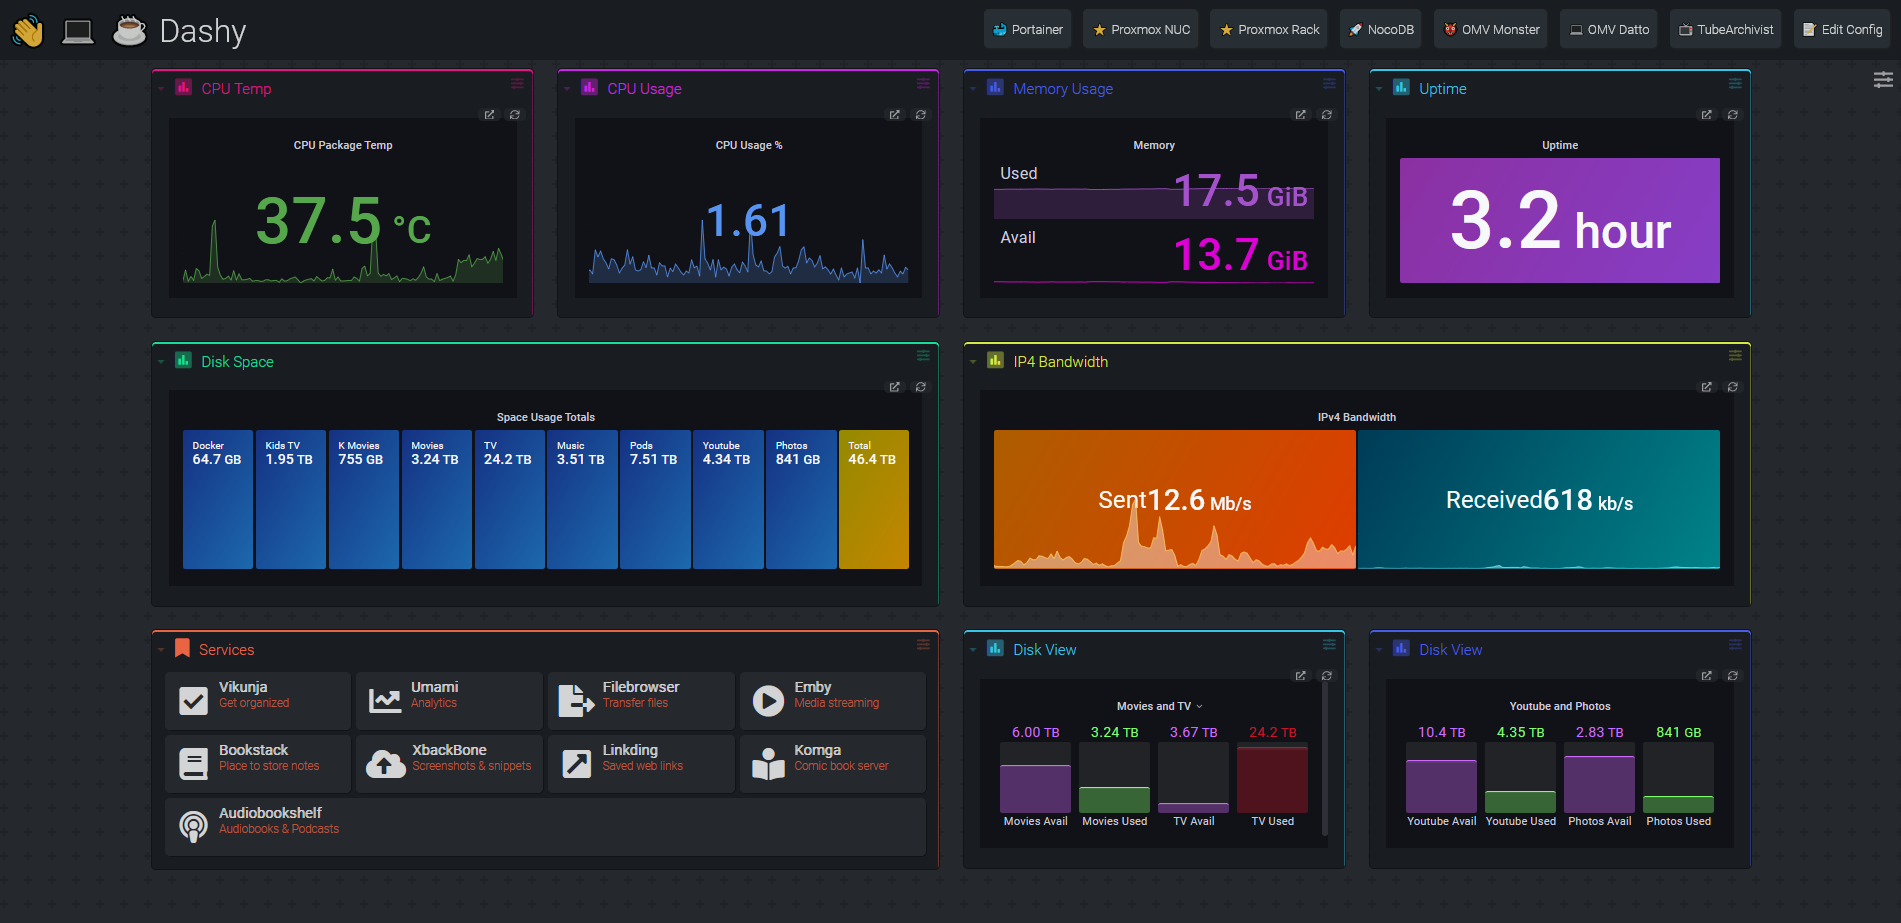
Dashy can be pretty much whatever you want it to be. I wanted a mixture of my Grafana dashboard and links to my self hosted services. I utilized Dashy's iframe widget to accomplish this. I chose the one-dark theme and changed the font to Roboto. In my opinion it looks good both on desktop and mobile so I was very pleased with the results!
If you want to try out Dashy, swing by the Dashy Github repo and give them a star!
Want to see more self hosted apps? Browse out Self Hosted app directory for more.


