Romm - Self-Hosted ROM Manager with EmulatorJS Baked In
Bring back childhood nostalgia with classic games by self-hosting Romm. A tool for organizing and playing ROM based games.
When I was a child in the 80's, game systems were a rare commodity and something we never had until Christmas of 1988. I opened a square box that had a Nintendo Entertainment System! I was 6 years old and on cloud nine when I opened that box.
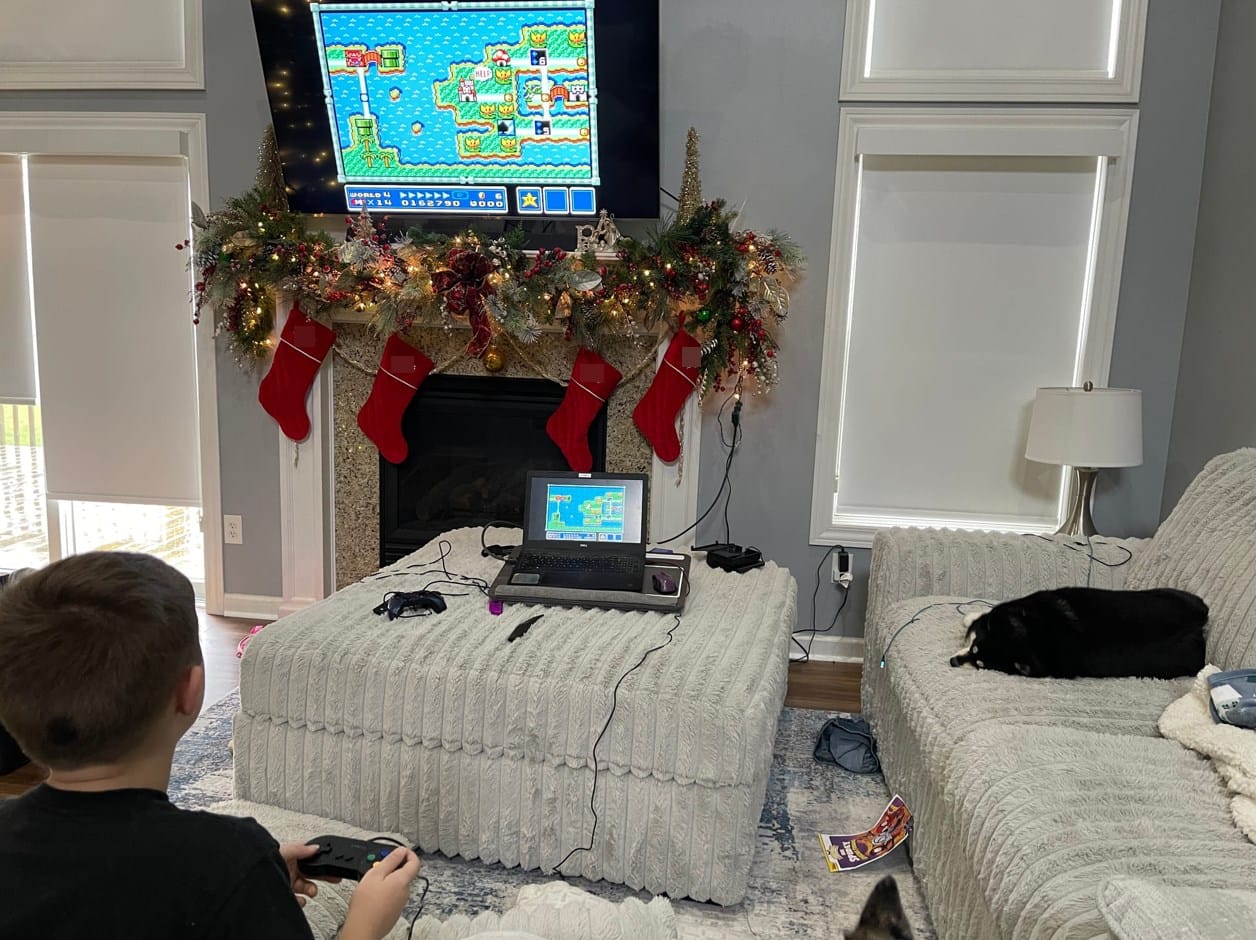
Today, to me, games seem much more based on eye candy and graphics. It feels like more effort goes into how games look than the experience you have with them. So when I discovered Romm it was a huge look back into the past and the nostalgia grew stronger with every level I played. Soon I had my 9 year old son and 5 year old daughter playing with me and we have been sharing laughs and competitive smirks ever since. We actually just got done playing Super Mario 3 with the better graphic sprites. What an amazing time we had!
What is Romm?
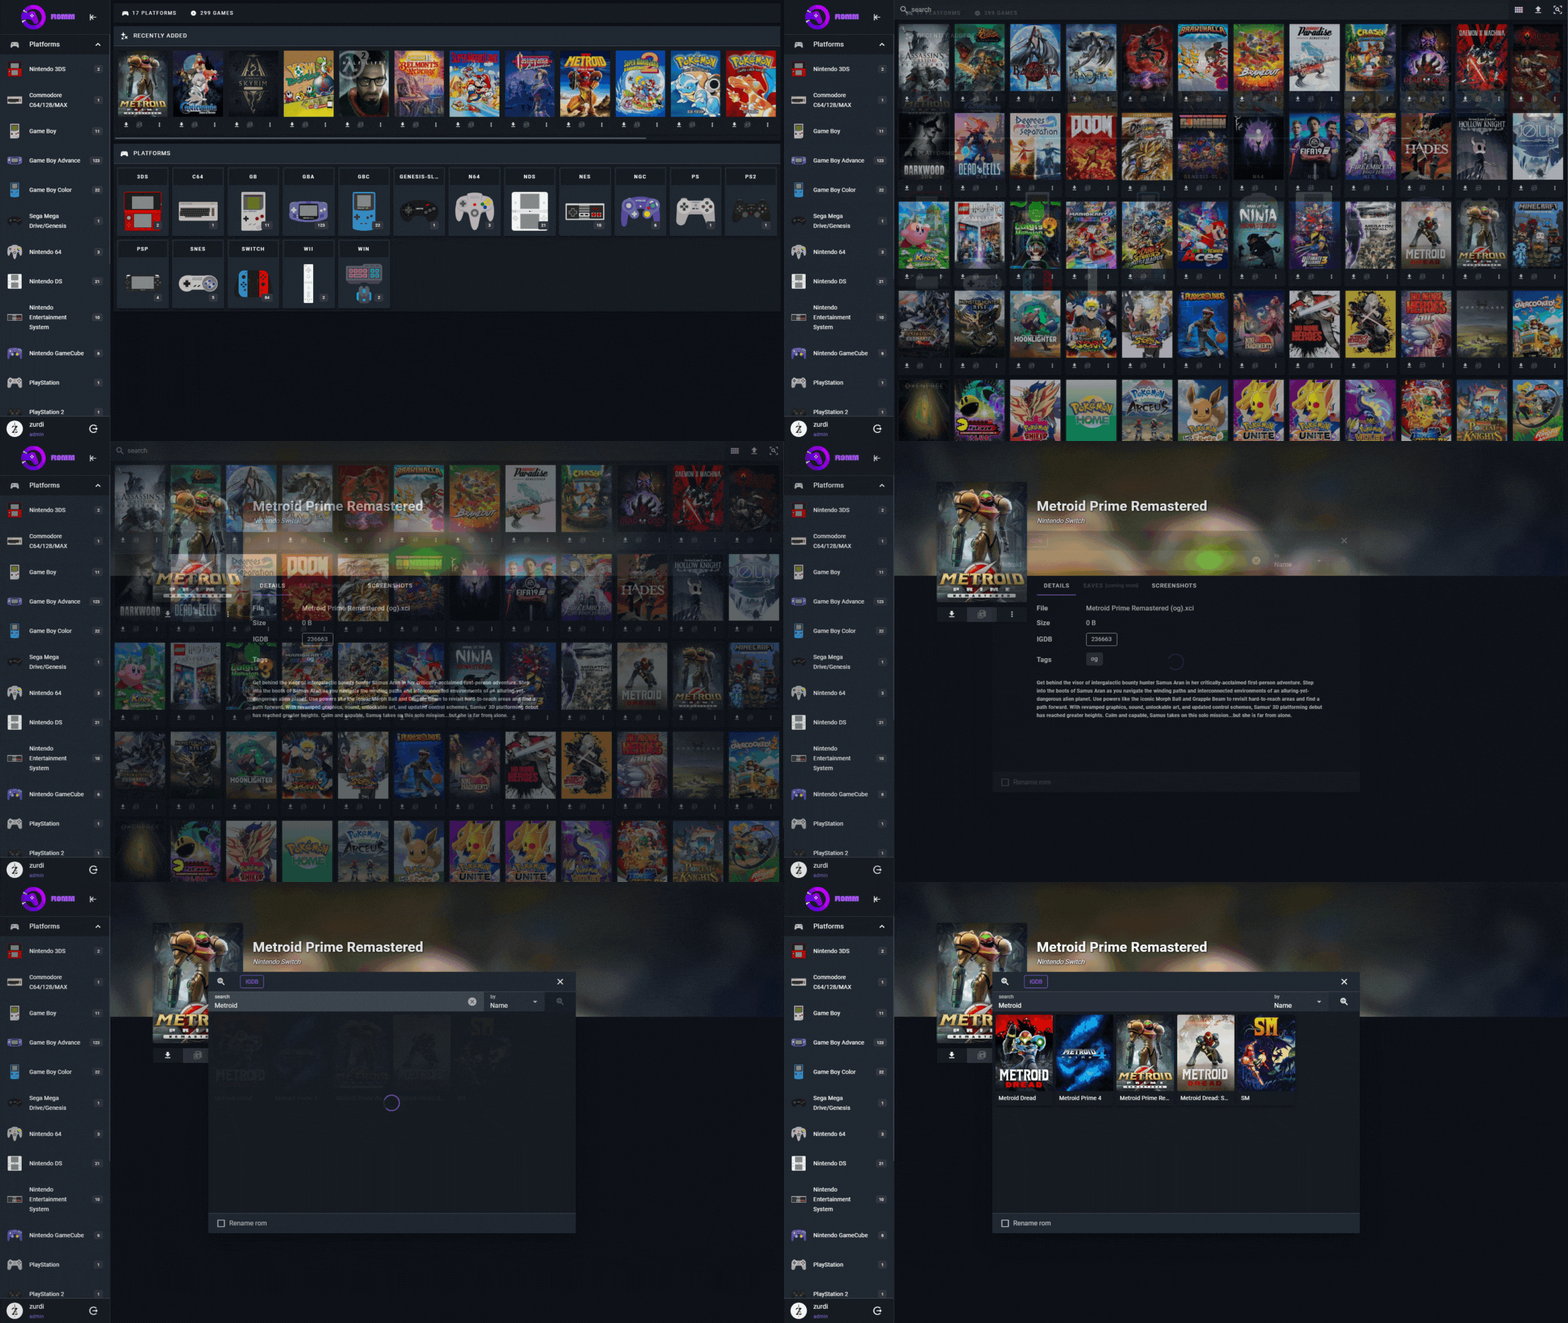
Romm is a helpful tool for gamers who use emulators. Its easy-to-use interface allows you to quickly scan and organize your game collection, making it simpler to find the ones you want to play next. It also supports multiple platforms and lets you add custom tags to help you categorize your games. The baked in EmulatorJS platform allows you to play supported system games right in your browser.
What are Game ROMs?
In gaming, a ROM (short for "read-only memory") is a digital copy of a video game that's stored on a cartridge or chip in an old console. You can use special devices to copy these games onto your computer or phone, so you can play them on different devices. In this case, we are using EmulatorJS packaged within Romm to play our games.
Install Romm on your System
First, you'll need to hop over to IGDB and grab an ID and Secret using their API through Twitch. It's pretty painless so don't worry, it only takes a couple minutes. If you already have a Twitch.TV account you can log in with that. Later you will add the key and secret in the Docker Compose.
This allows Romm to pull metadata into the DB like box cover art, game descriptions and more. It's not required to play the games in the browser but definitely makes the Romm experience more enjoyable.
Adding ROMs is really the only tricky part because the folder structure needs to be that of which Romm understands. See the image below for how mine are setup.

One thing I advise against is adding folders with thousands of ROMs. I had issues with the DB breaking on multiple occasions and it was not a good experience. So I only add the games I enjoy most. Most likely something I was doing but it's working great now!
For more on folder structure, see the Romm documentation that explains this in much more detail. Also, the names of the Romm folders for each system must be as follows.
I installed Romm on my Proxmox server using Docker Compose. If you need help installing Docker and want to learn more about how to get started self-hosting with Docker, please see our getting started with self-hosting guides.
Use the following Docker Compose stack to setup Romm on your host:
services:
  romm:
    image: rommapp/romm:latest
    container_name: romm
    restart: unless-stopped
    environment:
      - DB_HOST=romm-db
      - DB_NAME=romm # Should match MYSQL_DATABASE in mariadb
      - DB_USER=romm-user # Should match MYSQL_USER in mariadb
      - DB_PASSWD=4I15WdXs6M2k9V # Should match MYSQL_PASSWORD in mariadb
      - DB_PORT=3306
      - ROMM_AUTH_SECRET_KEY=<YOUR KEY> # Generate a key with `openssl rand -hex 32`
      - IGDB_CLIENT_ID=<YOUR ID> # Generate an ID and SECRET in IGDB
      - IGDB_CLIENT_SECRET=<YOUR SECRET> # https://api-docs.igdb.com/#account-creation
    volumes:
      - /docker/romm/romm_resources:/romm/resources # Resources fetched from IGDB (covers, screenshots, etc.)
      - /docker/romm/romm_redis_data:/redis-data # Cached data for background tasks
      - /ROMS/Romm:/romm/library # Your game library
      - /docker/romm/assets:/romm/assets # Uploaded saves, states, etc.
      - /docker/romm/config:/romm/config # Path where config.yml is stored
    ports:
      - 8998:8080
    depends_on:
      - romm-db

  romm-db:
    image: mariadb:latest # if you experience issues, try: linuxserver/mariadb:latest
    container_name: romm-db
    restart: unless-stopped
    environment:
      - MYSQL_ROOT_PASSWORD=4I15WdXs6M2k9V # Use a unique, secure password
      - MYSQL_DATABASE=romm
      - MYSQL_USER=romm-user
      - MYSQL_PASSWORD=4I15WdXs6M2k9V
      - PUID=1000
      - PGID=1000
    ports:
      - 3306:3306
    volumes:
      - /docker/romm/mysql_data:/var/lib/mysql
You may need to change ports and volumes to suit your needs but if its the only app on the host you shouldn't have to. Don't forget to add your IGDB secret and key!
Once Romm in installed, go to the IP of the host on port 8998 and create an admin account.
Setting up Romm for the first Time
Once logged in you can go to /scan to scan for ROMs on your host.
Keep in mind that Romm and EmulatorJS only support certain game systems to play in your browser. So if you are expecting to play PS3 games on this, you will be sadly disappointed to figure out you can't... yet. It mostly supports older systems at this time. You can still add ROMs for cataloguing and browsing but won't be able to play the ones that are not supported by the emulator system.
That's pretty much it! Let the games scan in and then you can browse and play supported games.
Using a USB Game Pad with Romm
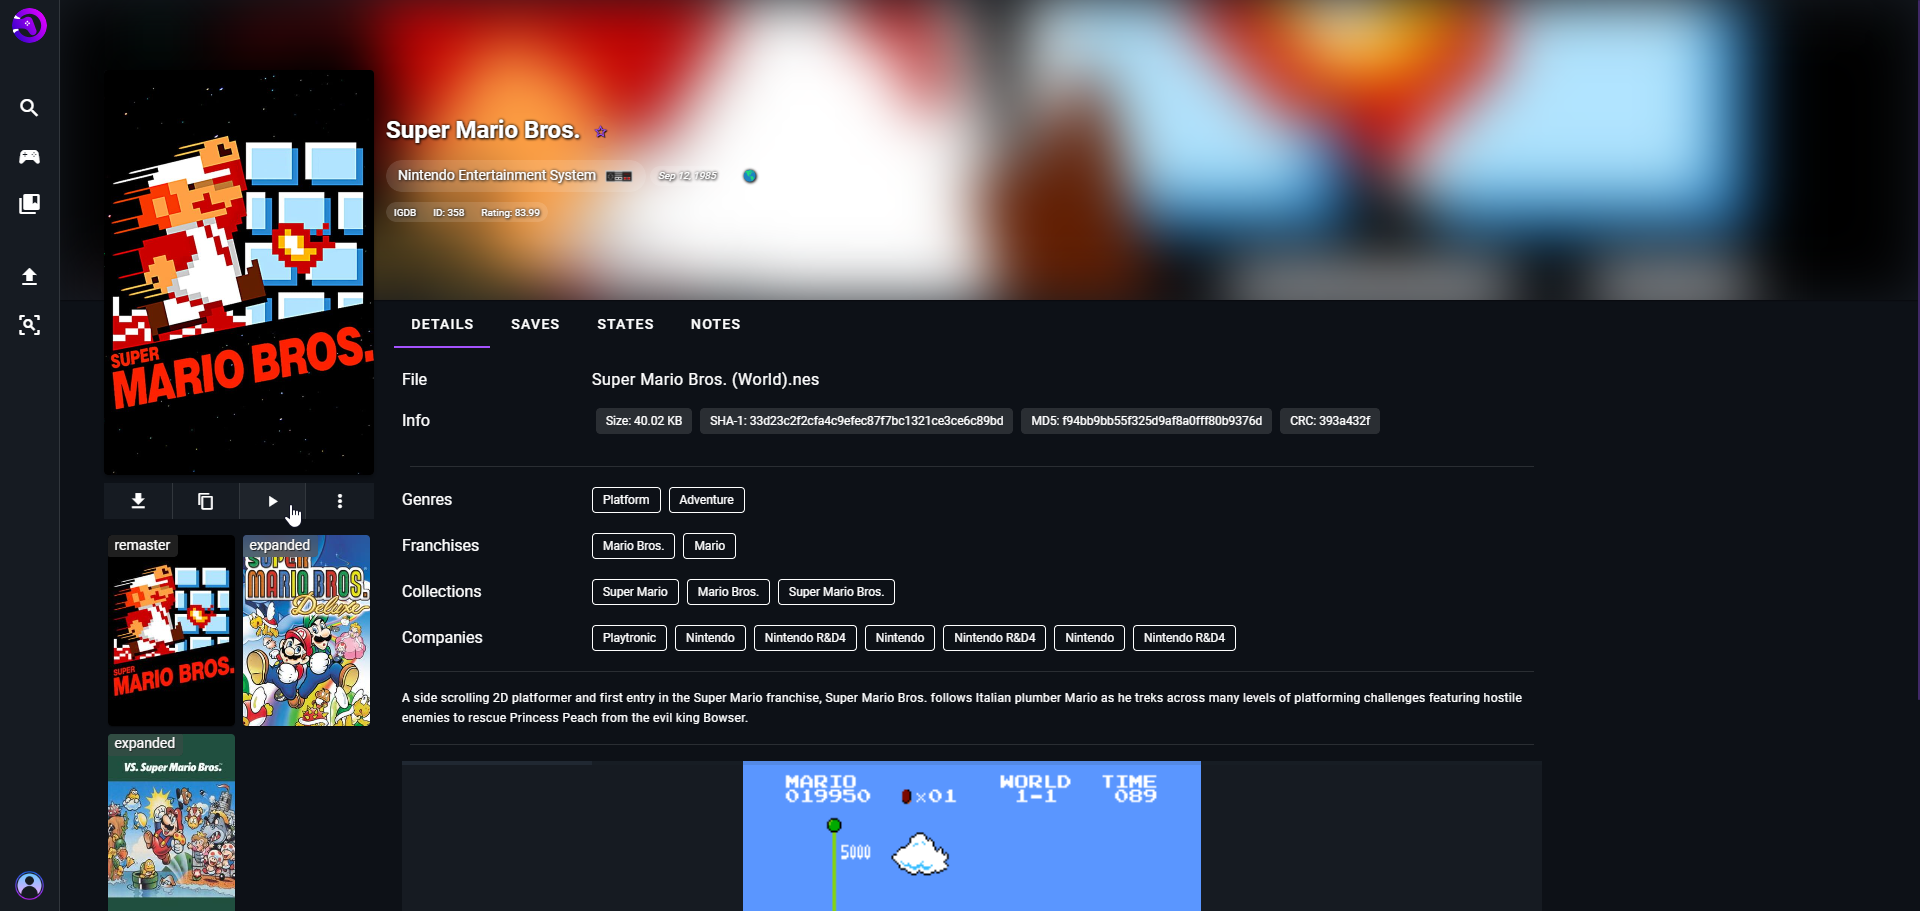
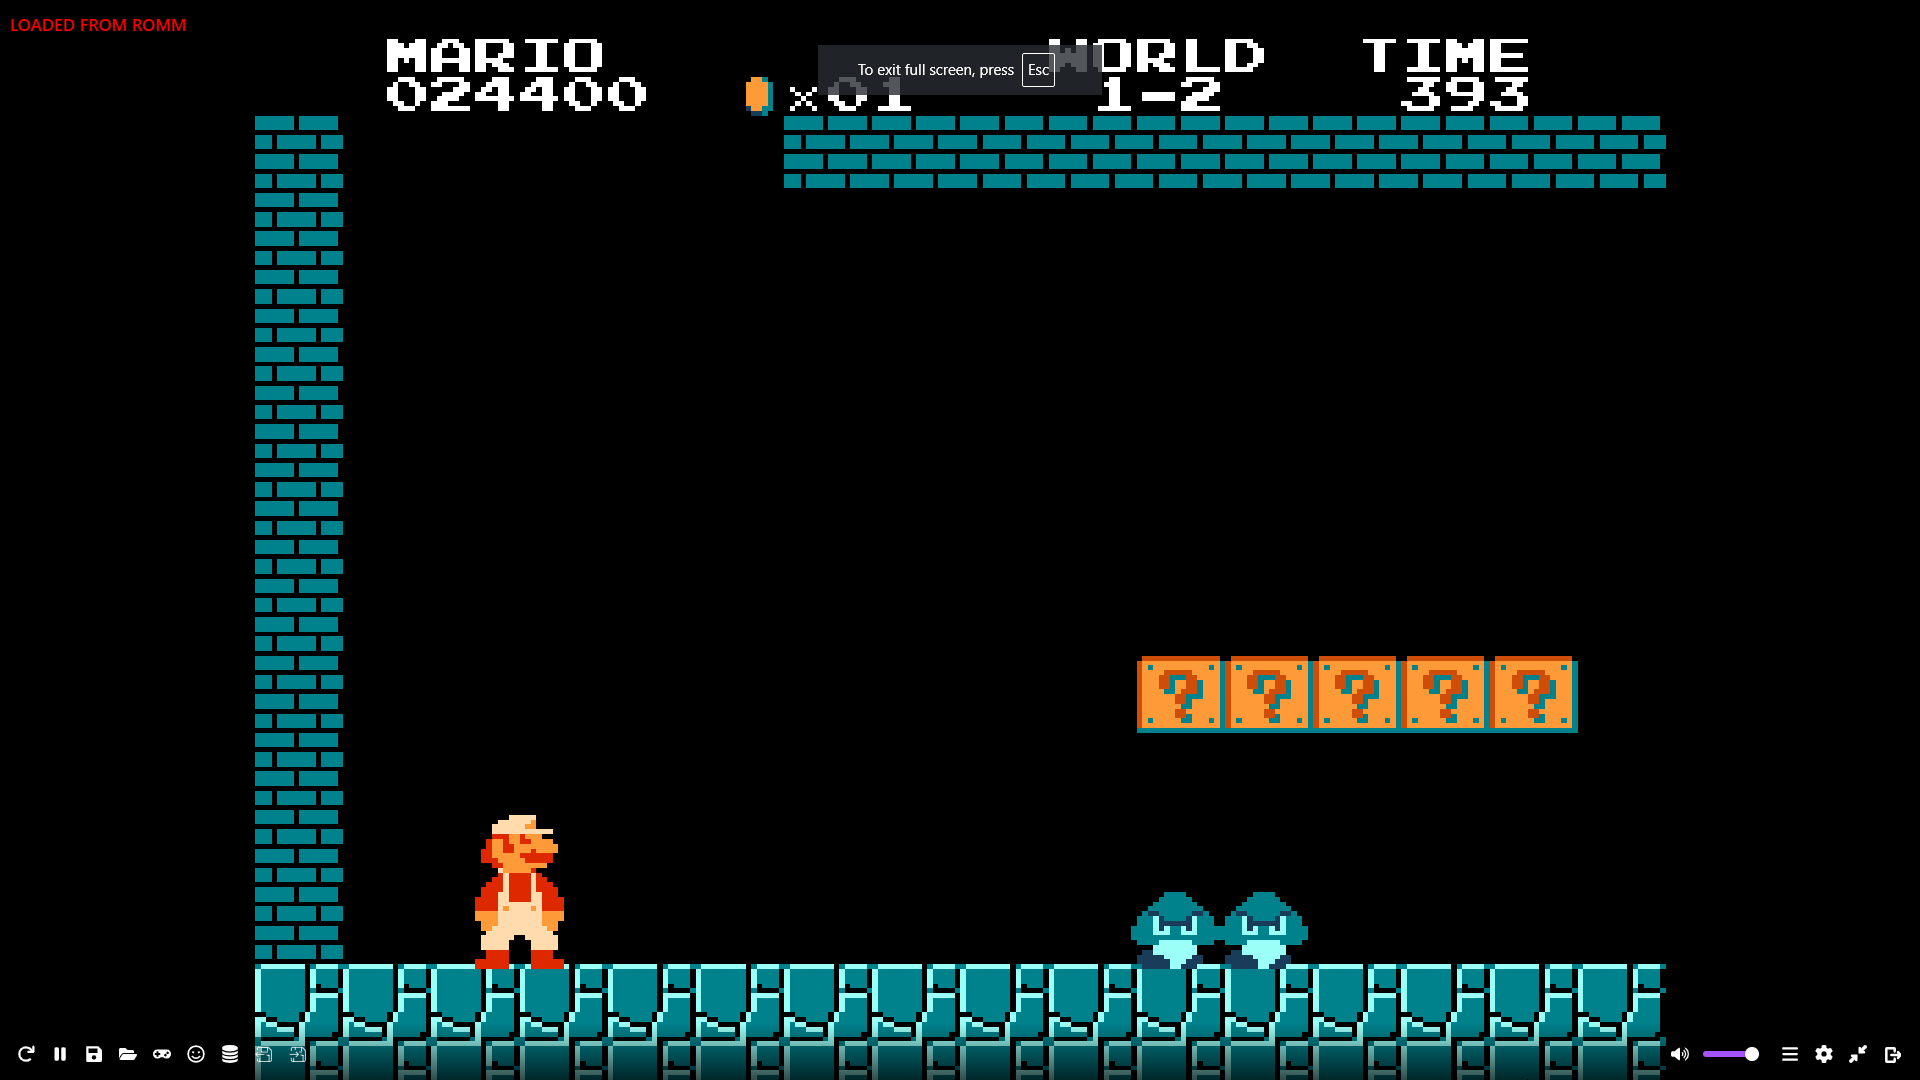
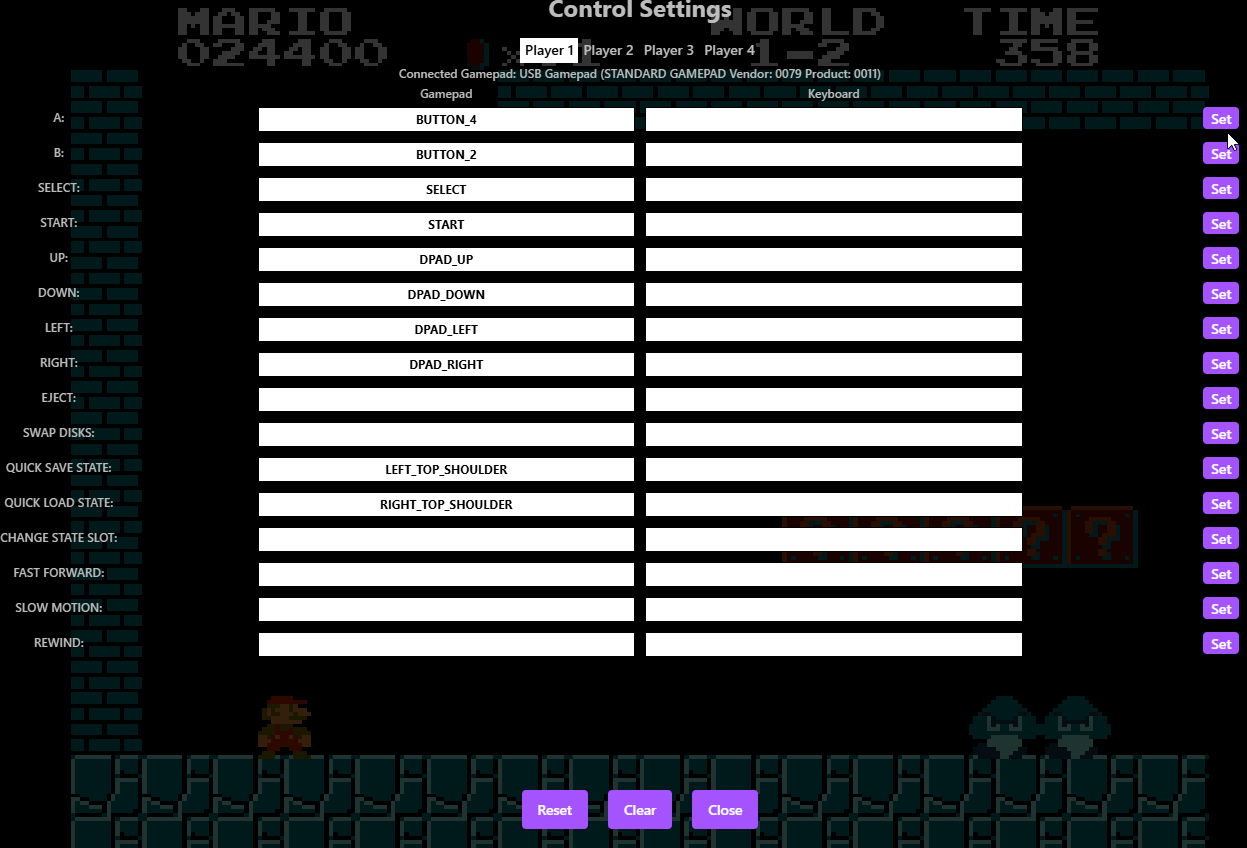
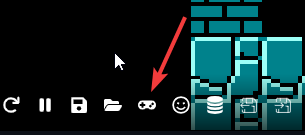
You can easily setup and use USB game pads with Romm. First you need to enter a game and on the bottom left side click the game pad icon. Make sure your game pad is plugged in then press a button to activate the game pad. From here you can map the buttons and this is where it gets really fun! You can map quick save, quick load, rewind and fast forward. So if you are not feeling as skilled as you once were when you were a child, those buttons will come in handy and sure have your back.
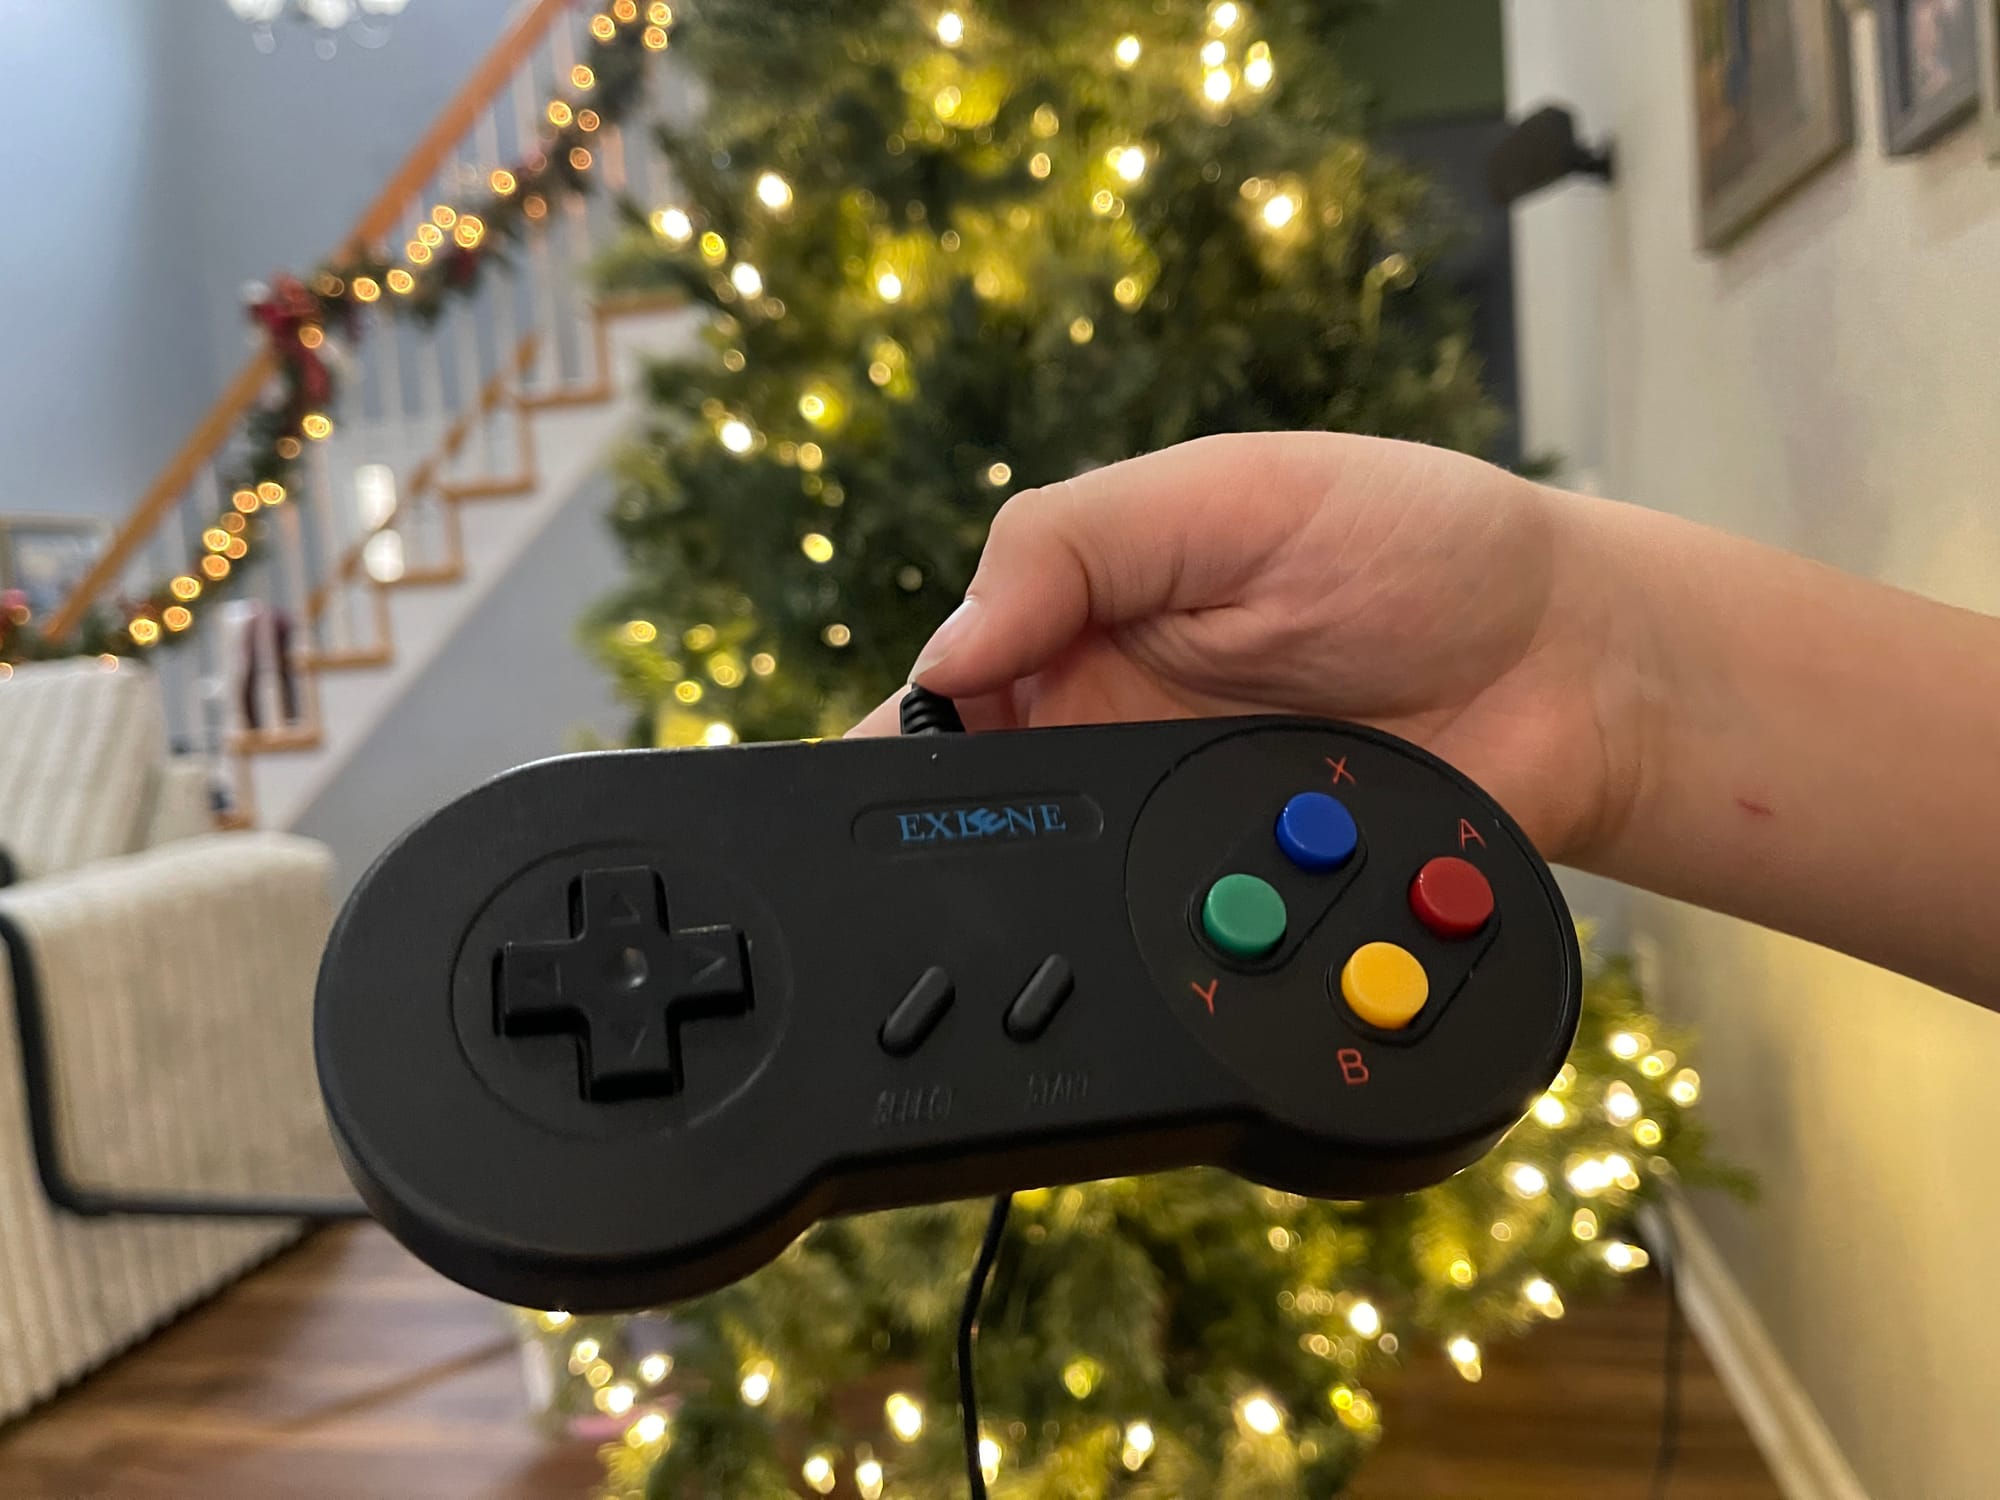
I use a SNES style game pad (NOT and affiliate link) and they seem to work great for every game I've tried. They are dirt cheap but the quality of the controls are phenomenal.
While Romm is installed on my Proxmox server, I use a laptop to access it for better portability so I can place it where I want it and use HDMI to the TV. My laptop has 3 USB ports and easily supports 2 USB game pads.
Some other useful Info
The quick save button will only save states in your current session and will not save to the server. To save to the server, you need to use the mouse and click the disk icon in the emulator tray. I could not find a way to map that option but would love to see that happen some day in a later Romm release. Because of this, I stopped using the quick save and now only use rewind as this allows you to scrub back to wherever you wish. Fast forward allows you to scrub through dialogue and other things that take time. It's a feature of Romm that really makes the experience more enjoyable for people like me who are less skilled and definitely have less patience. It saves you from having to start all over again!
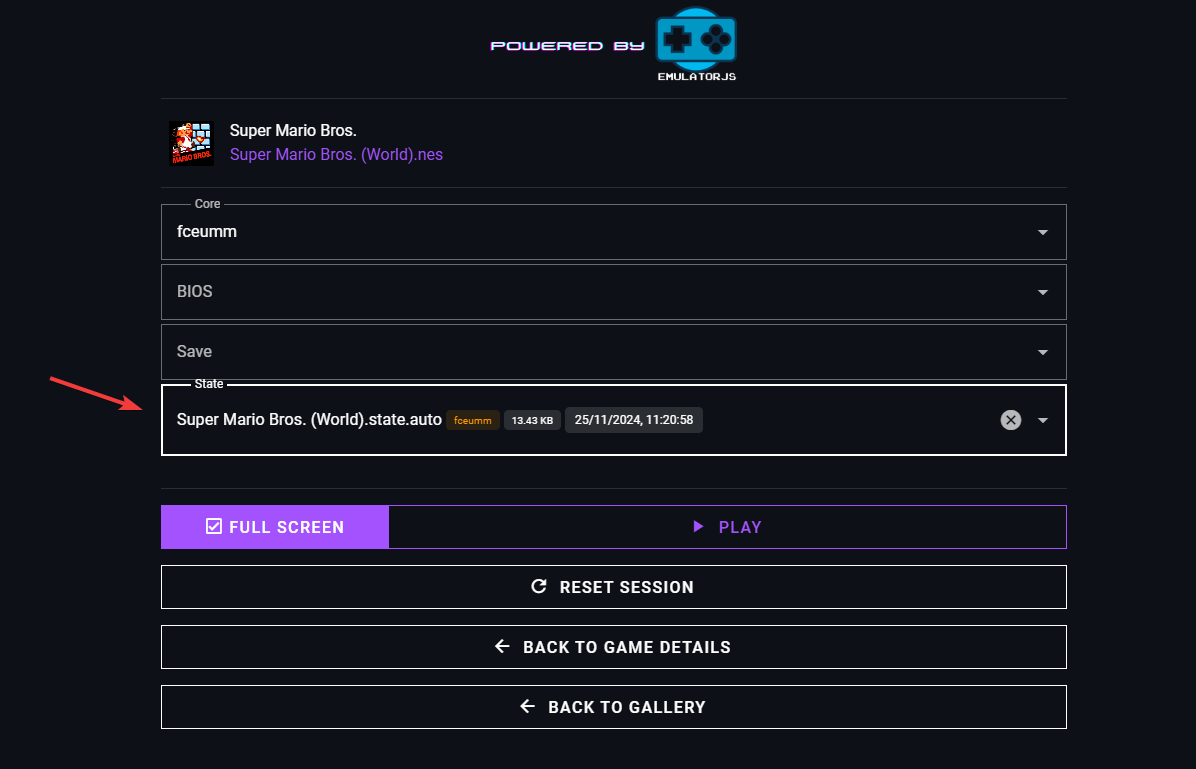
Now I can close the game and pick up where I left off another day. I sure wish I had these options back in the day!
Final Notes and Thoughts
Romm has filled a void this holiday season. My kids and I have the week off for Thanksgiving and we have been having a blast playing retro games that I played as a child. One quote from my son. "Dada, why are your games so hard?! Why are they so flat!?" HA!
I highly recommend checking out Romm. Swing by the Romm Github repo and give the project a star. Any issues should also be directed to the Romm issue tracker.


