

Are you really ready to host your own Ghost blog? I think you might be surprised how simple it can be. However, don't be fooled, there is quite the checklist you should prepare yourself for when making this decision. I'll take you through the process and guide you along the way to self hosting your very own Ghost blog using a domain name and Cloudflare DNS. To button things up, we will cover some basic Cloudflare security features.
Table of Contents
What you'll need to get started
- A host machine that can always be online
- Docker installed
- Portainer installed
- A free Cloudflare account
- A domain name
Choosing Hardware to Self Host your Website
Hosting a service such as Ghost is pretty painless. It requires very little resources and can be done on something as small as a Raspberry Pi. I use something much more powerful with a very small footprint.
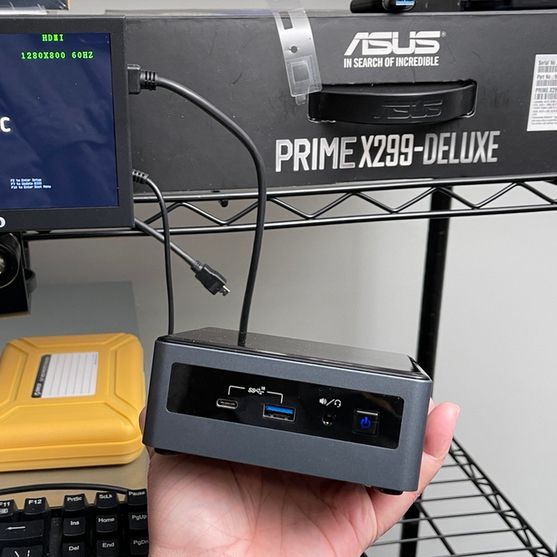
The NUCi7FNH is my Proxmox host where I manage all of my hypervisors. Noted is being ran in a VM with 3GB of RAM and 50GB of allocated drive space.
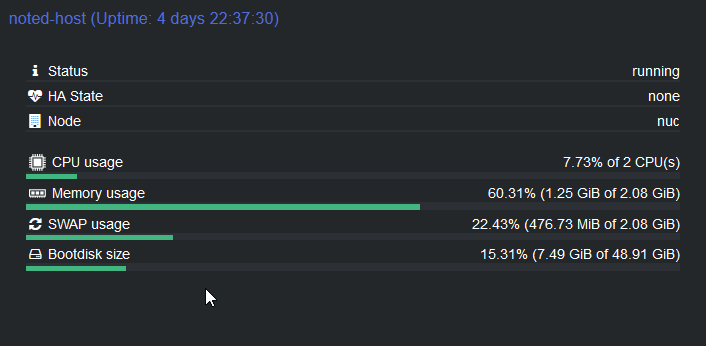
I recommend you have a machine with at least 2GB of RAM and 50GB of space to be safe. If this is a personal website that you don't plan on promoting to an audience, you can definitely get away with less RAM. But once those logs start rolling and traffic pours in, you will need more.
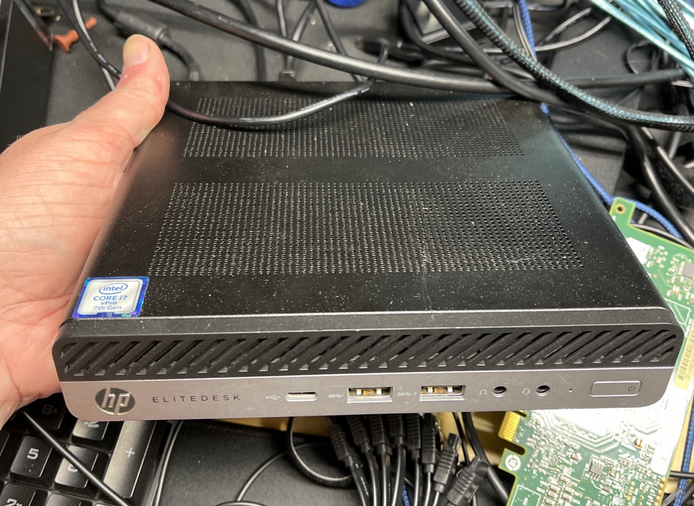
If you are just starting out, I highly recommend a used mini PC like a Datto, NUC or a HP Elite Desk 800 Mini. They are very tough machines and use very little power consumption.

Choosing an Operating System
I prefer using Debian because it's a widely supported OS when it comes to Docker. I know Debian well. You can also use Ubuntu. Ubuntu is a Linux distribution based on Debian so the following commands in this guide will or should work the same.
Install Docker on your Debian Host
Click for installation Docs
Update the apt package index and install packages to allow apt to use a repository over HTTPS.
sudo apt-get update
sudo apt-get install ca-certificates curl gnupg lsb-release
Add Docker’s official GPG key.
sudo mkdir -p /etc/apt/keyrings
curl -fsSL https://download.docker.com/linux/debian/gpg | sudo gpg --dearmor -o /etc/apt/keyrings/docker.gpg
Set up the repository.
echo "deb [arch=$(dpkg --print-architecture) signed-by=/etc/apt/keyrings/docker.gpg] https://download.docker.com/linux/debian
$(lsb_release -cs) stable" | sudo tee /etc/apt/sources.list.d/docker.list > /dev/null
Install docker.
sudo apt update && sudo apt-get install docker-ce docker-ce-cli containerd.io docker-compose-plugin
Verify if docker is successfully installed.
sudo docker run hello-world
Install Portainer on the Debian Host
Portainer is a fantastic tool that I used to help manage my Docker containers. I use it to view logs and even deploy new containers using Docker Compose. Install Portainer using the following command on your Debian host terminal. This is not Docker Compose so be sure to run this command in your docker host terminal.
docker run -d \
--name="portainer" \
--restart on-failure \
-p 9000:9000 \
-p 8000:8000 \
-v /var/run/docker.sock:/var/run/docker.sock \
-v portainer_data:/data \
portainer/portainer-ce:latest
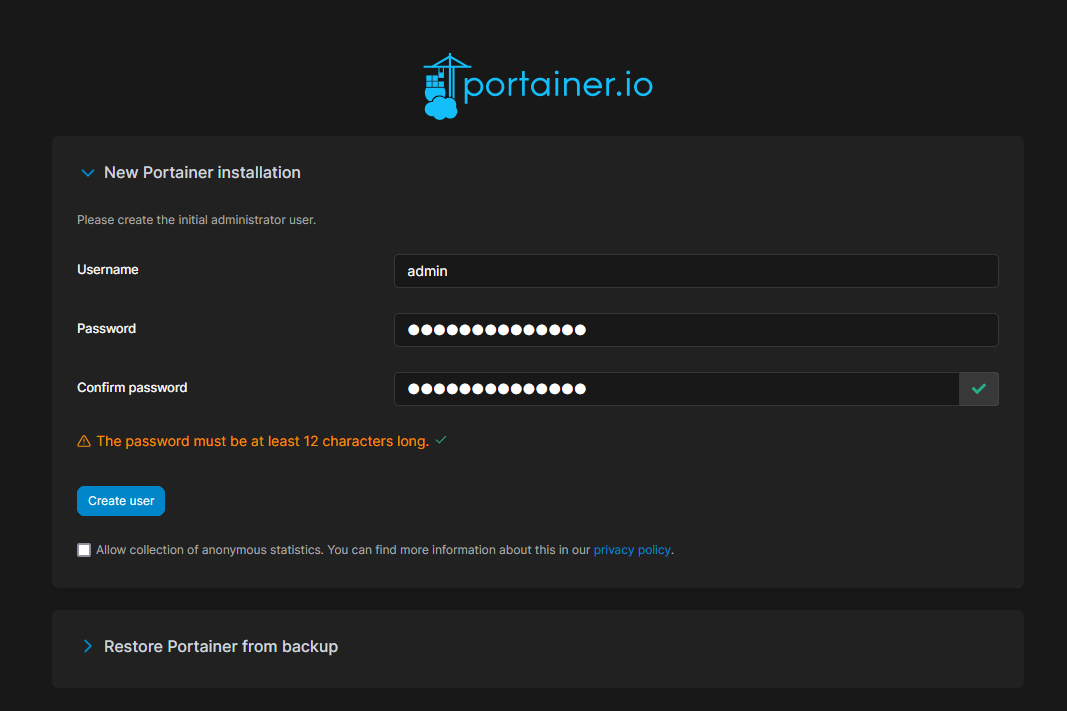
When the install is complete, navigate to the host IP on port 9000 to setup your Portainer admin account. If you don't know the IP type ip addr in the host terminal and hit enter. It should look like this.
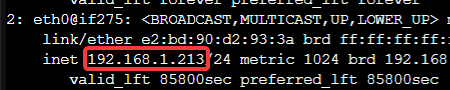
So I would go to 192.168.1.213:9000 in my browser and be presented with the Portainer admin user setup page.
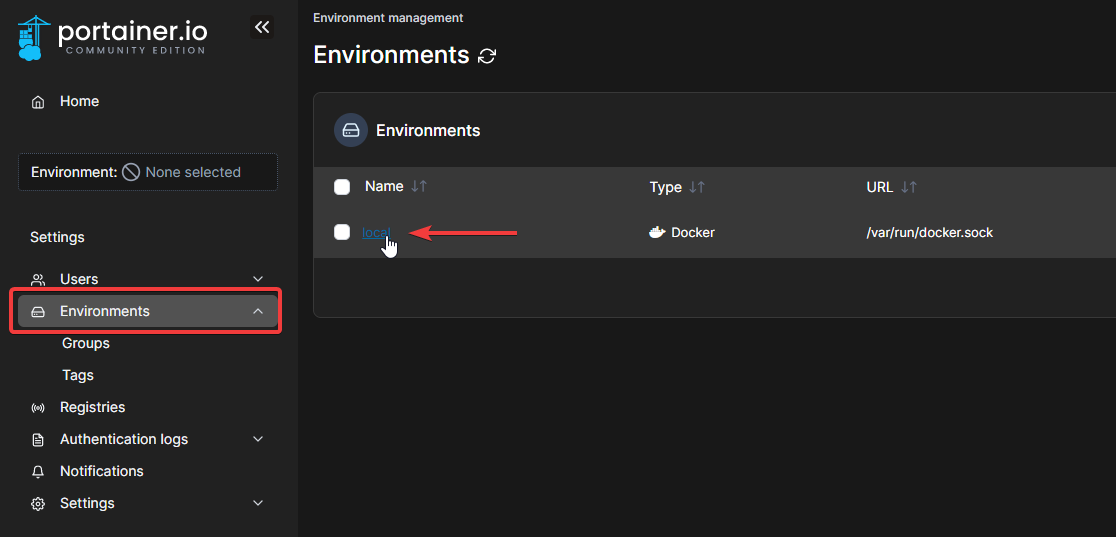
Get logged in and head over to the Environments tab and click on the lcoal Environment.
Now add the IP of your host in the Public IP field. This allows us to click the container ports to open them in a browser later. Again, make sure you are adding your host IP, not mine shown in the example.
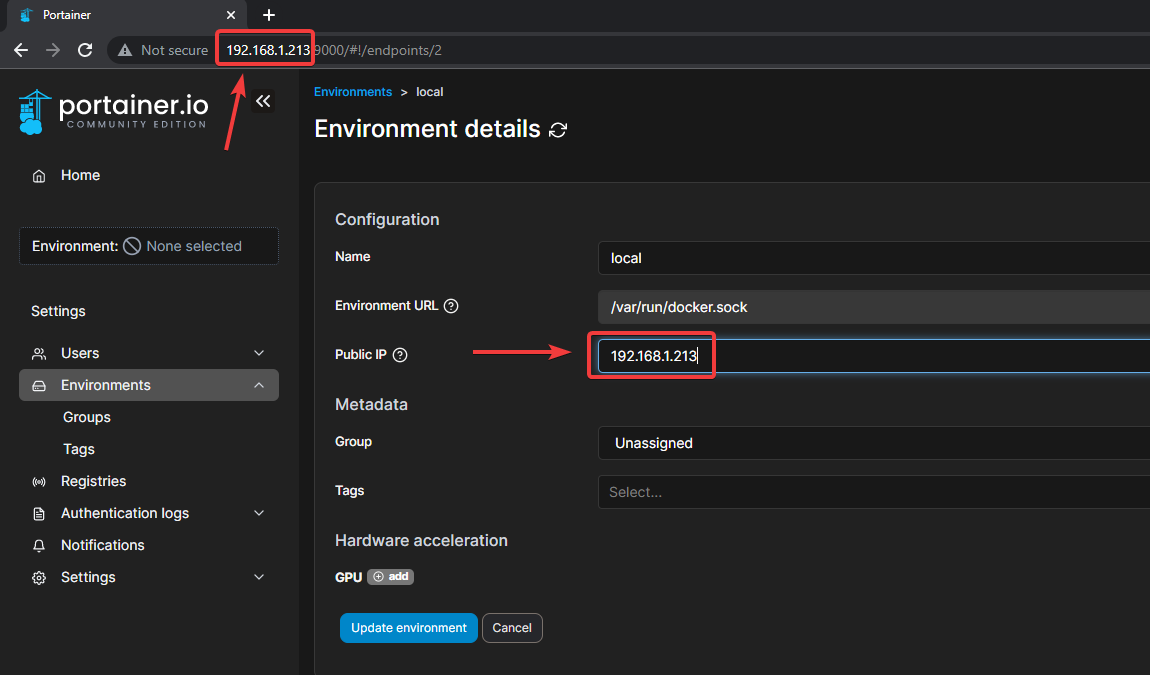
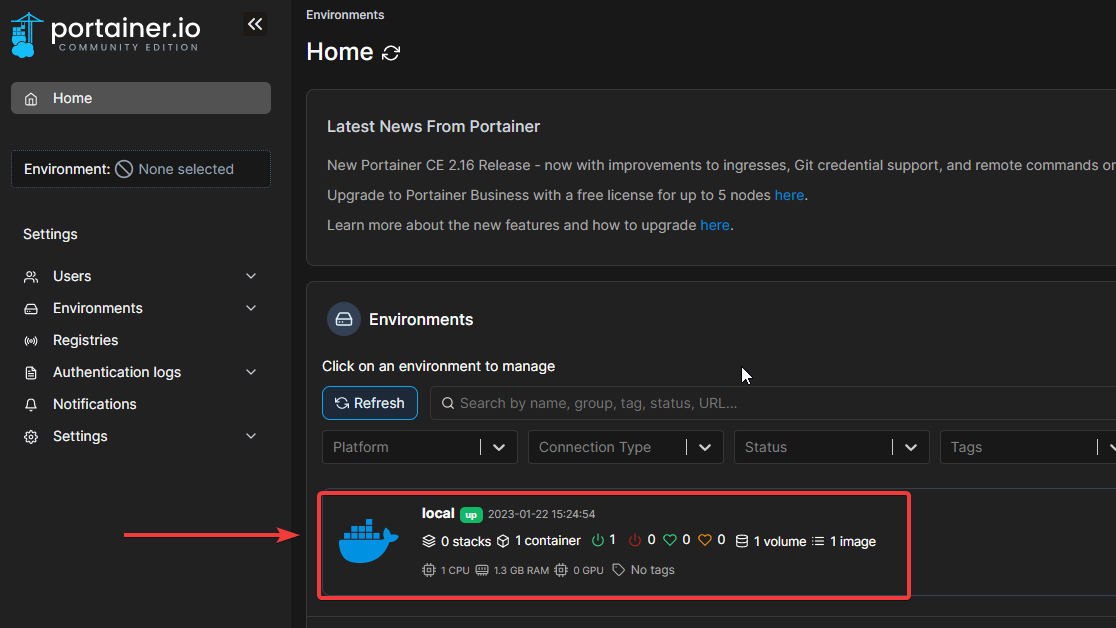
Click "Update environment" to save it. Now head to the main dashboard to select the local Environment.
Now I will show you how easy it is to install Ghost using the Portainer built in Stacks page.
Ghost installation using Docker and Portainer
Docker is an amazing tool that allows us to containerize applications such as Ghost and deploy them pretty much anywhere. This is the official Ghost Docker Compose stack that I use for Noted site. We can simply grab the Docker Compose stack below and paste it into a new stack window like so.
version: '3'
services:

  ghost-server:
    image: ghost:5
    cap_add:
      - CAP_SYS_NICE
    security_opt:
      - seccomp:unconfined
    restart: always
    ports:
      - 2368:2368
    depends_on:
      - ghost-db
    environment:

      url: http://localhost:2368
      database__client: mysql
      database__connection__host: ghost-db
      database__connection__user: root
      database__connection__password: V3ryS3cretP@ssw0rd
      database__connection__database: ghost
    volumes:
      - /docker/ghost/content:/var/lib/ghost/content
  ghost-db:
    image: mysql:8
    security_opt:
    - seccomp:unconfined
    restart: always
    command: --mysql-native-password=ON
    environment:
      MYSQL_ROOT_PASSWORD: V3ryS3cretP@ssw0rd
    volumes:
      - /docker/ghost/mysql:/var/lib/mysql
Be sure to change the url to your domain name.
Make sure to add a name for the stack at the top. Name it ghost.
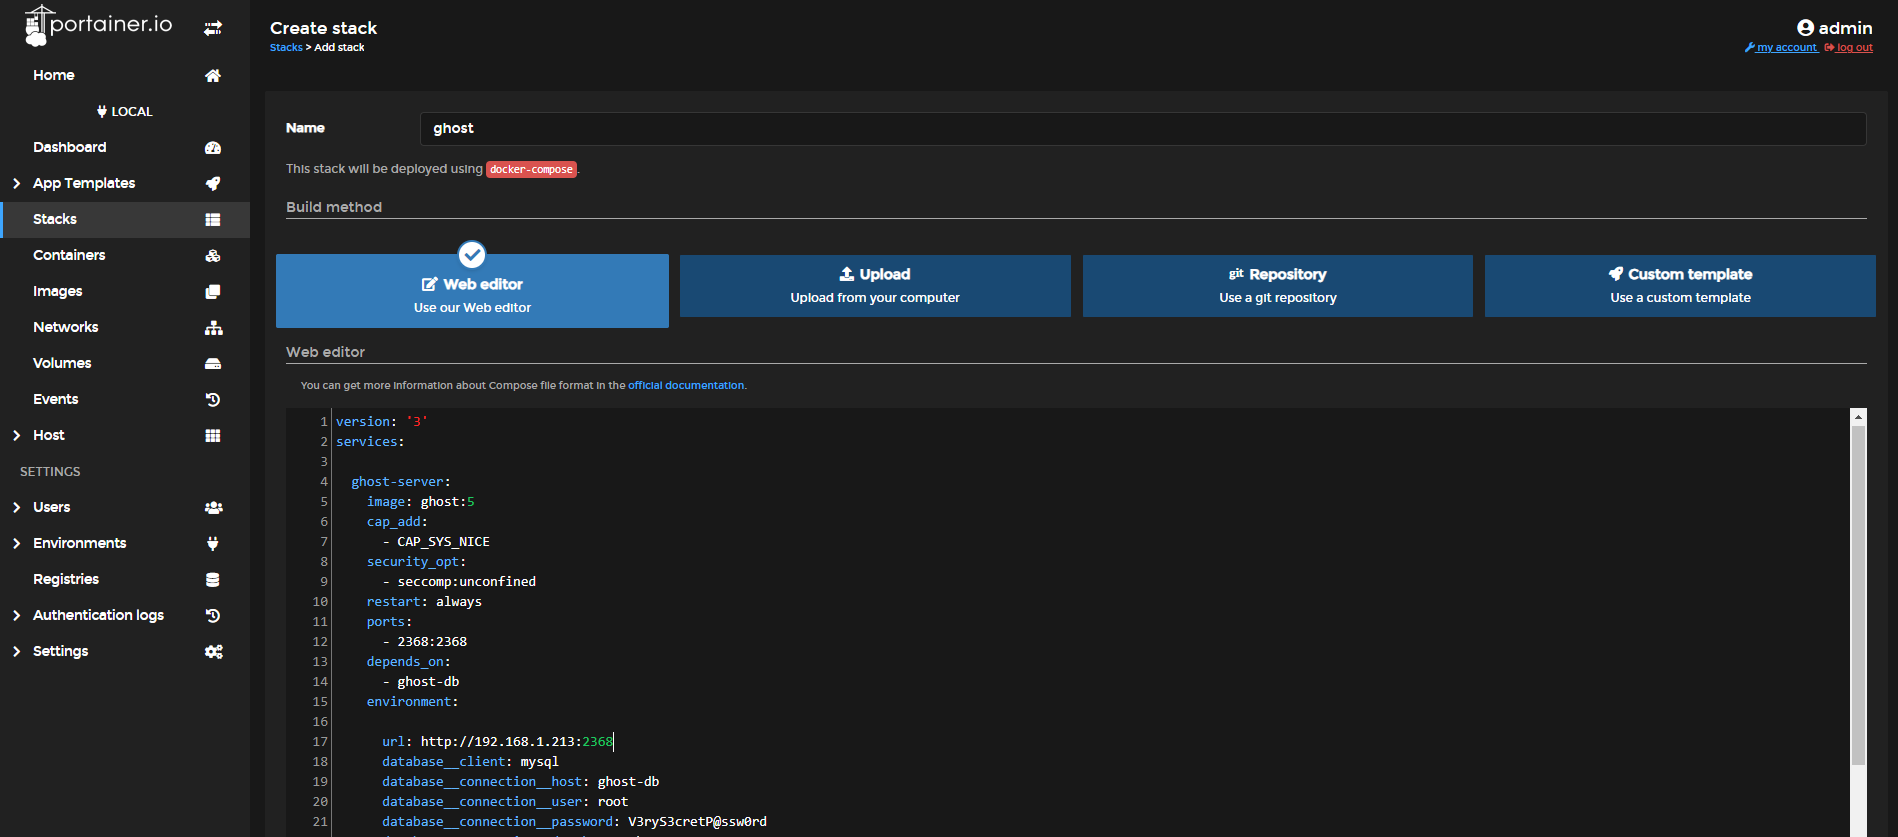
For now, we will test locally to see if the stack deploys properly. Notice how I put my host IP in where the URL environment is? You will need to do the same and replace http://localhost:2368 with your host IP. So mine will be http://192.168.1.213:2368. Then we can scroll down and hit "Deploy the stack" and wait. This usually takes about 30-60 seconds because in the background it is pulling the required images such as Ghost and the MySQL DB and deploying it to your host with the required settings in the Docker Compose stack above.
When it's finished, click on Containers then the ghost-ghost-server-1 port link on the far right as seen below.
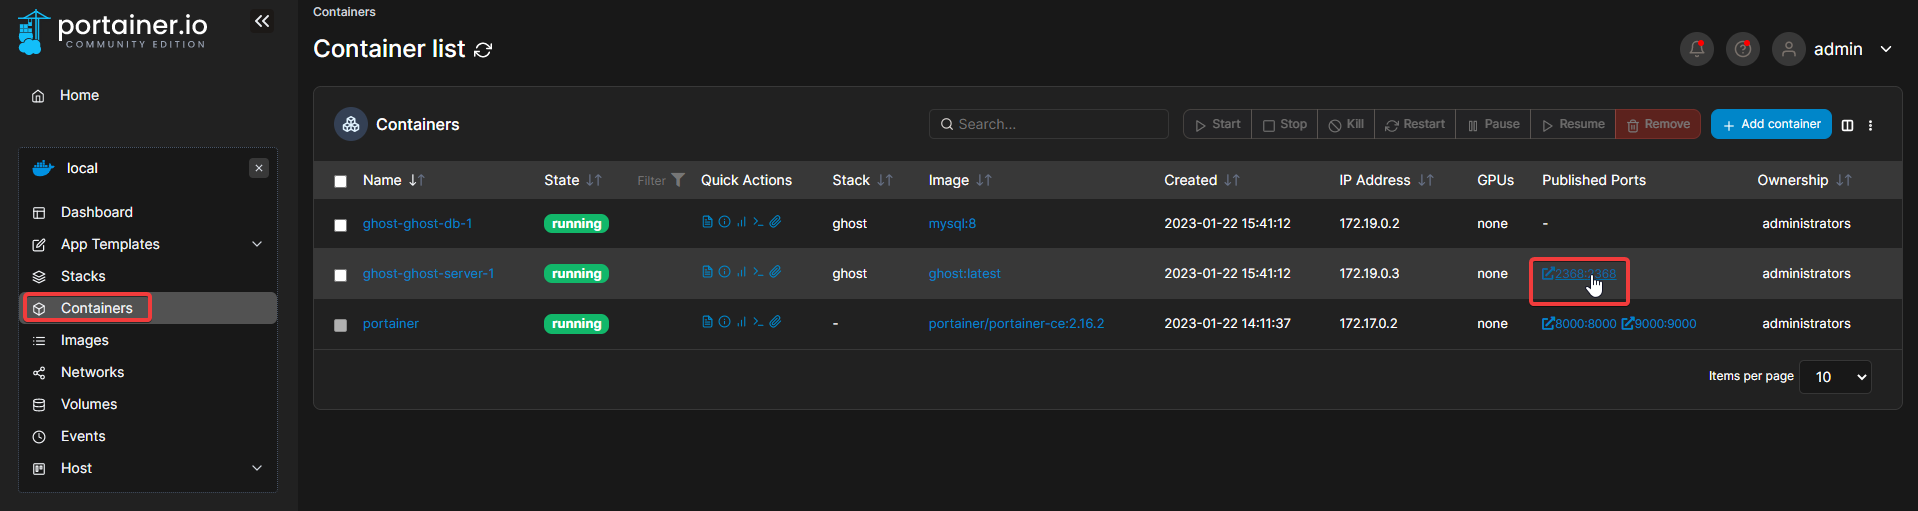
If everything went correctly, when you click the port link, it will open your Ghost blog locally in a new window.
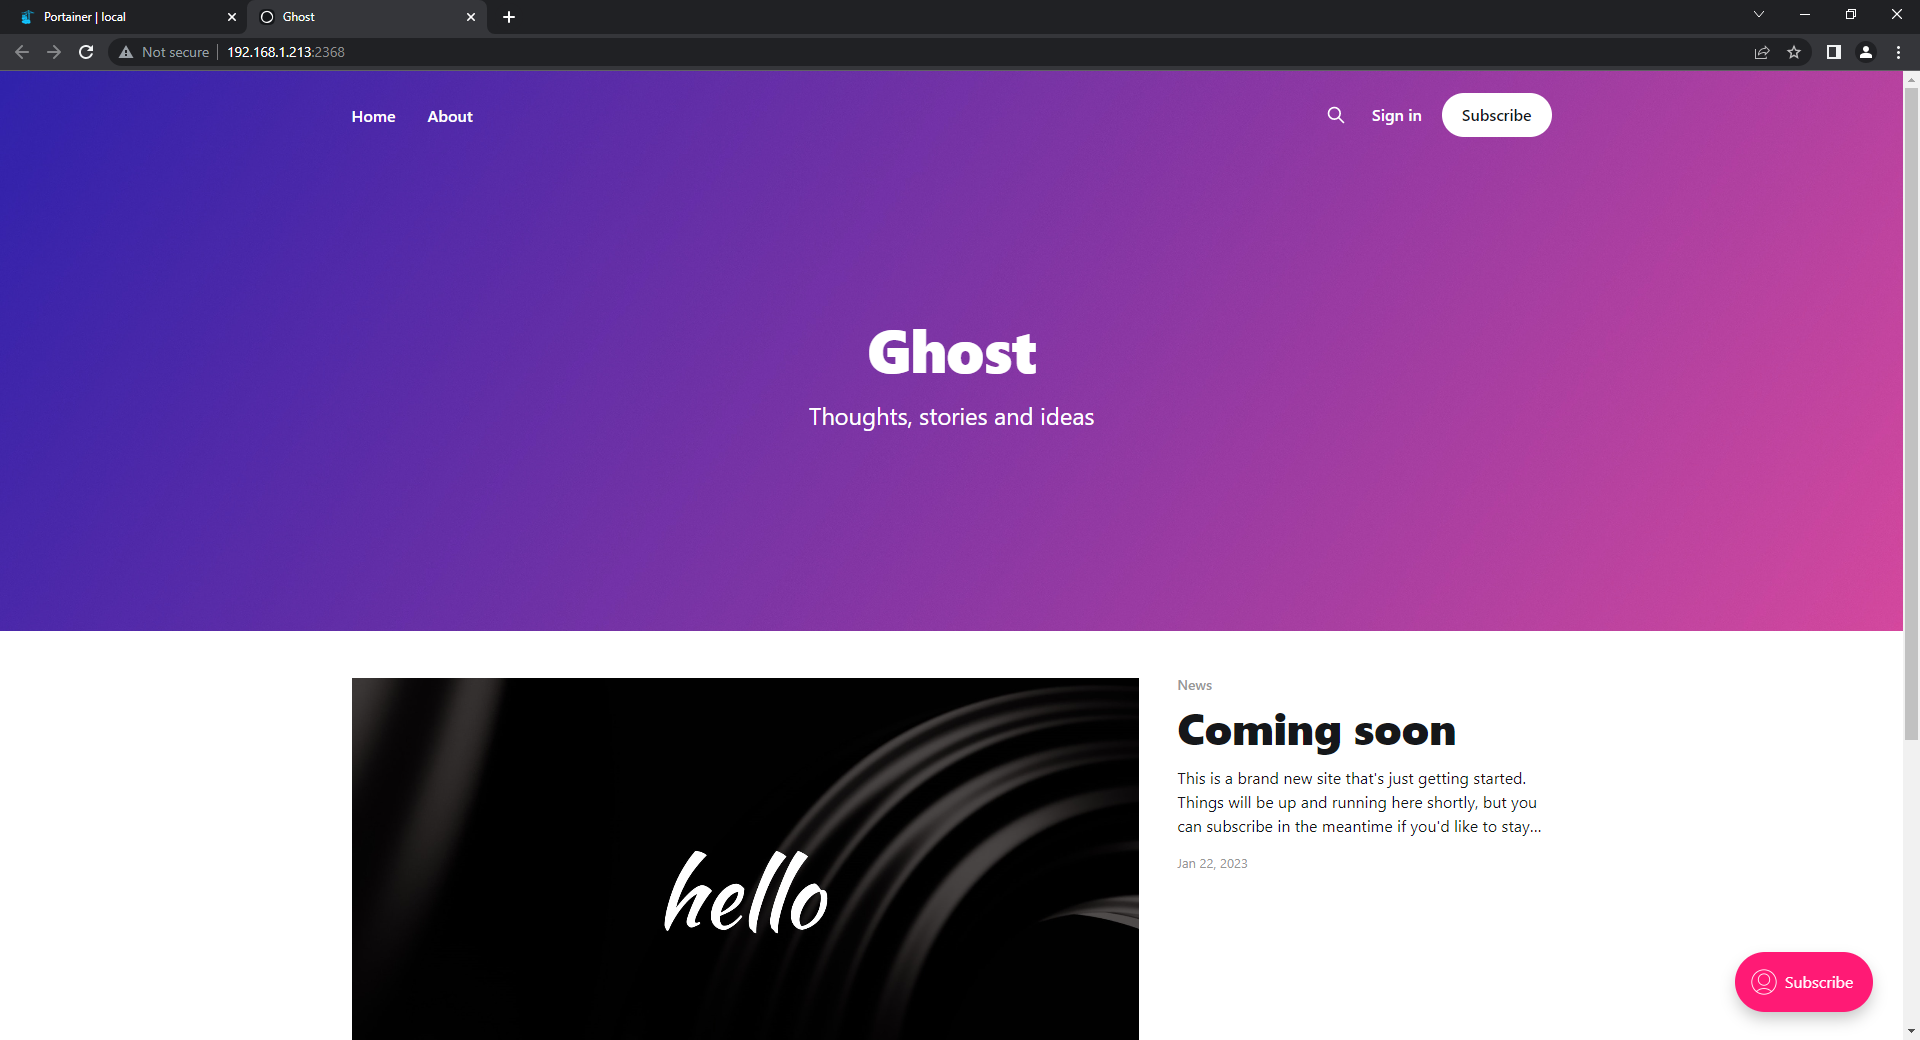
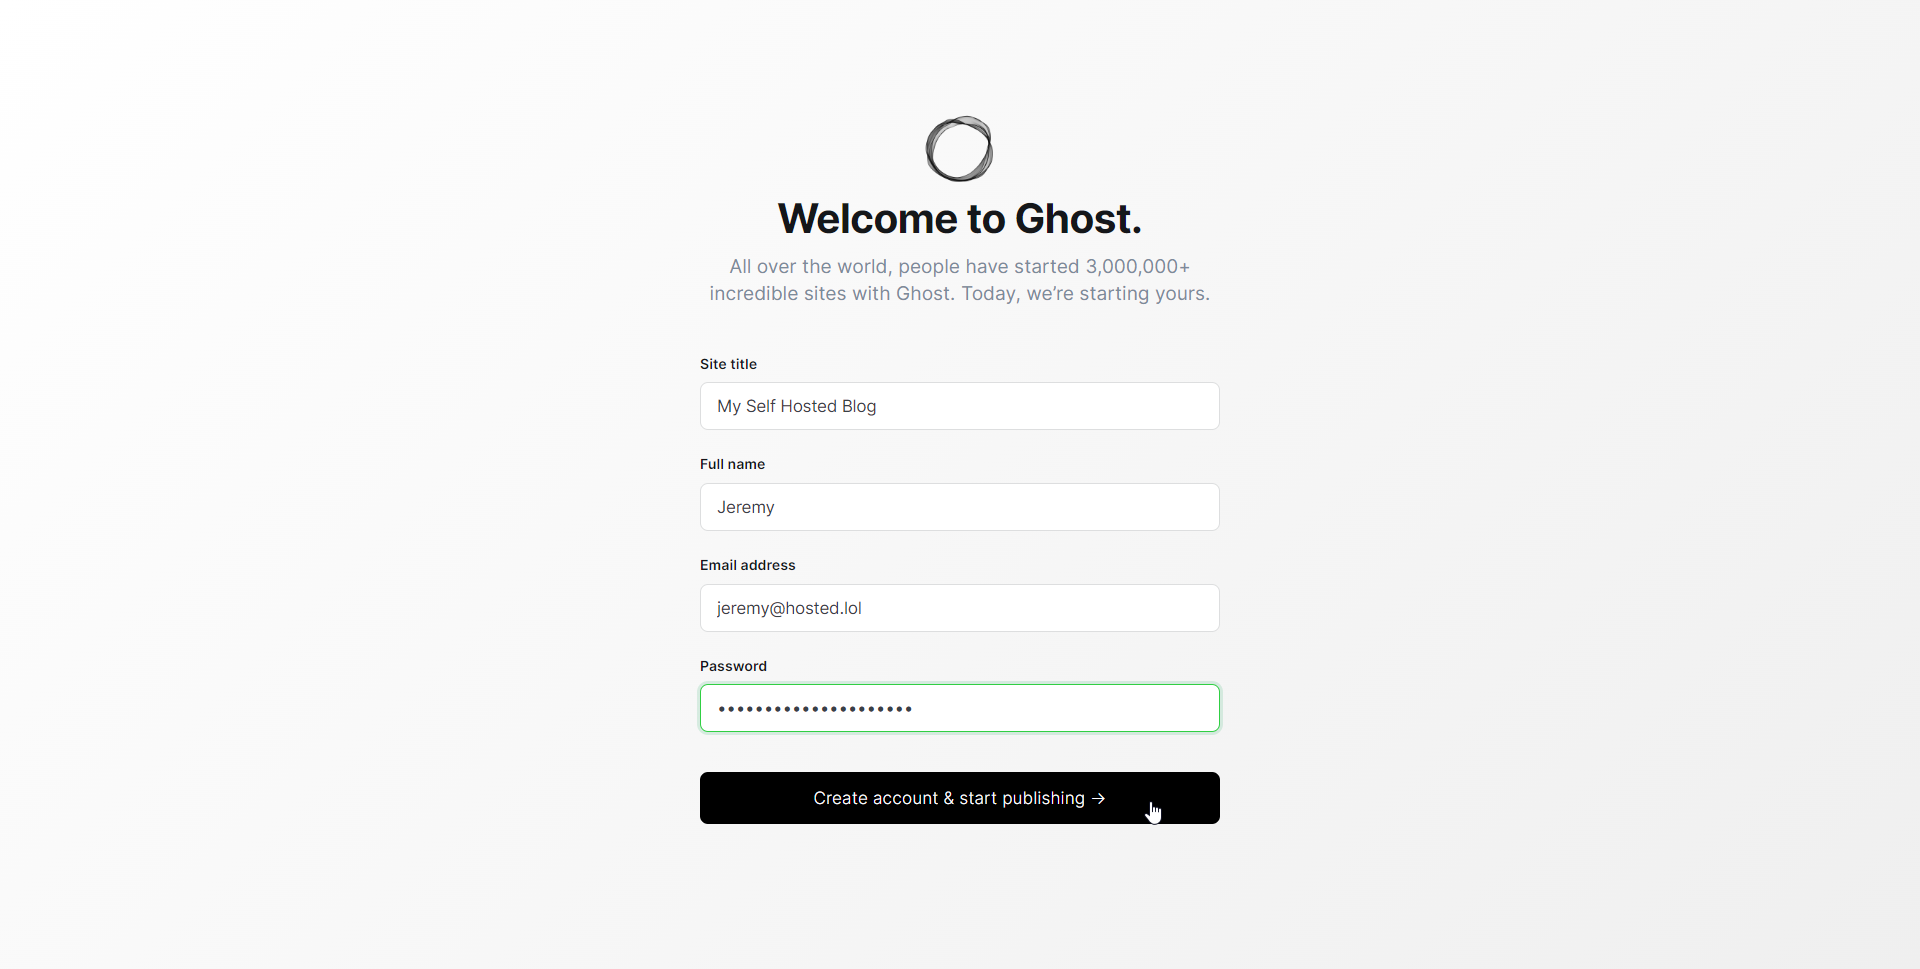
You will see the default Casper theme with your brand new Ghost blog. Head over to http://yourip:2368/ghost to setup the site name and admin account.
Before taking this public and exposing it to the internet, I recommend getting used to how Ghost works. It's pretty easy to get the hang of!
In the next article, we cover how to expose your Ghost blog to the internet. Like I said above, you will need to buy a domain name and have a little bit of patience for this next chapter.
Can't host Ghost at home? Check out Pikapods app hosting.
Final Notes and Thoughts
What do you think so far? Not hard is it? Well, get ready for a little more advanced part two next! It's not much more difficult but requires much more explaining in detail. Using Cloudflare can be very overwhelming at first because there are so many places to get lost in the dashboard. But don't fright, I'll walk you through the process and have you accessing your blog on your domain in no time!
For now, you can play around on Ghost locally. You can even make posts and prepare for content and have it all ready for when you go live.


Discussion