


If you have been running a homelab for any length of time, you probably have a list of things you keep telling yourself you will automate one day. Restarting a service that occasionally hangs. Sending yourself a quick alert when a container dies. Pulling logs from a server without having to SSH in manually. These are the little tasks that eat up time, and they add up fast.
What is n8n?
n8n is a workflow automation tool that gives you flexibility and control. You can build workflows using code or drag-and-drop, and host them on your own servers or in the cloud. It makes connecting apps, moving data, and creating multi-step AI processes simple, so you can automate tasks, get notifications, and tie your tools together exactly the way you want. It has earned a strong reputation in the homelab and self-hosted communities for being reliable, flexible, and easy to integrate into personal setups.

n8n is not open-source in the traditional sense. It operates under a "fair-code" model, specifically the Sustainable Use License (SUL), which allows free use and modification for personal, internal, or non-commercial purposes. However, it restricts commercial use, such as offering n8n as a service or embedding it in a paid product without a separate commercial agreement.
I like n8n because it feels practical. It does not require you to move everything into someone else’s cloud, and it fits naturally into the way most of us already run things at home: Docker containers, small servers, maybe a VM or two. You install it once, and suddenly you have a central spot where your workflows live.

Useful Nodes for Homelabs
n8n has a lot of integrations, but you do not need all of them to get started. A few key nodes go a long way in a homelab setup:
- SSH Node lets you run commands on any server. Handy for restarting services or doing quick checks.
- Discord Node pushes updates right into a channel. Great for monitoring or just keeping track of what is happening.
- Webhook Node gives you a simple entry point for scripts or other tools.
- HTTP Request Node connects with APIs, whether it is Proxmox, Docker, or whatever else you already run.
- Email Node sends alerts without needing to dig through logs later.
- Cron Node handles scheduling, so you can set tasks to run at night or on a weekly cycle.
- File Node works with local files, which is useful if you want to process logs or generate reports.
- Ollama Node allows you to interact with local AI models, giving you creative or analytical automation options.
- OpenAI Node connects to OpenAI’s APIs, which can be used for everything from summarizing feeds to generating content or notifications.
These nodes cover the basics of control, alerts, scheduling, and AI-powered automation, giving you plenty of ways to start experimenting in your homelab.
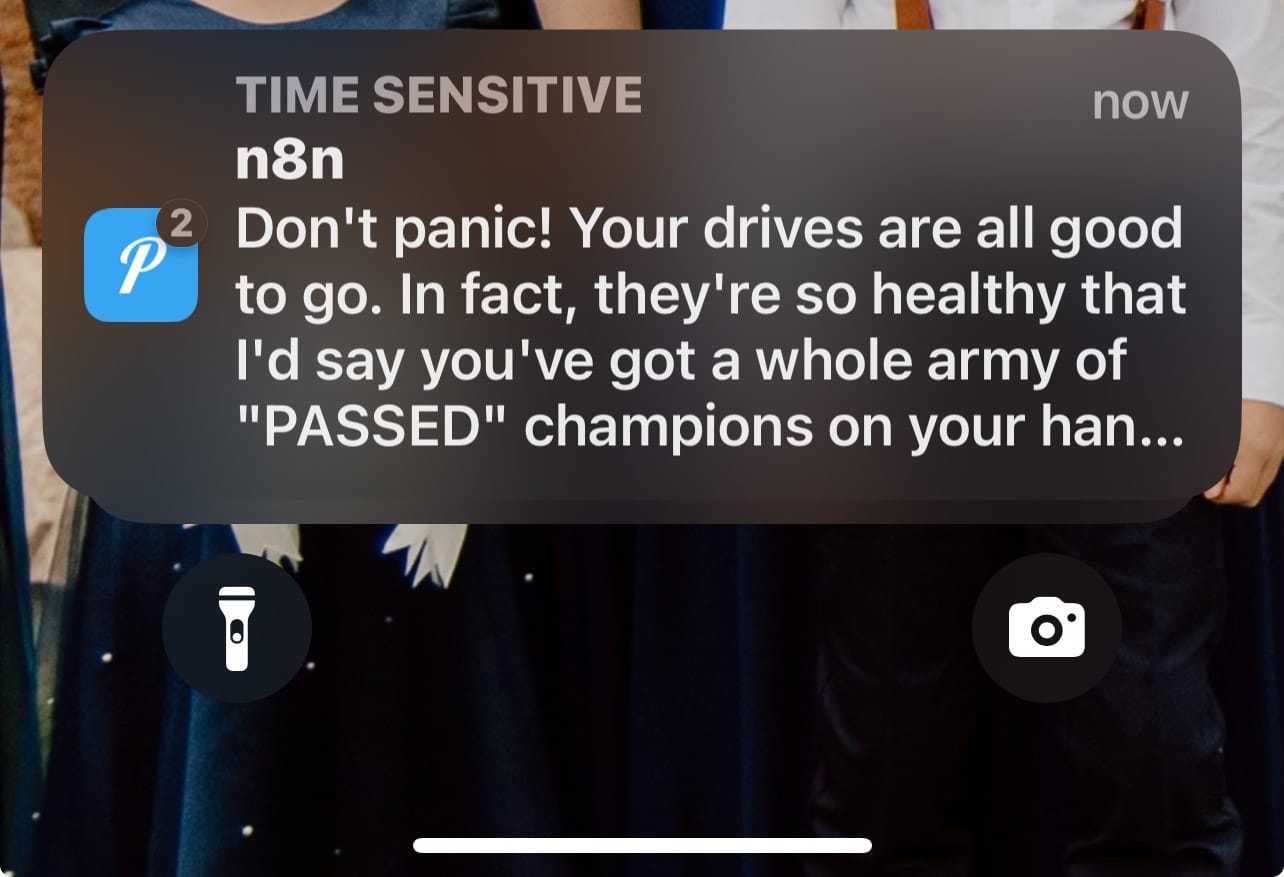
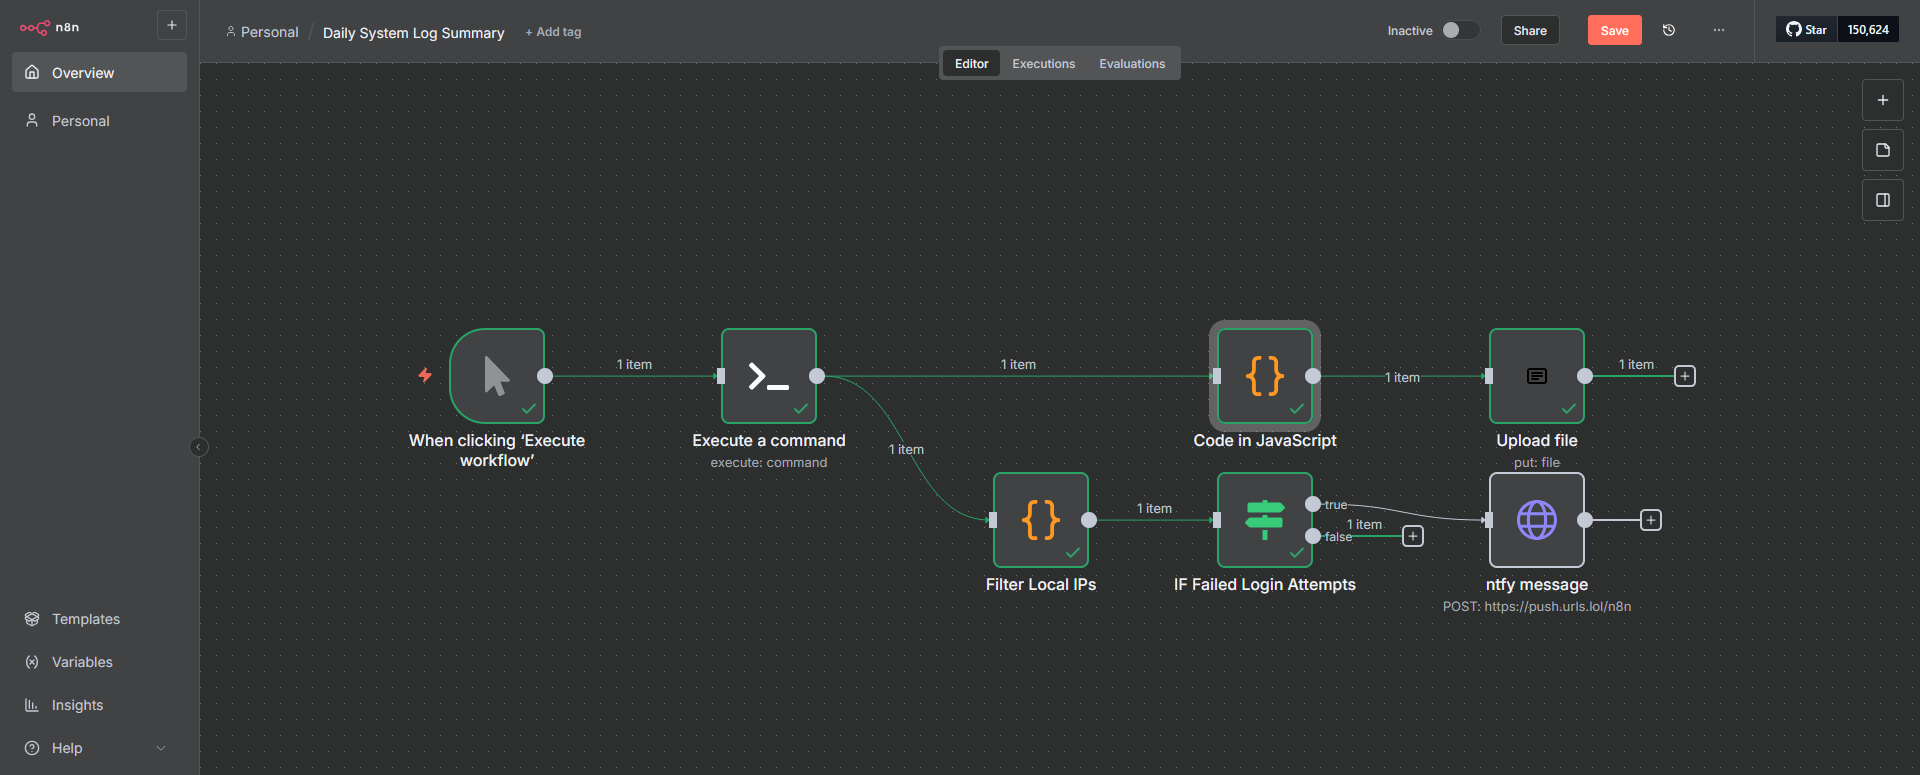
Here is one way I use n8n in my setup. It runs a SMART test on my drives using smartmontools and then sends the results to my Ollama server. Ollama analyzes the data and turns it into a short, funny notification about the health of my drives. If everything is running smoothly, the message is lighthearted and amusing, but if there is an issue, it still gives me the information I need quickly. It's setup to trigger every morning at 9am.

Yes, there is an SSH node. I know, I was just as excited when I discovered it. You can dive into Docker containers, manage Proxmox, run cron jobs, and explore all kinds of nerdy projects. It makes experimenting and automating in your homelab actually fun and surprisingly satisfying.
Install n8n using Docker Compose
If you don't have Docker installed and need help getting started, I recommend checking out our self-hosting guides for beginners. These guides cover the basics of setting up Docker on your server. They're designed to help you get up and running smoothly, even if you're new to self-hosting.
To install n8n hub using Docker compose, use the following Docker Compose config:
services:
  n8n:
    image: docker.n8n.io/n8nio/n8n
    restart: always
    ports:
      - "5678:5678"
    environment:
      - N8N_ENFORCE_SETTINGS_FILE_PERMISSIONS=true
      - N8N_PORT=5678
      - N8N_RUNNERS_ENABLED=true
      - NODE_ENV=production
    volumes:
      - /docker/n8n/data:/home/node/.n8n
      - /docker/n8n/local-files:/files
n8n can be installed in different ways, including with npm, which gives you a quick way to get it running on your machine. The n8n documentation is clear and helpful, making it easy to understand.
Final Notes and Thoughts
For me, setting up n8n was surprisingly simple. I was honestly a bit surprised at how easy it was to get my first workflow running. Don’t let it intimidate you, once it’s up, you can start automating tasks and seeing results right away. I will be writing more about how to build specific workflows, but for now this is the starting point. If you already tinker in your homelab, spinning up n8n is worth it just to see how much busywork you can clear off your plate.


Discussion