


I kept putting this off because iOS puts strict limits on background activity, which means you can’t get true instant push notifications without relying on a central server. The good news is, there’s finally a workaround. It isn’t the cleanest solution, but it does the job. By forwarding certain poll request messages from your self-hosted ntfy server to the main ntfy.sh server, you can still get instant notifications on iOS. I’ll walk you through how it works.
What is ntfy?
ntfy (short for “notify”) is an easy-to-use notification service built on HTTP and pub-sub. It lets you send alerts straight to your phone or desktop from any computer using simple scripts, with no sign-ups or fees required. And because it’s open source, you can spin up your own server anytime you want.

Let's get right into it because this might get a bit long winded due to the workaround but really, all it takes is a simple configuration file.
Installing ntfy with Docker Compose
The first thing we need to do is setup ntfy and we will do so using Docker Compose. The following is my stack setup, so we will move forward assuming your folder structure is the same. You will also replace https://ntfy.yourdomain.com with your own domain. Traffic to the app from ntfy will need to be secure so be sure to have a domain ready that uses an SSL.
services:
ntfy:
image: binwiederhier/ntfy
container_name: ntfy
command:
- serve
volumes:
- /docker/ntfy/cache:/var/cache/ntfy
- /docker/ntfy/etc:/etc/ntfy
- /docker/ntfy/var:/var/lib/ntfy
environment:
TZ: AMERICA/CHICAGO
NTFY_BASE_URL: https://ntfy.yourdomain.com
NTFY_CACHE_FILE: /var/lib/ntfy/cache.db
NTFY_AUTH_FILE: /var/lib/ntfy/auth.db
NTFY_AUTH_DEFAULT_ACCESS: deny-all
NTFY_BEHIND_PROXY: true
NTFY_ATTACHMENT_CACHE_DIR: /var/lib/ntfy/attachments
NTFY_ENABLE_LOGIN: true
ports:
- 8446:80
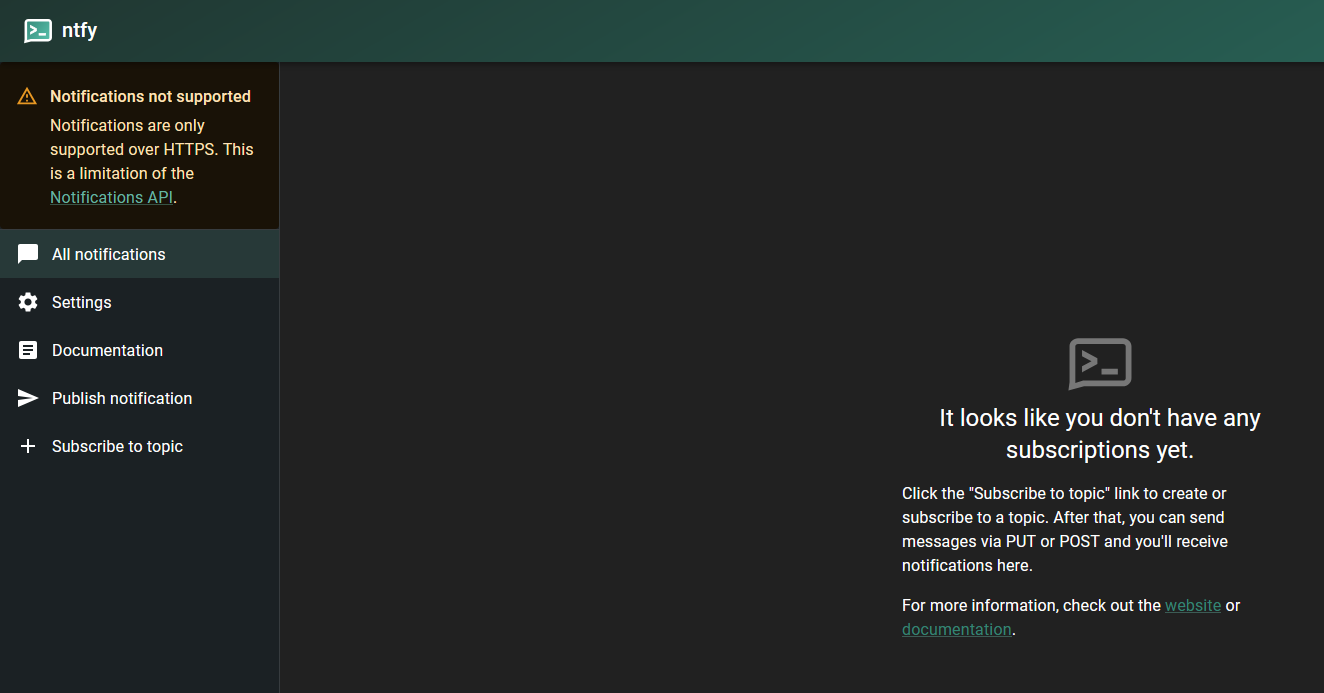
restart: unless-stoppedOnce you have ntfy setup and running you may notice a message saying "Notifications not supported. Notifications are only supported over HTTPS. This is a limitation of the Notifications API." If you access the server from your domain with a valid SSL, you should not see this message.
Creating the ntfy Config file
But, before we go any further, let's setup our config file. It's pretty simple really. Create the file called server.yml in the /docker/ntfy/etc folder and add the following:
base-url: "https://ntfy.yourdomain.com"
upstream-base-url: "https://ntfy.sh"
behind-proxy: true
Again, replacing the base-url with your domain.
In order to get instant notifications on iOS, we have to poll the main ntfy.sh server. Every incoming message will trigger a poll request to the upstream server you’ve configured. That request includes the original message ID, which tells the iOS app to fetch the full message from that server.
If you don’t set an upstream base URL, notifications will still arrive, but the delay can be significant. Sometimes hours, depending on the phone’s state. If the phone is active, delivery usually happens within 20 to 30 minutes but for me, that's still not good enough. So we have to do this to get instant notifications.
Adding a user to ntfy to Secure the App
Now let's add a user to the app so we can password protect our web GUI so random people cannot be invasive and use our ntfy instance.

Tap into the ntfy shell and drop the following command. Replace the user and password with your desired credentials.
ntfy user add --role=admin NotedOnce you add your user, go ahead and restart the ntfy Docker container.
Subscribe to a Topic in ntfy
In the ntfy web interface, start by creating a topic through the “Subscribe to topic” option. For this example, we’ll call the topic “alerts.” Then tick "Use another server", enter your domain in the server field below. This topic will act as the channel that delivers messages to any devices subscribed to it.

The cool thing is, you will get messages on the web app with optional sounds and all devices subscribed to the same topics.
Setting up the iOS app for Notifications
Now on your iPhone, download the ntfy app. Open the app and click the settings cogwheel at the bottom. Add your server as the default server and then enter the user and password below, that you created earlier.


After that, click on the notifications button at the bottom and subscribe to the same topic you created earlier. Be sure to tick the "Use another server" option and enter your server address.
Now test it by sending a message through the web GUI. Be sure to click on the topic that your iPhone is subscribed to before sending a message. It should push the message right away to your iPhone.
If you use an Android device, you wont have to use the workaround, so just install ntfy using Docker then subscribe to the same topics on your Android devices and you're good to go.
Final Notes and Thoughts
iOS can be pretty frustrating when it comes to notifications. Apple’s restrictions turn something simple like instant alerts into a much bigger hassle than it should be. The workaround is not perfect, but it works, and it keeps ntfy usable on iPhones.
For me, ntfy has become the backbone of my notifications. I run almost everything through it with n8n, so all my alerts, from server health to workflow updates, end up in one place. I will also be sharing articles soon on how to integrate ntfy into n8n workflows, since that has been such a useful setup for me. If you are interested in that kind of material, be sure to subscribe or join our Discord for notifications on those articles! And yes, I do use n8n to push articles to our Discord.
If you find ntfy useful, be sure to swing by the project’s GitHub page and give it a star to support the developer.


Discussion