

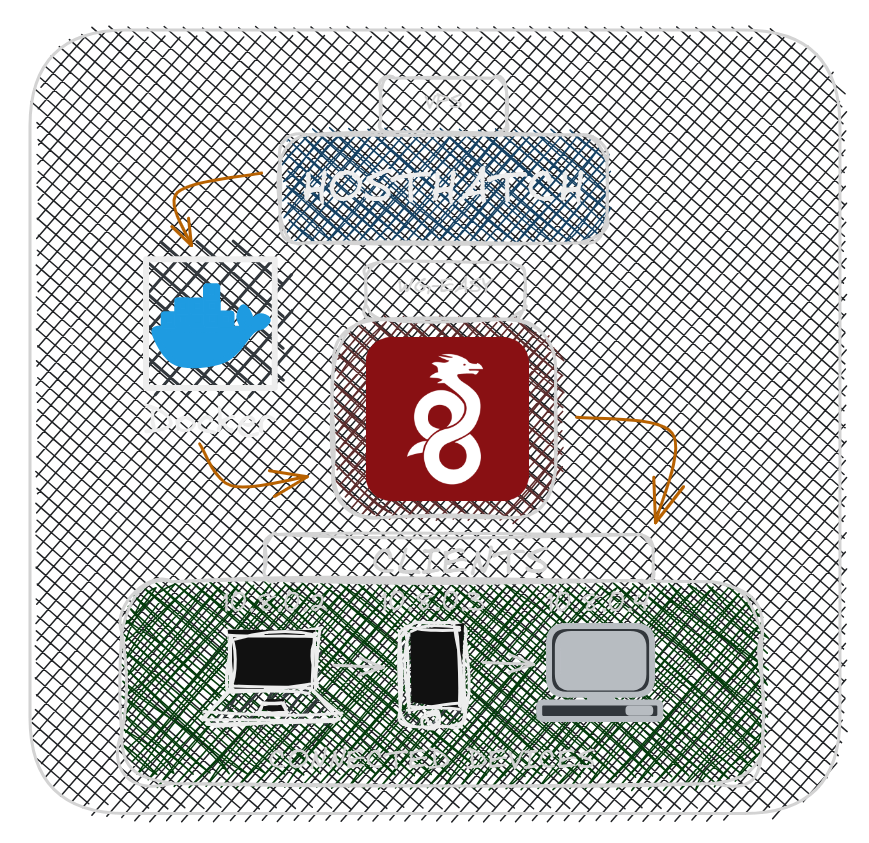
WireGuard-easy (WG-Easy) is an open-source, web-based graphical interface that simplifies the management of WireGuard Virtual Private Network (VPN) configurations, clients, and connections on a server. This user-friendly tool bundles all necessary WireGuard tools, enabling administrators to create multiple VPN interfaces and client configurations with ease.
This article provides step-by-step instructions for installing WG-Easy on Debian 12, empowering users to set up and manage their WireGuard VPN connections efficiently.

Prerequisites
Before you start:
- Deploy a Debian 12 instance on Hosthatch.
- Access the instance using SSH.
- Install Docker and Docker Compose.
Why use a VPS?
Using a VPS with WG-Easy is optional and can easily be done on your own hardware with firewall changes on your router. You will also need to open port 51820 and forward it to the WG-Easy host.
Using a Virtual Private Server (VPS) to set up your WireGuard server provides several benefits. Many providers include advanced firewall and security features, such as intrusion detection and prevention systems, malware scanning, and DDoS protection. Additionally, VPS providers often offer regular backups for your server and data, reducing the risk of loss in case of a disaster or technical issue. By choosing a location closest to your users' networks, you can minimize latency and improve performance. The most important part is you do not have to open any ports when using a VPS. Hothatch will already have port 51820 open for WireGuard.

Hosthatch
High performance compute VMs, with dedicated CPU allocations and extremely high IOPS NVMe disks. Deploy in 16 edge locations, and deliver consistently high-performance to your users, regardless of where they are located.
Setup a Hosthatch Module
When you setup a Hosthatch, I find it best to choose a location that's closest to you. When you register and log in, navigate to the "Create Server" page.

- Server Location: (Choose one closest to you)
- Server Type: NVMe Compute VMs
- Server Size: NVMe 2GB
- OS: Debian 12 x64
- Hostname: Your -host-name
This setup gives us the following specs for our Pangolin "server":
- 2GB RAM
- 1 CPU (shared)
- 11GB storage
- 1TB transfer
- 1 dedicated IP
Total cost: $4 per month! Not bad at all for a 2GB RAM VPS!
When you create the Hosthatch server, you will be taken to the Hosthatch dashboard where you can see all the details about the cloud server you just created.

Or you can find your servers under the "Resources" section on the left side navigation panel. Click on "Servers".
Install WG-Easy Using Docker Compose
services:
  wg-easy:
    image: ghcr.io/wg-easy/wg-easy  # The Docker image to use.
    container_name: wg-easy         # Name of the container.
    environment:                    # Environment variables to configure the instance.
      - LANG=en                     # Language settings.
      - WG_HOST=0.0.0.0             # Public IP of your Hosthatch VPS.
      - PASSWORD_HASH=$2a$12$EzGxxu2TtakiKor8z8ij8uYAHoJkKuny.Gvny8bF9QK7ujmPAHj4i # Bcrypt hash for Web UI login.
      - PORT=51821                  # Port for the web interface.
      - WG_PORT=51820               # WireGuard port for VPN traffic.
    volumes:
      - /docker/wg-easy/:/etc/wireguard   # Volume mapping for WireGuard configuration files.
    ports:
      - "51820:51820/udp"           # UDP port used by WireGuard.
      - "51821:51821/tcp"           # TCP port for accessing the web interface.
    cap_add:                        # Capabilities required for managing networking features.
      - NET_ADMIN
      - SYS_MODULE
    sysctls:                        # Kernel parameters that need to be set for WireGuard.
      - net.ipv4.conf.all.src_valid_mark=1
      - net.ipv4.ip_forward=1
    restart: unless-stopped         # Ensures the container restarts automatically unless manually stopped.
Change WG_HOST to your VPS server IP address.
Generate a Bcrypt Password Hash
Before we try to login to the WireGuard panel, we have to generate a password hash using Bcrypt. This is done using the following Docker container and MUST be done on the same host where the WG-Easy server is being installed.
docker run --rm -it ghcr.io/wg-easy/wg-easy wgpw 'YOUR_PASSWORD'Run that container and it will generate your hash. Copy the hash and paste it into the Docker Compose config. Below is an example of how it should look when you run it.
root@TEST:~# docker run --rm -it ghcr.io/wg-easy/wg-easy wgpw 'MyS3cr2tP@ssw0rd'
Unable to find image 'ghcr.io/wg-easy/wg-easy:latest' locally
latest: Pulling from wg-easy/wg-easy
c6a83fedfae6: Pull complete
731f5f878c76: Pull complete
17ea4cb95273: Pull complete
2ba186860f73: Pull complete
258f39275178: Pull complete
3700239fd420: Pull complete
360ff0804f5e: Pull complete
4f4fb700ef54: Pull complete
856d3d0ce412: Pull complete
b6e71ca6d913: Pull complete
Digest: sha256:66352ccb4b5095992550aa567df5118a5152b6ed31be34b0a8e118a3c3a35bf5
Status: Downloaded newer image for ghcr.io/wg-easy/wg-easy:latest
PASSWORD_HASH='$2a$12$EzGxxu2TtakiKor8z8ij8uYAHoJkKuny.Gvny8bF9QK7ujmPAHj4i'
Your hash will look different based on the password you choose to use.
Adding Clients using WG-Easy Dashboard
Go to your server IP on port 51821 to access the WG-Easy panel. This is what makes WG-Easy so... easy! Simply click on the "New" button to add a new client. Give it a name and click "Create".
Next to the client you will see a way to enable or disable the client, add the client via QR code or download the configuration file. Finally, you can even delete the client if you wish.
How to install WireGuard client on Debian Or Ubuntu
Say you have a server where you have a bunch of self hosted applications. You want to install the WireGuard client on this system to have access to it while you're away without exposing those apps over the internet? Here's how.
First, create a new client in the WG-Easy control panel and call it "Server". Now download the configuration file and save it for later. It should be called "Server.conf" or whatever you named it is what the file name will be.
Log into the Debian system via SSH and install WireGuard.
sudo apt install wireguard -yLog in as root using
sudo suNow navigate to
cd /etc/wireguardNow we need to open that "Server.conf" file we downloaded earlier, copy the information in the file. Then,
nano Server.confPaste the information from the "Server.conf" file into the same file on your client machine using Nano then save the file on the client system.
On the client system start the WireGuard client using
wg-quick up Server"Server" is the name of the configuration file. So if you named it something different you will need to use that name. It is also case sensitive. It should look like this:

You can also take the client down by typing
wg-quick down ServerAccessing your Self Hosted Applications
You'll notice the IP address given to the client when it is created in the WG-Easy panel. That IP is now the IP you will use to access your applications. For example if you have Emby on your server and you want to access it over WireGuard, open your browser and type the IP of the "Server" client. In my case it is 10.8.0.4 and I know Emby is on port 8096 so I type 10.8.0.4:8096.


I shouldn't have to mention this but the computer you are accessing the application from also needs to have WireGuard installed.
You can easily install WireGuard on Windows using the free WireGuard application from the official WireGuard website. You will need to create another client in the WG-Easy panel for each machine. For Windows, just download the configuration and import it from the WireGuard client on Windows. This will automatically connect you to your WireGuard server so you don't have to do anything else.
I have an iPhone so I installed the free WireGuard iOS app. I created a new client called "Jers iPhone" and scanned the QR code to add it to the iOS WireGuard client. Now I can watch Emby from my phone without exposing it over the internet. This is just one example of how you can use WireGuard.
Final Notes and Thoughts
WG-Easy is a highly accessible and user-friendly method for setting up and hosting your own VPN tunnel. In terms of ease of use, it's comparable to Pangolin, which also offers a reliable alternative for individuals seeking to host their own VPN tunnels using NEWT WireGuard tunnels.

The fact that WG-Easy has racked up an astonishing 17k+ stars on Github speaks volumes about how simple and straightforward it is. Be sure to drop it another star and let us know your experiences with WG-Easy int eh comments below!


Discussion